We kicked off our very first Slow Grow League! Some last minute early holiday plans reduced the attendees but we still had a blast. Real life always takes priority so we totally understand.
I have uploaded the League packet here under our Special Scenarios rulebook section for those wishing to run your own A4R Slow Grow League! It is designed to help players learn rules in small amounts and be less overwhelming.
The packet has 6 scenarios, starting from simple shoot at each other and move through the open and ending with army wide coordination. Each session after the first adds 250 points, allowing players to slowly grow their collection, be encouraged to paint it, and to fill in pieces missing for their play style. We got through three of them in our first session and really spent a lot of time going over strategy and loadout options.
League Points are not rewarded for victories or defeats. The whole point of this is to try new things and learn without pressure to be a cookie cutter army list and play style.
Battle #1: The Trenches
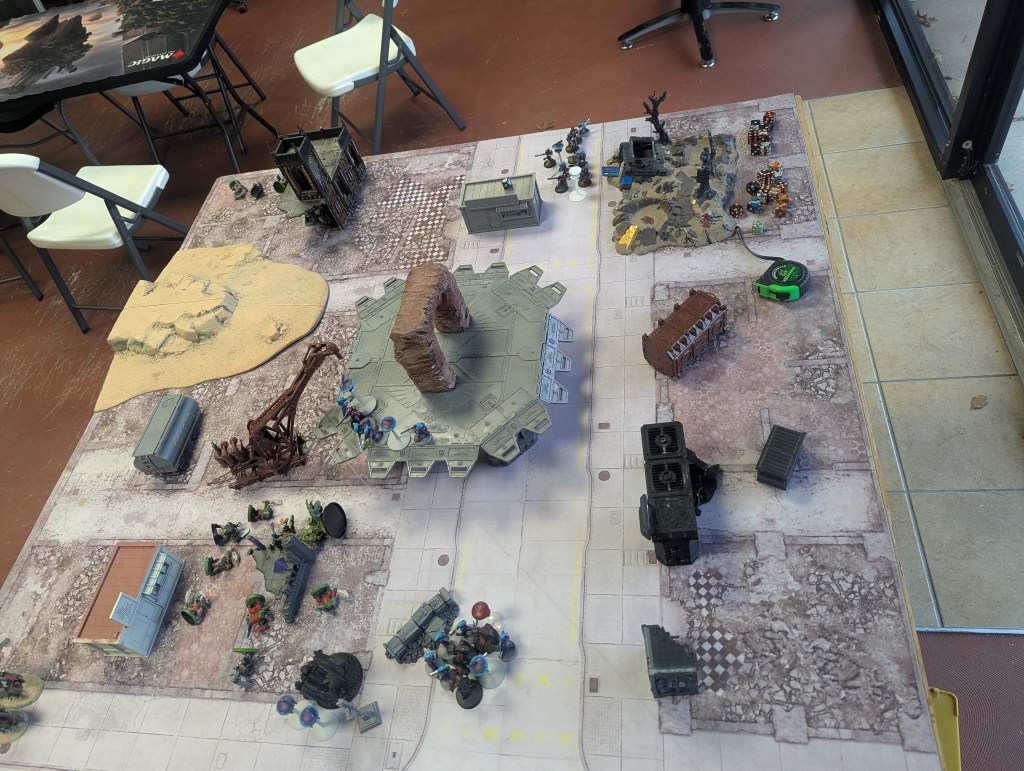
Tau forces square up against Orks! A Coldstar Crisis Commander equipped with a flamer and fusion blaster makes aggressive first moves! Accompanying him is a small unit of Fire Warriors with Pulse Carbines and a larger unit of Pathfinders similarly equipped. A full unit of 10 Fire Warriors holds the back line and throws down punishing fire early game.

Trenches provide a 3+ Cover Save, so the Orks take a few casualties but it is not too bad all things considered. The Deffkoptas are the biggest threat to the Crisis Commander, so they get a fair amount of fire thrown their way.
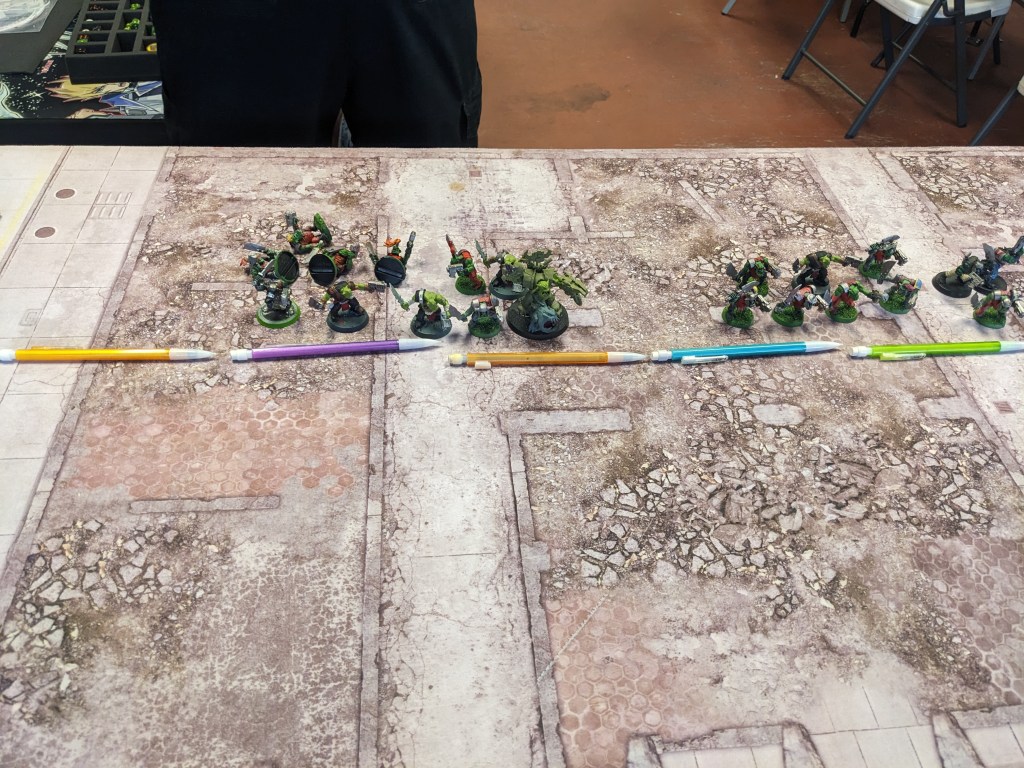

The Ork player had brought a mostly melee based army. His intent had been to help newer players have some easy targets early game and get their feet wet. In an open field, they suffered heavily. This is not a normal board setup so naturally the Tau did well, but the player got comfortable with basics such as what numbers hit and wound and how armor saves work.
The Ork player wanted to leave his dead out so it could be seen where they died. They left the trenches and tried some charges, but the dice went cold! The Tau were sure to warm them up with excessive amounts of pulse fire.
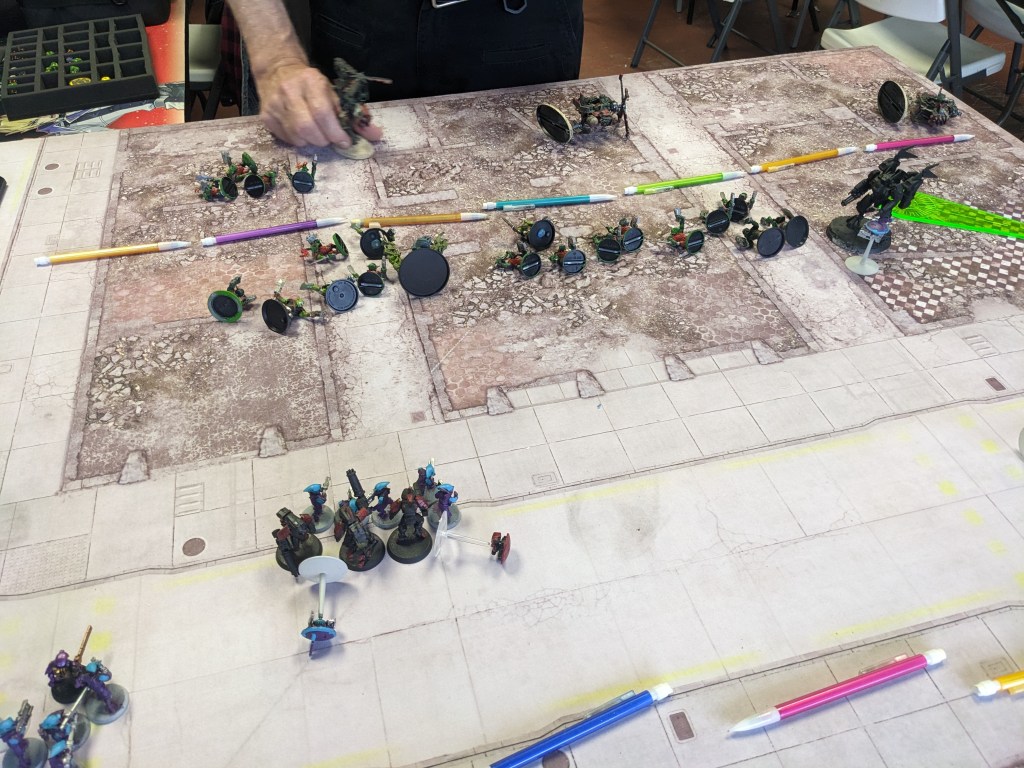
Battle #2: The Convoy
In this battle, one Player is the Convoy. They must follow a predestined path of the Ambusher’s choosing from one Player’s Deployment Zone to the other. The Convoy must deploy all HQ, Vehicles, and Monsters in this path and can not deviate from it (though they can choose how fast to go and if they want to wait). The Convoy wins if their unit makes it through to the enemy Deployment Zone, and the Ambushers win if they can destroy all of the Convoy or tie them up long enough to prevent them from getting through.
All other units can behave as normal.
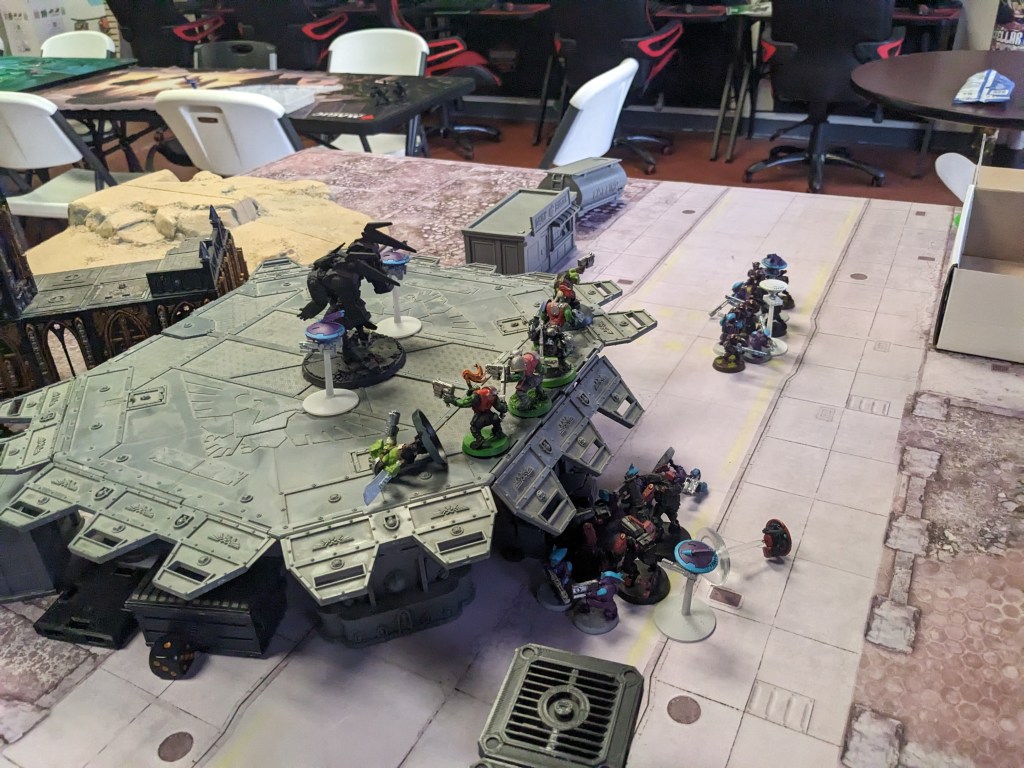
Our Tau player was designated as the Convoy, so the Ork player built a brutally cunnin’ (or cunningly brutal) ambush! This path forces the Crisis Commander to move over the Landing Pad and into a L shape road that leads to a gate.
A mob of Ork Boyz was hiding under the pad where the Commander would drop off into the road with another mob in the church and the Warboss at the end of the road.
The Commander moved up on the pad and began his journey. His infantry support moved up and began shooting out the barricades protecting the first mob hiding underneath the pad. Two of the three outer ones were destroyed, exposing the Orks for future turns!


The Orks under the platform moved and Charged the Fire Warriors shooting holes in their cool fort (placed on top for ease of where they were underneath). The Melee was a bit lack luster due to some bad rolls, but they began cutting down Fire Warriors.
The Tau fled a whole 4″, but the Orks only rolled 3 to pursue them!

After some time passed of me forgetting to take pictures, we arrive where we are now. Basically, the Fire Warriors on their commander’s left moved up and shot up the building. But by now, the Orks have already Charged the Commander after getting shot up real bad. They began just shooting all of the buildings because how dare they be built there!

The Deffkoptas came in from Deepstrike directly over the full squad of Fire Warriors. They began hammering the Commander with Rockets and plasma weaponry while the machine gunner took on the Fire Warriors. The Machine Gunner whiffed, but they took out a drone and damaged the Fusion Blaster on the Commander at least.
The Warriors underneath them moved a bit and then fire point blank. The Deffkoptas got some good saves in thanks to their Deepstrike Cover Save and sacrificed the poor gunner. The real goal was to destroy or tie up the Crisis Commander.

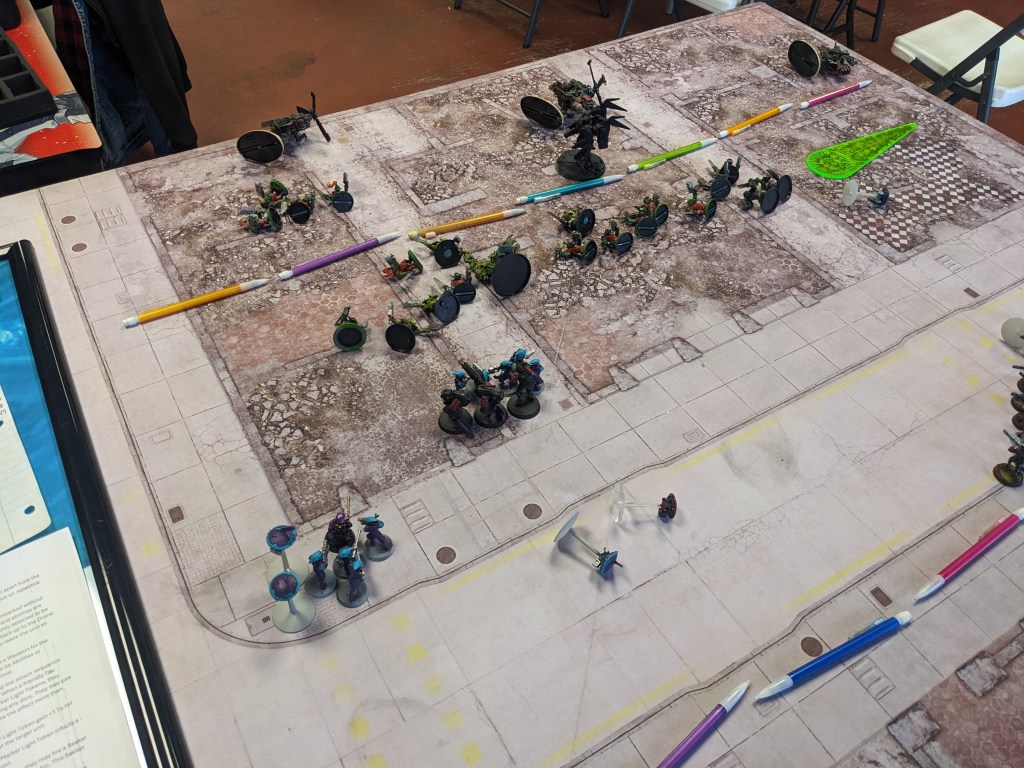
All of da boyz died on the charge, but da Warboss was not ‘avin any of dat nonsense ‘appen to ‘is face if hez could help it! The Crisis Commander began curb stomping him with his pneumatic action legs over the course of two turns. The poor Warboss couldn’t seem to make most of his saves and was feeling it now Mr. Krabs! Armed only with a Choppa, he was struggling to get Penetrations on the vehicle.
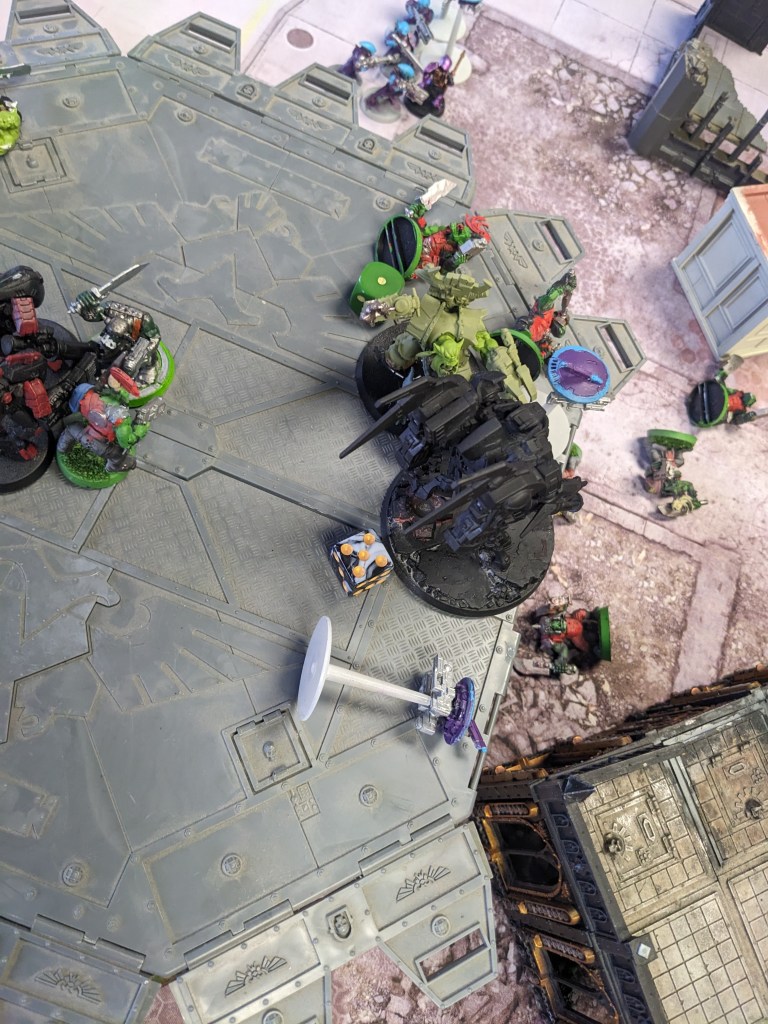
Eventually, the Warboss died to a Melta blast to his face, but the Deffkoptas had joined the fight. Twice the Crisis Commander attempted to use his Vectored Thrusters to escape, but each time the Warboss grabbed his leg and pulled him back down. The Crisis Commander failed to reach the exit by Turn 5, giving Orks a Victory!
This was a prime example of how to win an Objective based scenario even if you are not equipped for a fair fight.
Battle #3: The VIP
Now that players have the concept of characters being tougher to kill and rather valuable assets, its time to open the battle up to a more traditional one! We setup a quick battlefield with traditional deployment. Orks won initiative and put their Deffkoptas in reserve. The Objective is to not lose your Warlord! Only the Deffkoptas can reliably harm the Crisis Commander.
In turn, the Tau placed their Crisis Commander in Reserves on principle of he can’t die if he isn’t exposed. Having a fairly distinct range advantage in today’s games against the Orks, he knows he can bring the Commander in if it gets dicey.

The Orks didn’t really have an option with their loadouts. They started scrambling around just out of weapons range to draw fire and attention. The player realized the Tau player was eager to shoot at anything he could reach (discussed later so he could learn the deception) and kept the big Fire Warrior Squad completely occupied as his Orks seemingly milled around turn after turn.
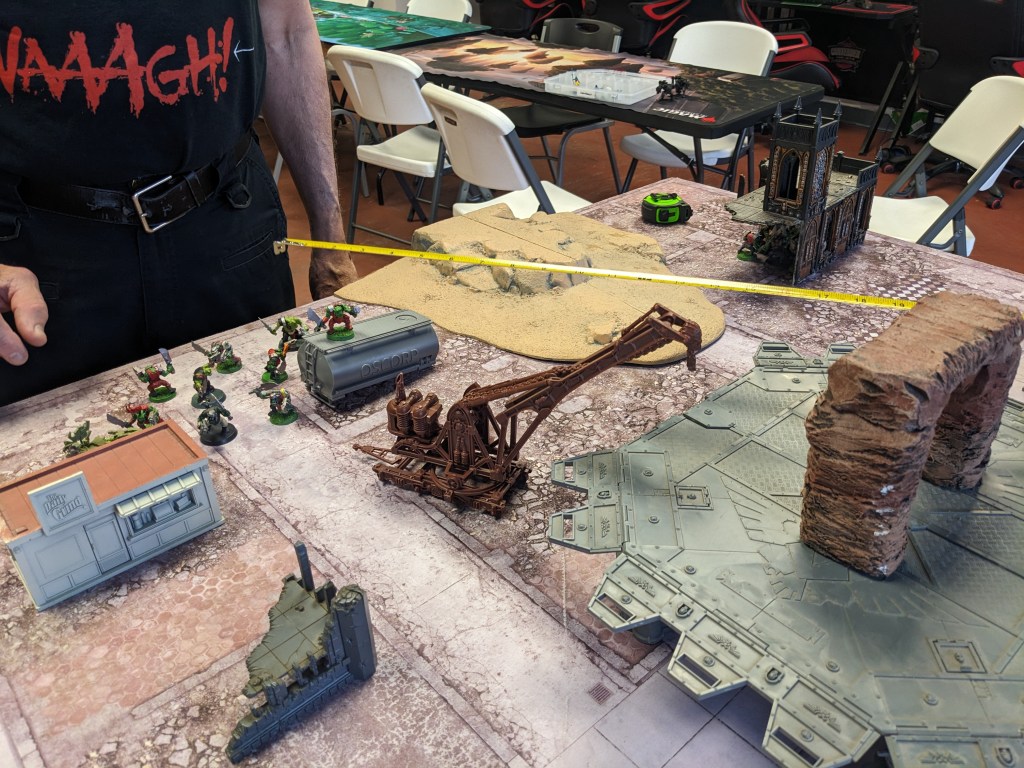
The rest of the Orks consolidated to the Warboss and prepared to get shot a lot.

The Tau got into position where they could support each other and began to shoot every piece of terrain in the way, attempting to clear it out and make the Warboss cross massive open ground. The Warboss made the rush, knowing that with the ‘Ere We Go! ability they may be able to make that long charge and get safely within Melee. They did not make the charge once again despite the reroll, needing a 9.

The distracted Fire Warriors on the far blank began to move and fire on the Orks that were decoying the, leaving only one remaining!

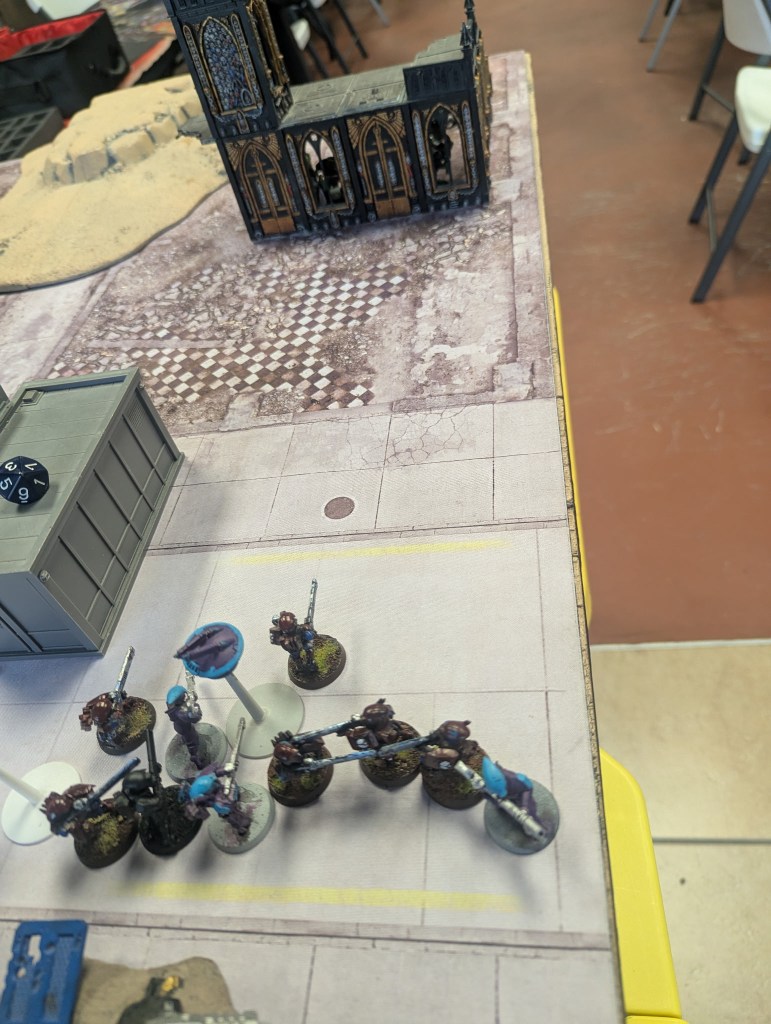
With the Orks drawn out, Tau did what Tau do. They shared their pulse fire as fast as they could, gunning all of the Orks down. The Ork player could not afford ‘Ard Boy armor at 500 points, so they were unable to withstand the powerful weaponry.

Tau wins this round!
Our leaderboard currently consists of:
Charles Gentry – Orks. League Points: 5 (Showed up, army painted, supported brick and mortar store we played at, was a good sport despite having a very hard match up the entire day, longest drive). Wins: 1 (used for tie breaking only)
Brent Auzat – Tau. League Points: 3 (Showed up, supported brick and mortar store we played at, was a good sport, being very tactful about the fact that his army had a lopsided advantage and did not rub it into anyone’s face). Wins: 2
Ty – Secret. League Points: 1 (Showed up and hung out a bit even though he did not have time to play).
