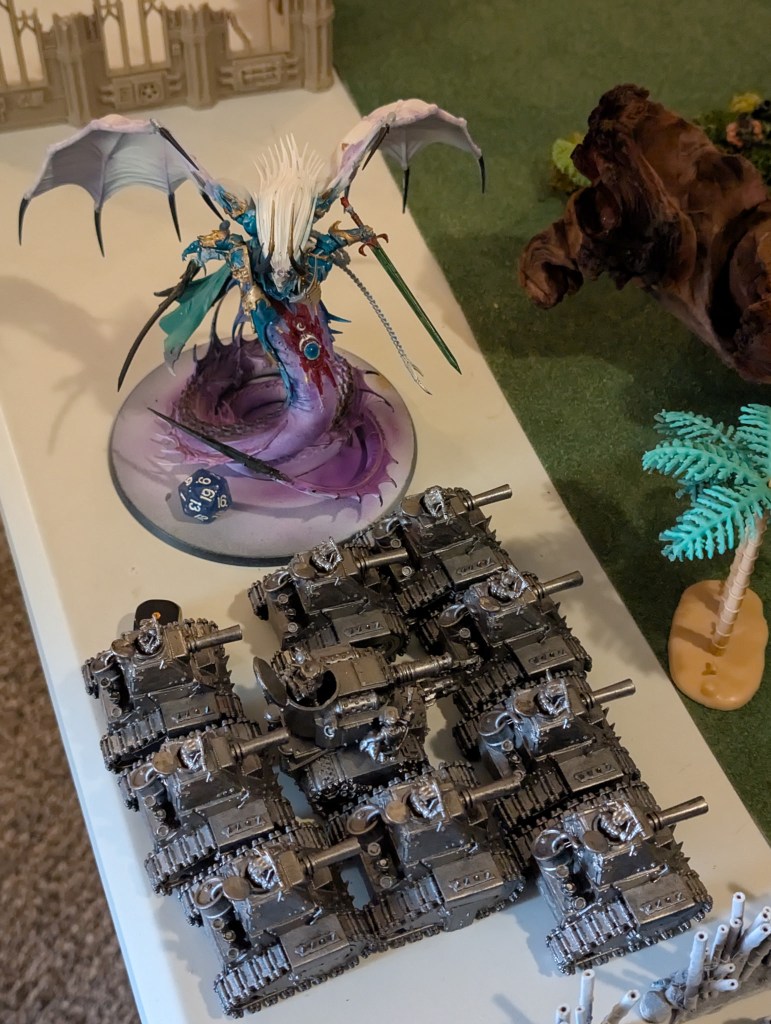
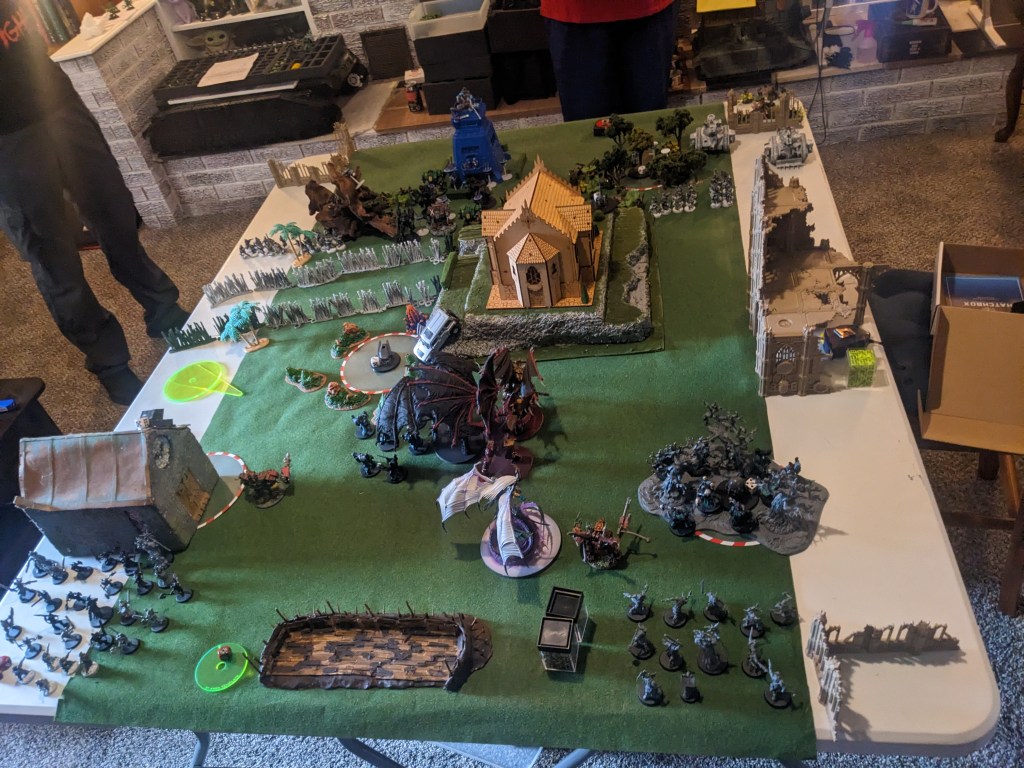
This was a fun mashup I’ve been wanting to do for a while. Two normal teams of 4k points each with Orks acting as an op4. Orks only had 2k points (the same each player has), but gets to respawn their forces on “Da Moon”. They can only get to the battlefield by using Da Jump.
We also were getting a fairly new player back into the game and wanted to test Guardsmen Marbo as a Lord of War Slot instead of an Advisor. With him beefed up, we took to the field! The Valhallan models are being used as proxies for Tau forces, he didn’t quite have 2k points yet in his collection. This was a good chance for him to try some things out and see what he liked!
I got really excited during this game and kept forgetting to take pictures. This battle report is going to jump around a little bit, but it was really fun to play! A lot of bad rolls plagued our Chaos players this game. Despite this, the players kept up really good sportsmanship and finished it out.
The Ork player went first, and as his Clan rules required him to stay in Reserve during the first turn, basically got skipped.
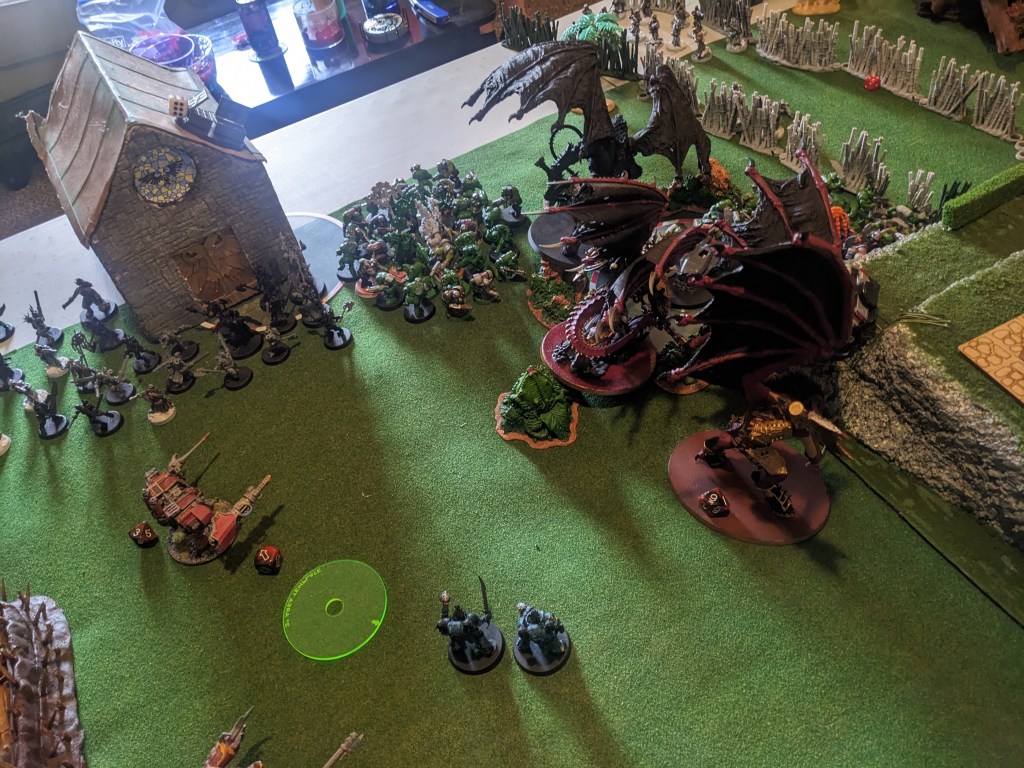
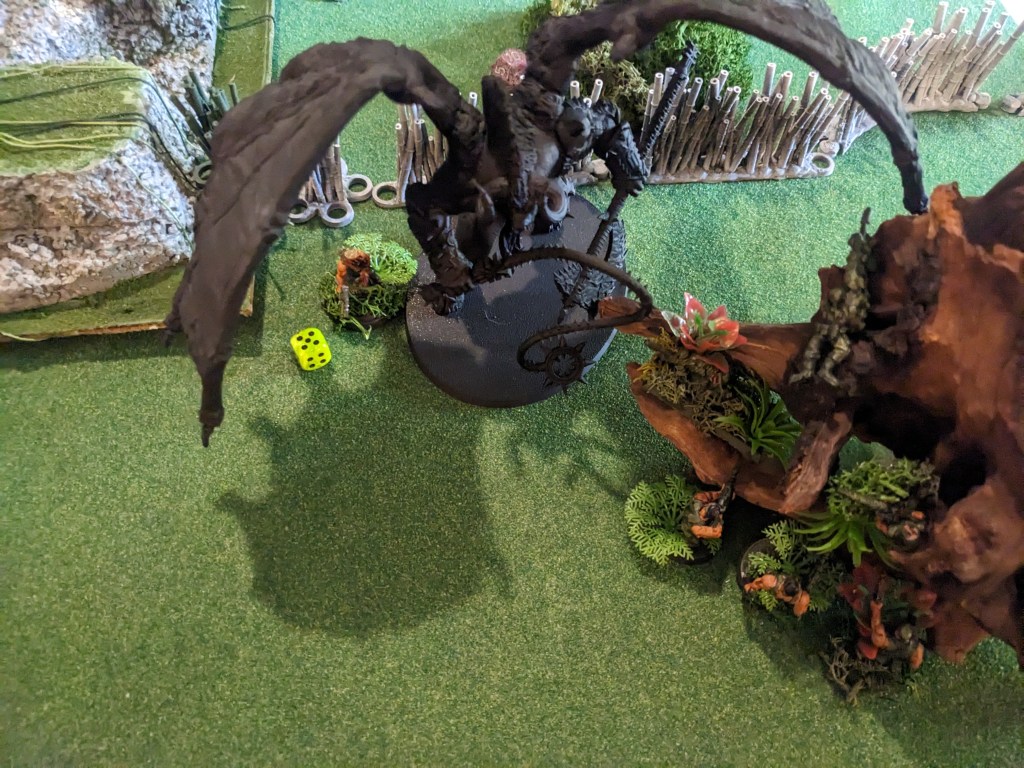
Chaos forces moved up. The World Eaters brought a terrifying death ball consisting of a unit of 2 Bloodthirsters joined by Angron! They moved up behind the cathedral and prepared to engage on the flank! Their noise marine counterparts settled into lay siege and hammer away with their sonic weapons. Using some dark magic, Fulgrim was catapulted behind our lines!
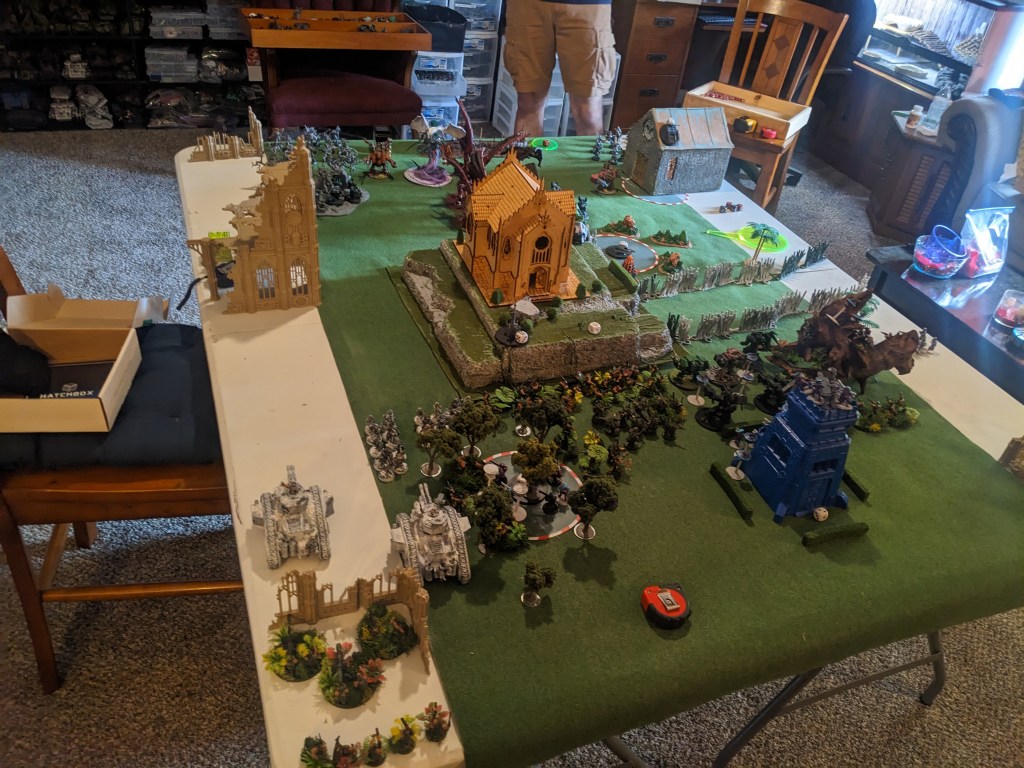
Worse yet, Doomrider came roaring in over the bamboo walls and dived straight into the Broadsides! Despite all odds, he managed to wreck one of them. They held the line, but failing to wipe him out on Overwatch with High Yield Missile shots, 20 Smart Missiles, and the weapons on the Tau Commander was super unfortunate! They could not engage Fulgrim with most of their shooting in their upcoming Shooting Phase! They subsequently were able to step on him to death with the Tau Commander doing frantic happy feet, but Fulgrim was gone by then.

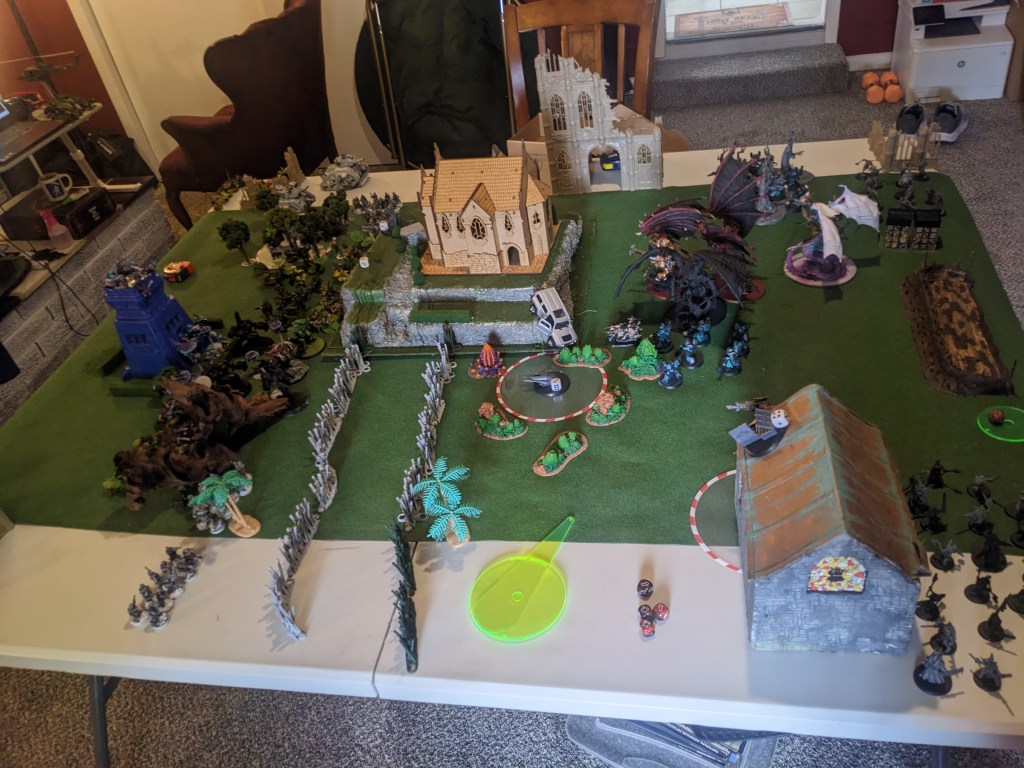
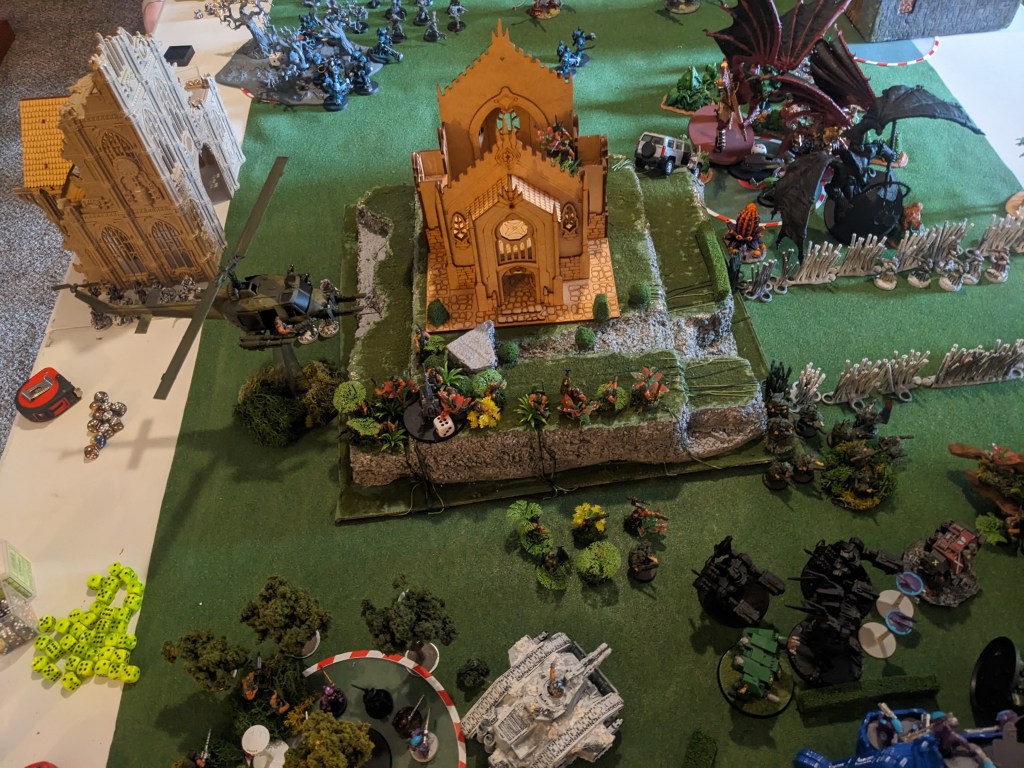
Tau Traitor Guard pushed up both flanks while the Catachans and rest of the Tau tried to hastily form a new line of defense.

It was obvious that Fulgrim was going to make the sacrifice so the Bloodthirsters could close in and engage. But, we didn’t really have a choice, so we engaged Fulgrim. It did not go well! The Tau’s fancy Broadside suits (5) were lead by their Coldstar Commander. Despite his fancy pancy greater good speech, they whiffed the attack (bad rolls on our part, fantastic saves on Fulgrim’s).
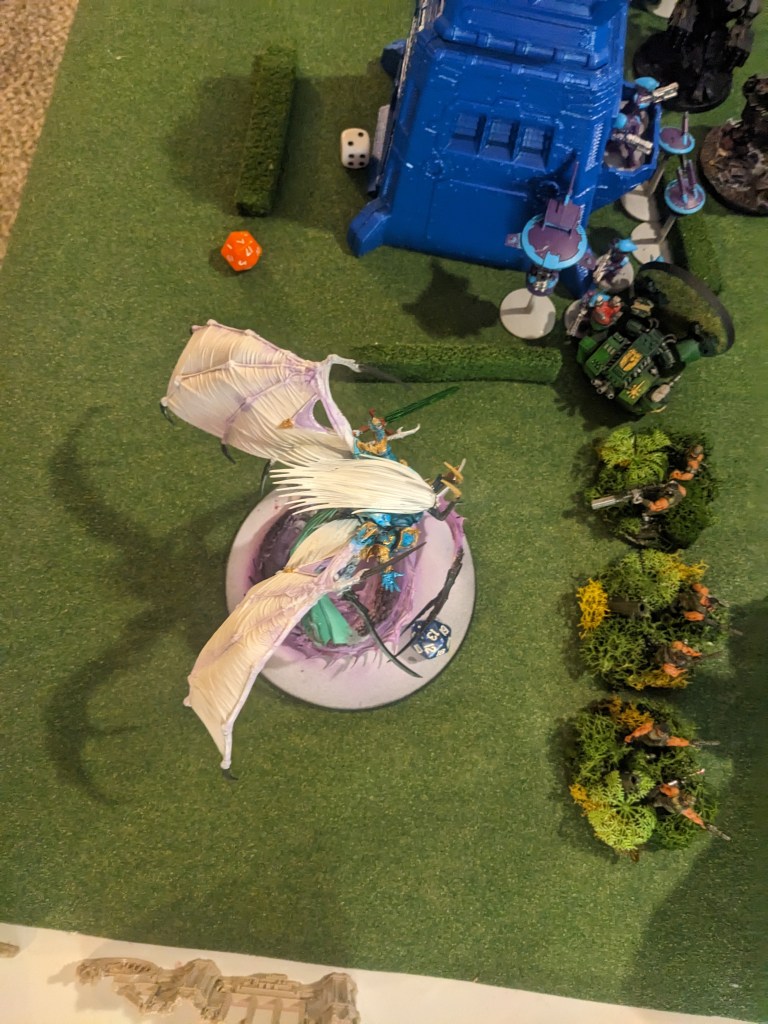
In addition, the pathfinder’s spent the entire game failing to hit or wound with their Rail Guns. My snipers and heavy weapon teams didn’t do any better!
With Fulgrim barely even injured and Bloodthirsters bearing down on us, it was looking rather grim.
But the Orks were designed to be the wild card no one could predict. With no established beach head to operate from they would have to establish one on the fly, and they were half strength as well. But they could strike anywhere and dying was a mere inconvenience.

Grot Tanks landed on our right flank with some Lootaz. Despite some heavy weapon penalties from the Lootaz, they laid down some serious firepower and inflicted a lot more damage then the mere scratch we gave to Fulgrim!

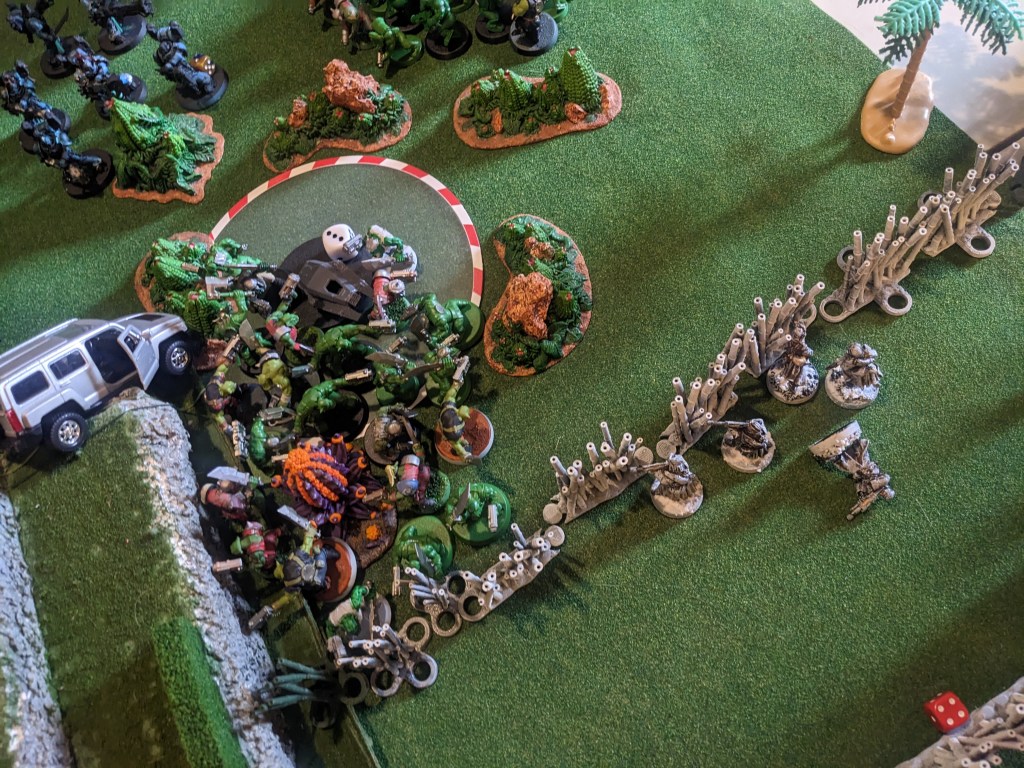
The largest blob of Boyz landed and hammered the noise marines closest to them! They were accompanied by Captain Badruck himself, a Waaagh! Banner, and a beefed up Pain Boy. Lucky for us, all three major World Eater units failed their Ld tests and had to go for the closest enemy unit instead, saving our flank from imminent doom!
The fighting was bloody, but the Orks had a fair amount of character support and was able to dish back some punishment! Angron also forgot how to use his Sigil of Chaos and took a lot of Power Klaws to the face.


Meanwhile, Fulgrim took a hit Charging in, but began to play Tonka Toys with the Grot Kommanda by forcing a Challenge (his special rules). It caused a chain reaction and the tanks retreated off the table!
The forces of chaos took a step back (not wanting to shoot another bloodthirster in the back with a Blastmaster again) and began hammering the giant mob of Boyz! Despite the well placed shots, they made a huge amount of their 5+ Invulnerability Saves and 5+ Feel No Pains!

Our Broadsides moved up and engaged the Lootaz. They were wiped clean off the map!

Despite having been heavily hammered by sonic weapons, the Ork Shootas charged the monster mash and began dishing out damage!

Some horrible Khorne rolls happened and the annihilation was nearly complete on both sides!
Fulgrim joined the fray, attempting to kill the Pain Boy in a forced Dual. Despite the overwhelming chances of dying, the Pain Boy survived with 1 Wound left!

I finally remembered to bring in my Reserves! I had been debating whether or not on Turn 2. The whole map was a hot zone and I did not have any good drop points that wouldn’t just result in my instant annihilation. It was decided to not do so by getting distracted.
I dropped my Vendetta in to strafe Fulgrim, but whiffed all six Lascannon shots, though I was able to nick him with a Heavy Bolter. I kept my Veterans Embarked for now. No prime targets yet. Guardsman Marbo had no premium target to go after, so I held him in Reserve still.
Grot Tanks were dropped behind our Hammerhead proxies and began shooting them up. Tanks to some bad Ork rolls, we got away with only mild damage. We responded by moving our roving Broadsides over and obliterating them with multiple chain reactions! Iron Hand Straken sullenly sat still and stopped trying to chase down enemy forces. He was tired of running back and forth to only have the Tau fancy technology steal his kills.

Order of pictures is messed up, but next turn I flew my Vendetta over and began harassing a Sonic Dreadnought. Continuing to botch the rolls naturally.

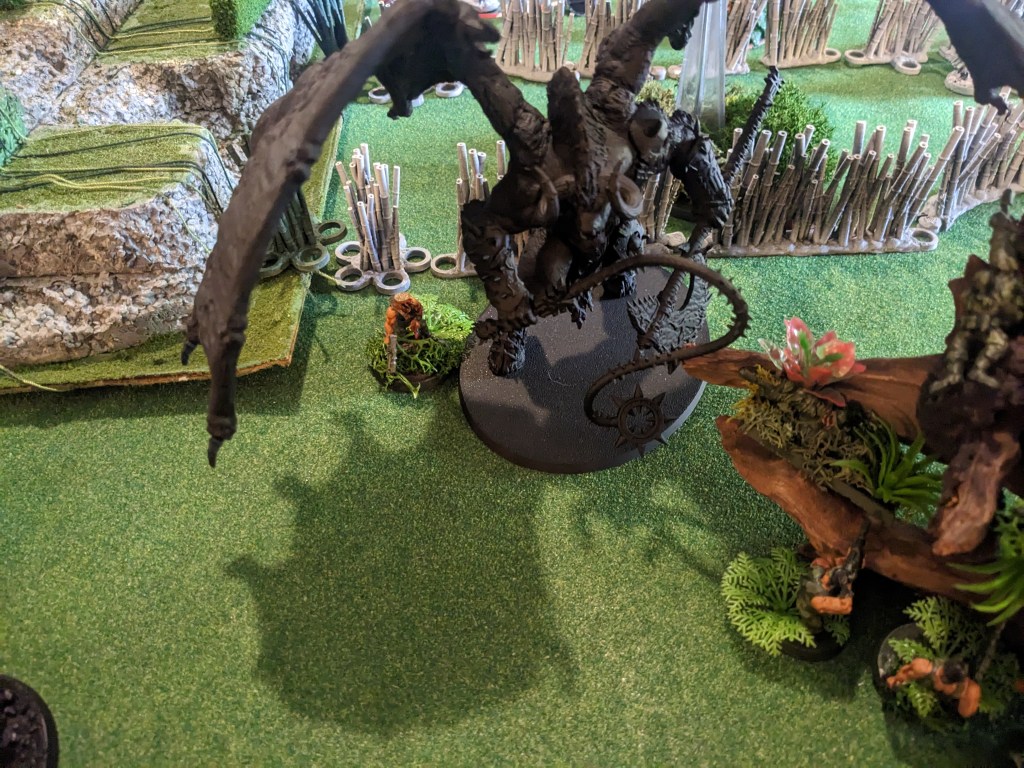
Marbo made his long desired show! Patience (and forgetfulness) is a virtue! An isolated Bloodthirster was tearing apart a Veteran Squad and chasing them down. His special Envenomed Ripper Pistol should have done a fair amount of damage, but I rolled all 1s. His Envenomed Combat Knife on the other hand somehow got through all of the Bloodthirster’s defenses and wrecked him. In return, he survived all of the retaliatory attacks, allowing the Veterans to shove a knife into the monster’s knee.

The Bloodthirster decided to remove the Veterans, and then found Marbo on his back shivving him violently! Once again, failing most saves.
The retaliation swatting managed to smack Marbo, but it took a lot more than a mere super daemon wallop to put Marbo down!
Losing combat rapidly, the Bloodthirster was overcome by Marbo’s rapid assault! Marbo is best suited for the Assassination of Characters and monsters that have big slow attacks. Without any support, the Bloodthirster could not defend himself against the angry action hero! A good lesson on being willing to wait until near the end of the game for the perfect time to strike!
Angron in the meantime had torn through the veil and was back on his feet (if somewhat woozy at 2 Wounds). Fulgrim pulled back to assess new threats (and avoid stray Blastmasters).
Shortly after this, Angron and Fulgrim decided to be buds and charge the last Orks together. Neither made it, but they murdered the rest of them almost to a man. A Catachan sniper (all three who sucked at shooting all game until now mind you) took the shot on Captain Badruck, scoring 3 Victory Points as he yoinked the kill!
This put the Guard/Traitor Guard (no the other Traitor Guard. No the other one) with a Moderate Victory of 11 VP vs Orks at 7 vs Chaos at 4.
This game was skewed by bad dice. As such, Marbo will undergo additional testing before being released to the public as a Lord of War.
