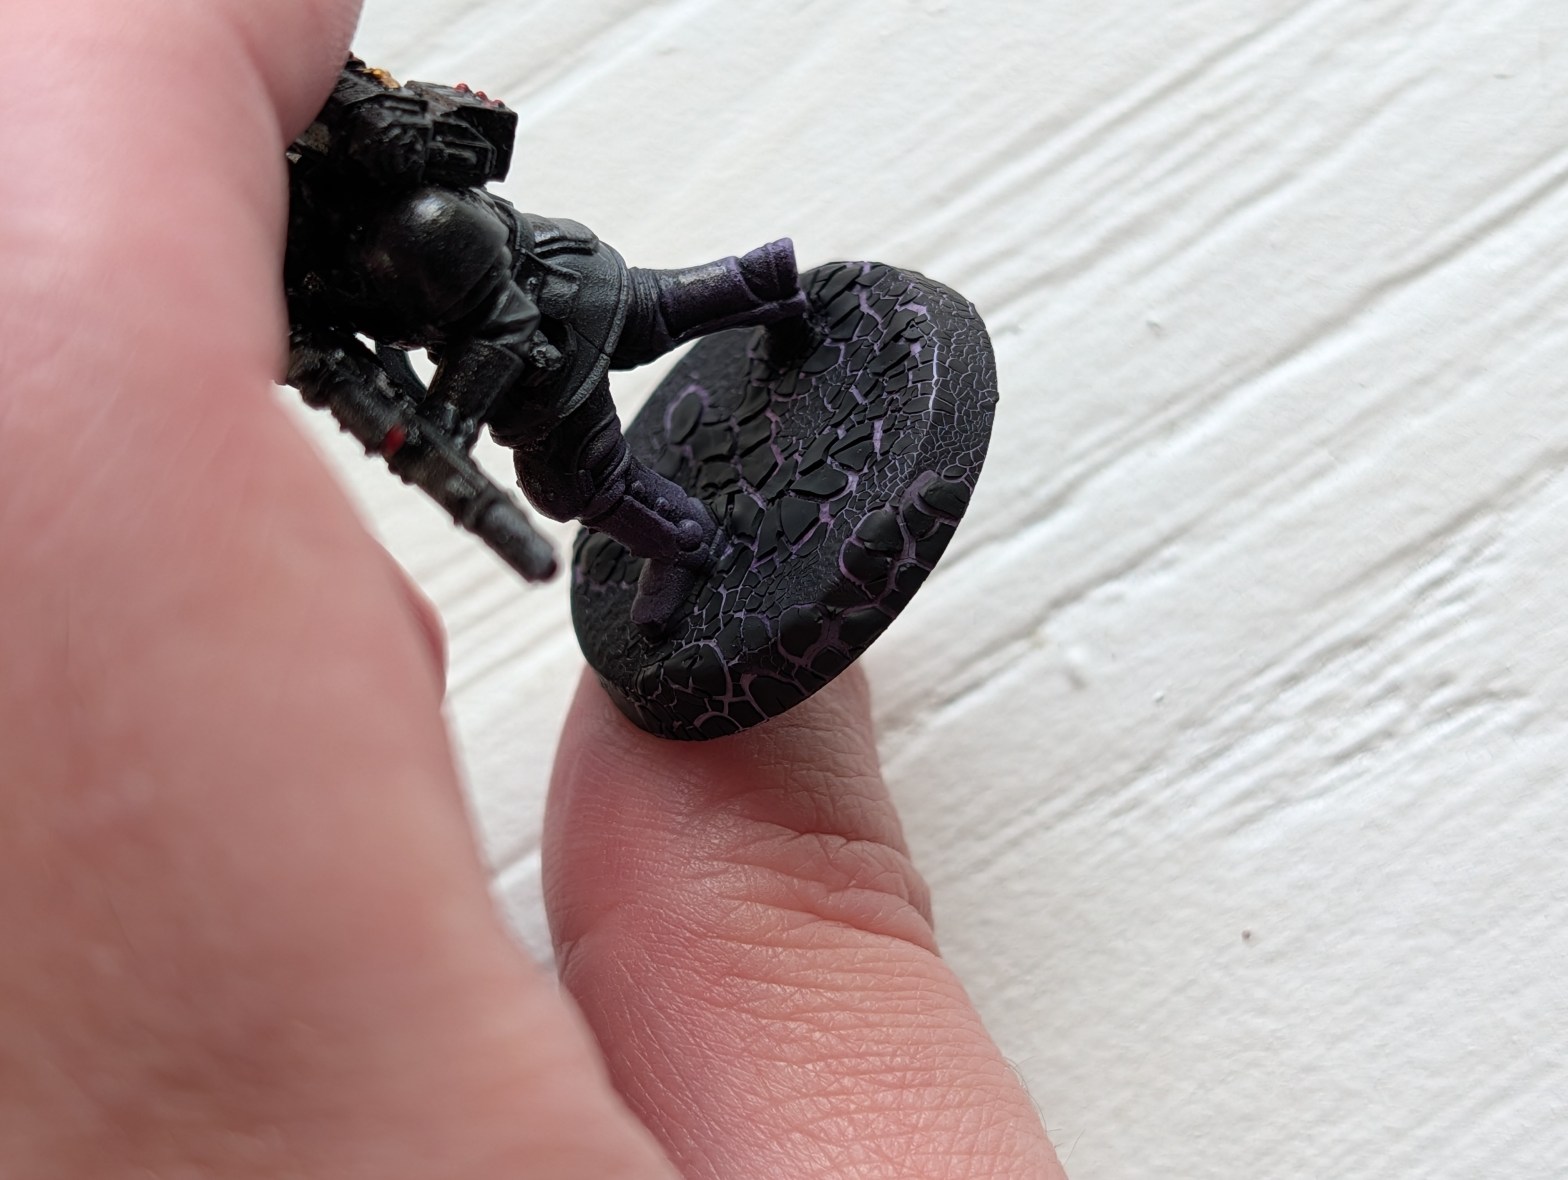
Object Source Lighting is a painting technique to make it look like part of a miniature, its scenic base, or even off camera light is causing a glow or reflection on it. For today’s tutorial, I am demonstrating warp energy showing through the cracks as it breaks down the material world from beneath.
The concept will apply to pretty much any colour scheme you want so long as you follow the basic pattern of darkest to lightest. For me, I found 4 colours to be quite adequate, but you can go as low as 2 or even 5+ depending on what you want to try. You can only learn by experimenting! Remember, we frequently want perfection, but any decent paint job looks amazing once you are 3 feet away and in the middle of a game. No one will notice little defects or imperfections.
In preparation, I have already got my Inquisitorial Kasrkins painted with the exception of OSL and work waiting on OSL to be done. If you want the breakdown of how I got to this point, here is a quick list:
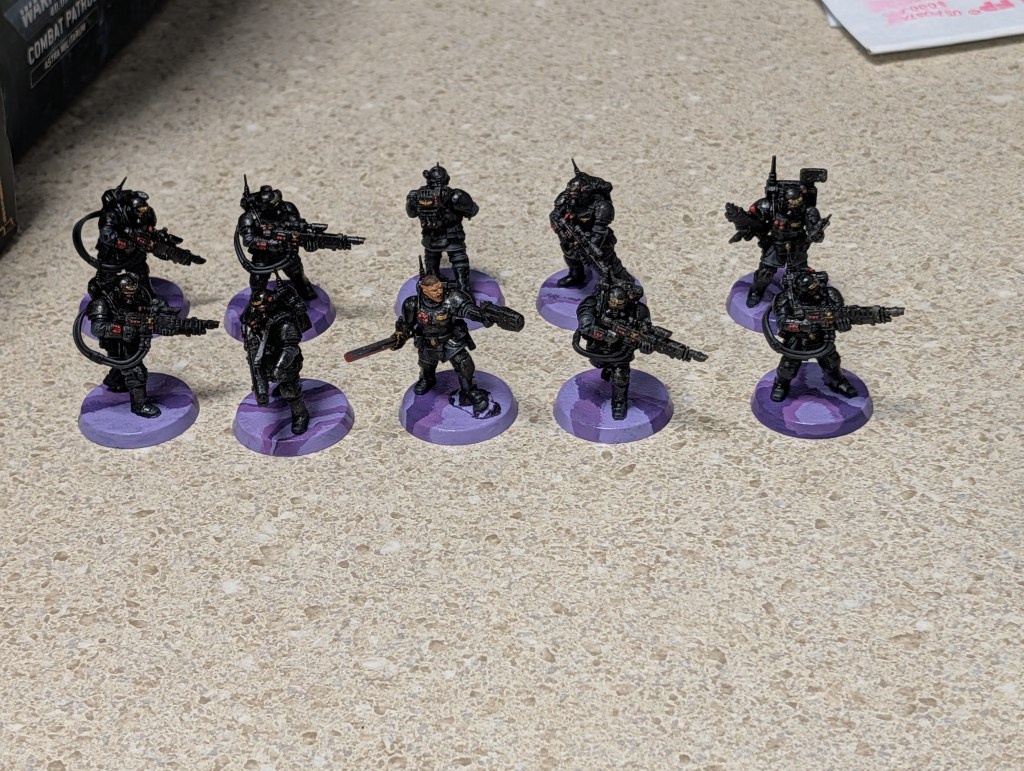
- All hard parts Gunmetal.
- All Cloth Eshin Grey.
- All hard parts Contrast Black Legion, applied medium density.
- Insignia done in Glorious Gold (Game Color).
- All cloth dry brushed in Dawnstone Grey. It is okay if you brush any on the hard parts like the guns and armour, it will give it a worn edge, but I tried to keep it to a minimum.
- Perform the sacred rite of slathering the whole model in a light coat of Nuln Oil.
- Skin for the Sergeant was done by Cadian Fleshtone, dry brushed Kislev Fleshtone, and washed in Reikland Fleshshade.
- All hard parts Technical ‘Ardcoat for a nice gloss finish.
- Red LEDs, optics, etc, were done by Base Mephiston Red, with a slightly reduced area Layer Wazdakka Red, slightly more reduced Layer Evil Sunz Scarlet, and finally emanating source only in Layer Wild Rider Red. I am coming back to these in my next OSL, so look for that tutorial if you want to see them taken to completion.
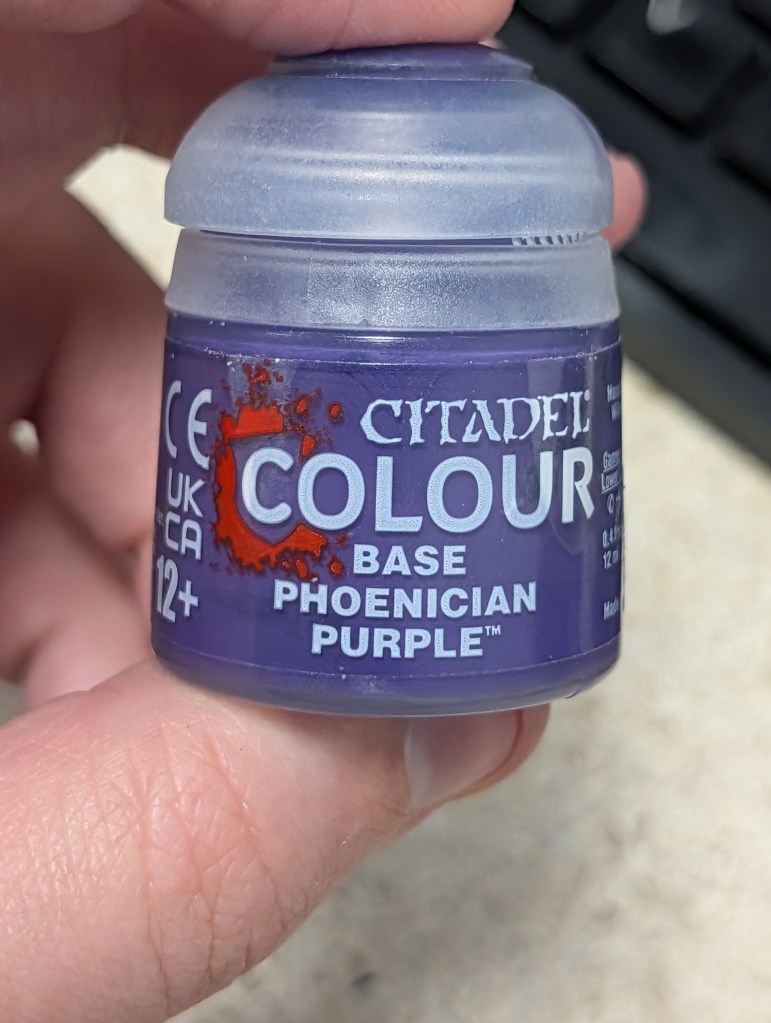
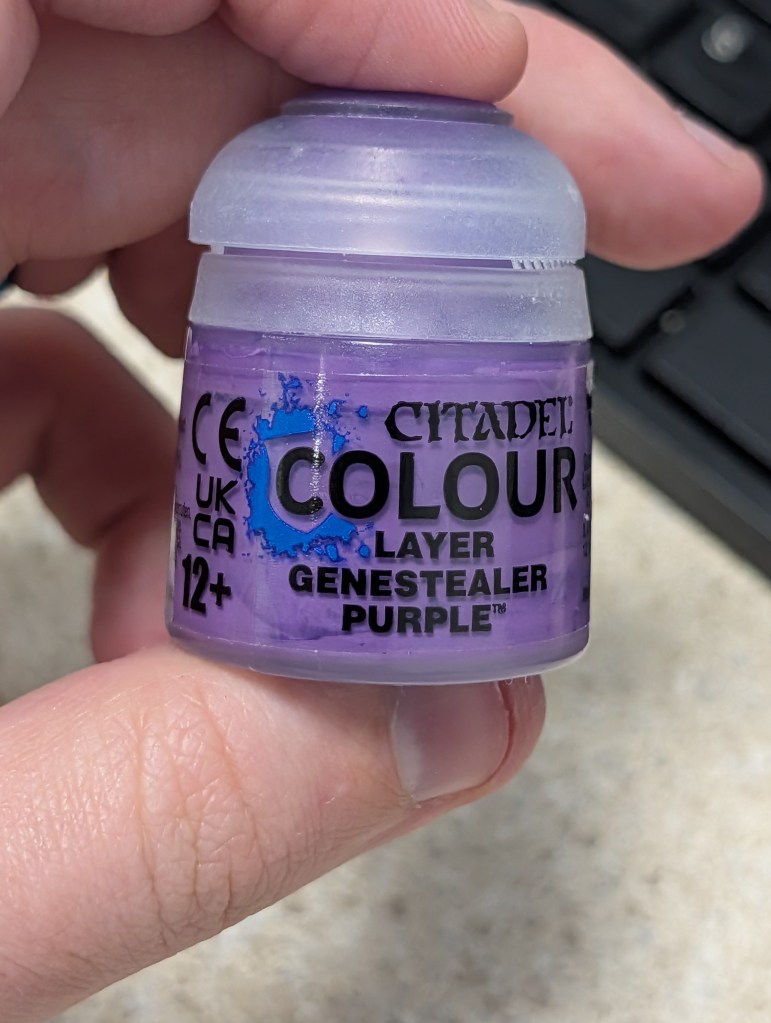
- Base Colours were done with Base Pheonician Purple, Layer Genestealer Purple, Layer Kakophoni Purple, and Layer Dechala Lilac. All of this was coated in Technical ‘Ardcoat to help the crackle effect expose more. We want lots of bright colours showing through, and you can do all sorts of patterns! I’m experimenting a lot with these myself during this tutorial.
First, we are going to start with dry brushing Base Phoenician Purple. This is a nice dark purple. As such, this is a good colour to start with as we explore how heavy you want to apply the effects on a model.
Note* These kinds of brushes take a bit to dry out, particularly in the middle of the cluster. This means your paint will go on drastically different if you clean it in between colours. Because we are using so little at a time, it won’t contaminate other paint pots and will even help blend the lighting!
If you are like me, your first reflex is to get a nice shade on the model. However, we are not wanting that! A mid-level ground radiance should be fairly subtle and not dominate the model. Load up your makeup brush, which is the easiest way to do OSL and far less messy and involved than an airbrush. These are slowly becoming more and more available in brush kits. As you can see, mine is quite large for the model but still doable. I have some smaller ones ordered now that I have got the technique down.
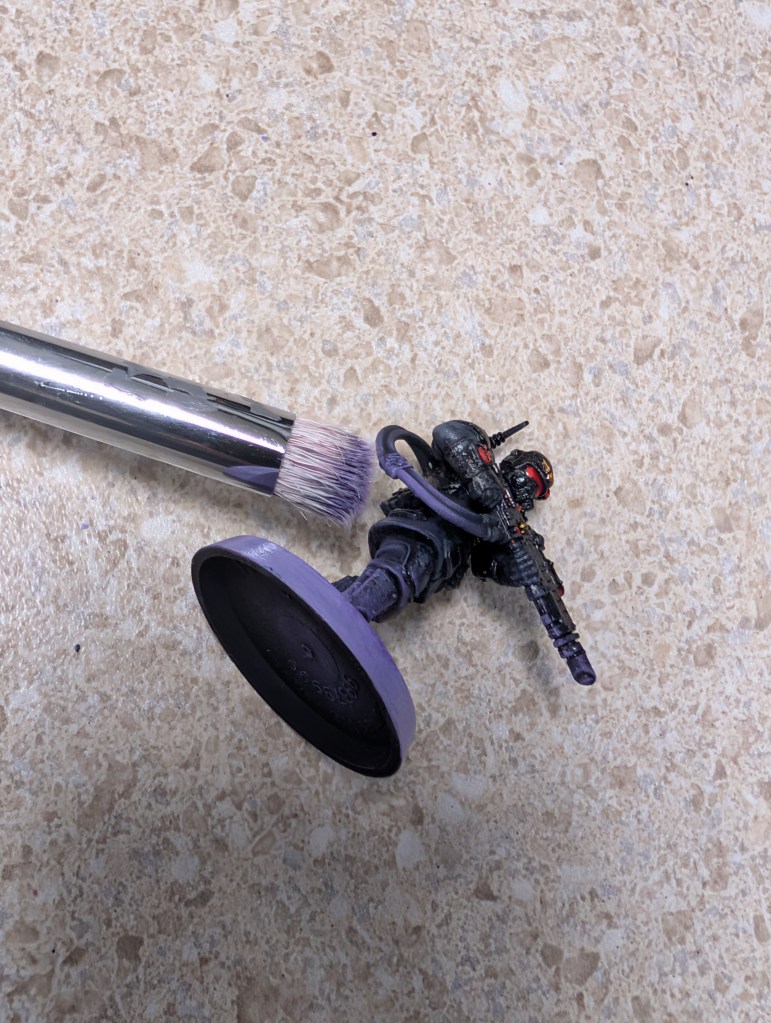
Do a light brushing. You should barely see anything left behind. I like to use the bottom of the base as a test point.
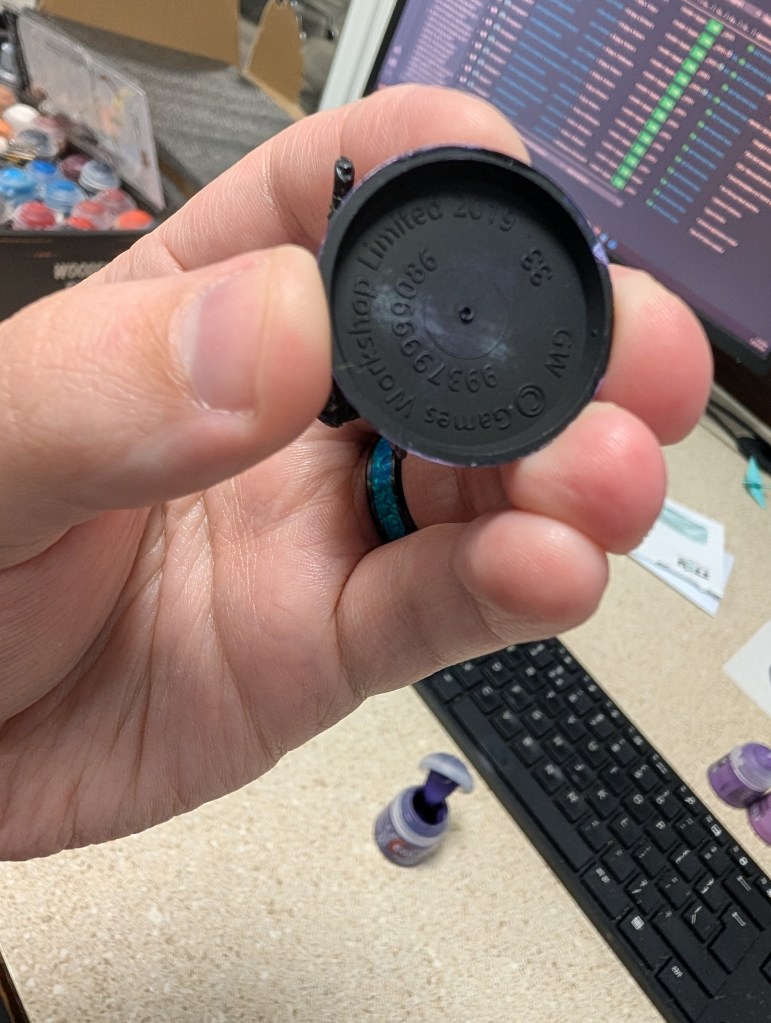
As you can see, there is barely anything visible. This is what we want! We want to catch anything hanging low like bayonet sheaths, drooped cables, and lowered muzzles.
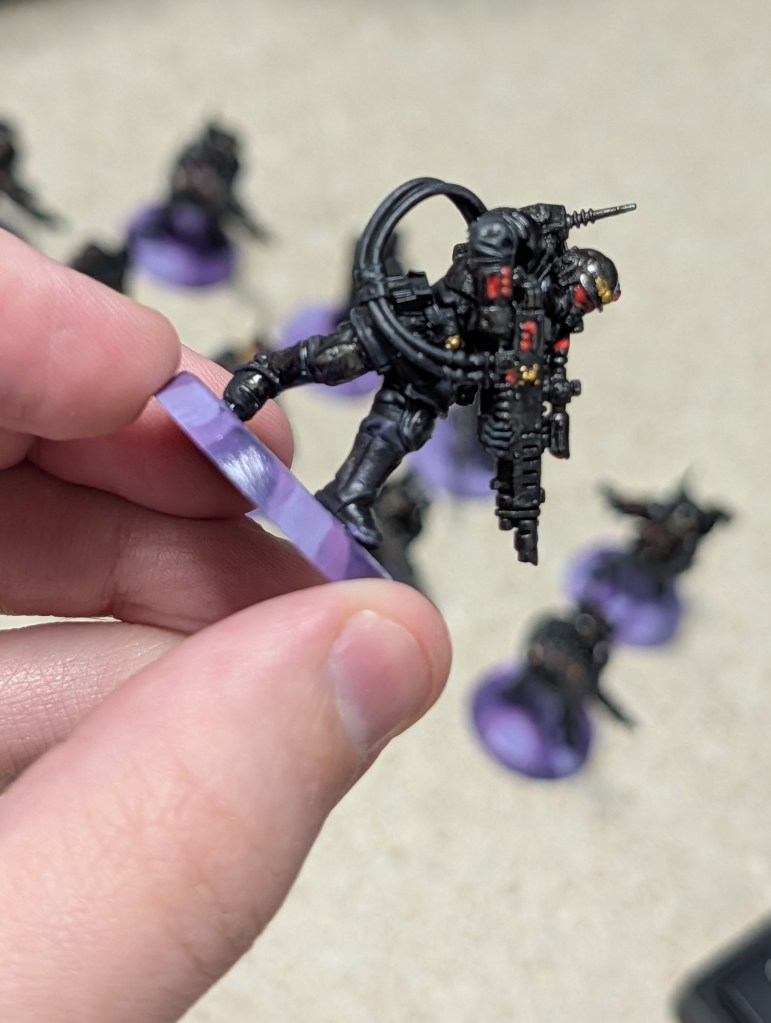
Next, we are going to do the same thing with Layer Genestealer Purple. Keep in mind, as we get lighter in colour the more obvious even the faintest amount will be. This will take practice. Believe me, I’ve got some seriously glowy glowy inquisitorial guardsmen running around!
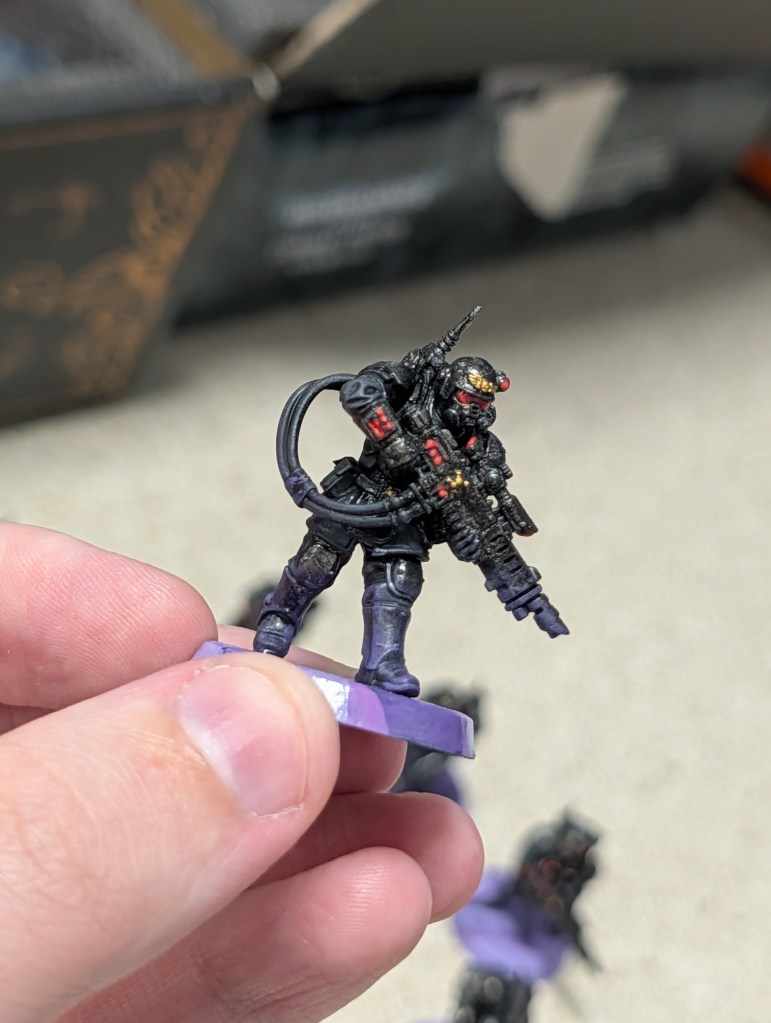
If you did it lightly enough, you can now easily see details and raised edges popping a bit now.
Continuing down our path of insanity, we are now repeating the process with Layer Kakophoni Purple.
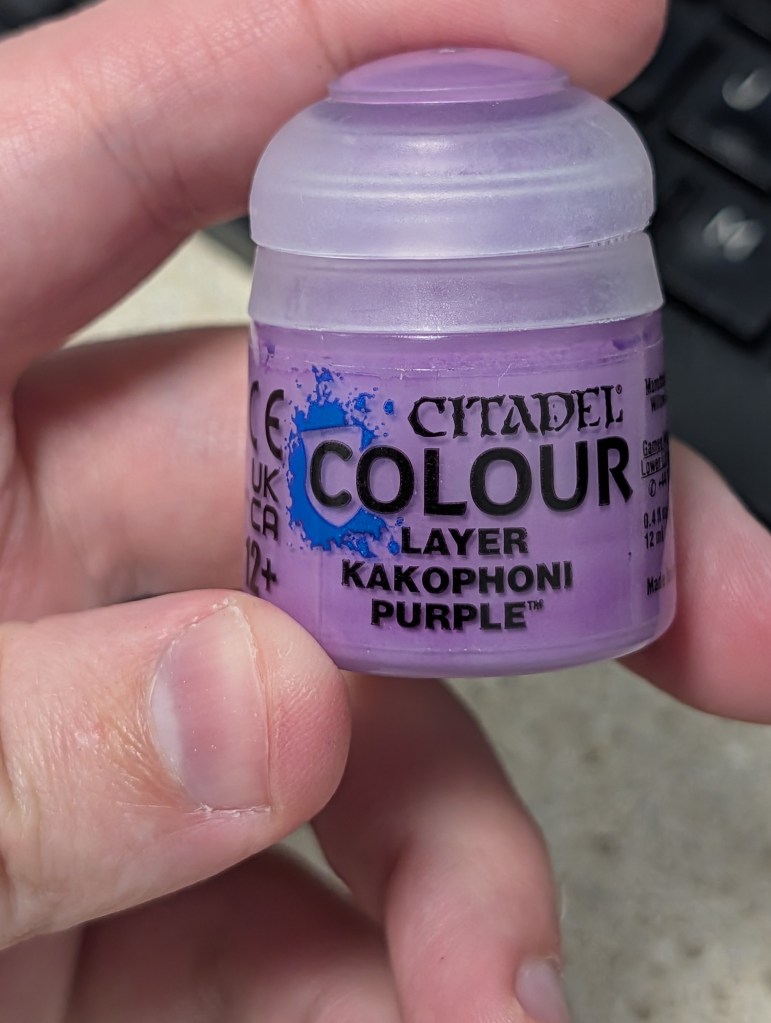
Now we want to be very light with this coat. It should make the edges pop, particularly closer to the feet.
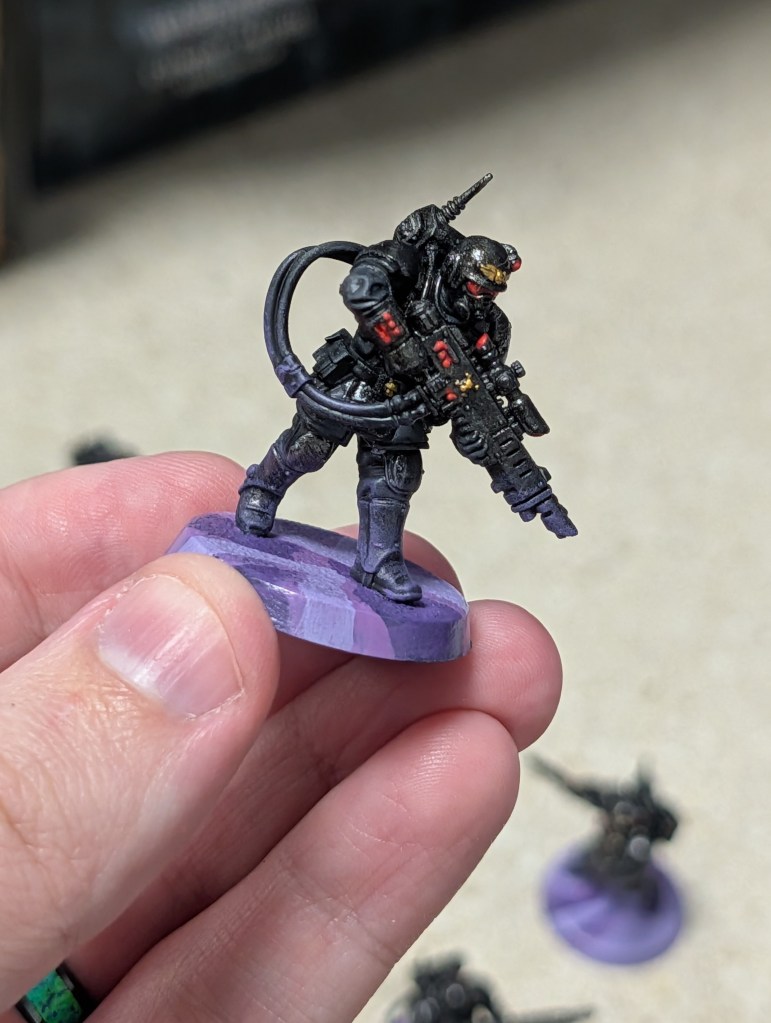
Lastly, Layer Dechala Lilac!
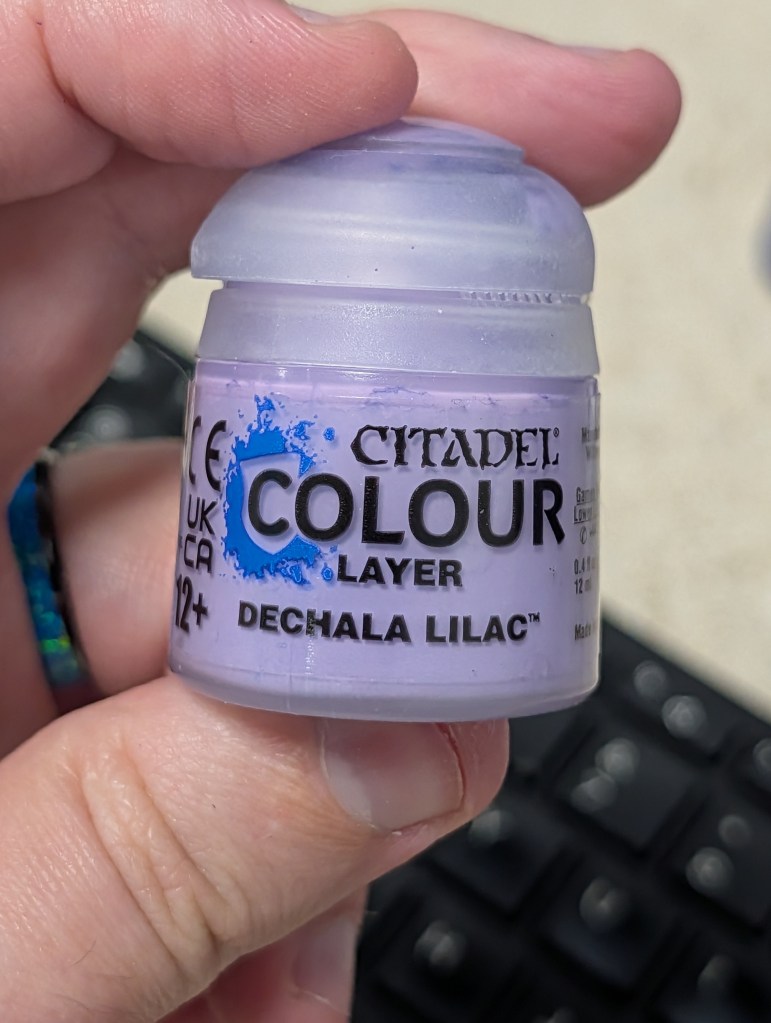
Only the faintest amounts at this point. It should be almost imperceivable at this point unless someone is really looking for it. This is how we trick the eyes into the illusion.
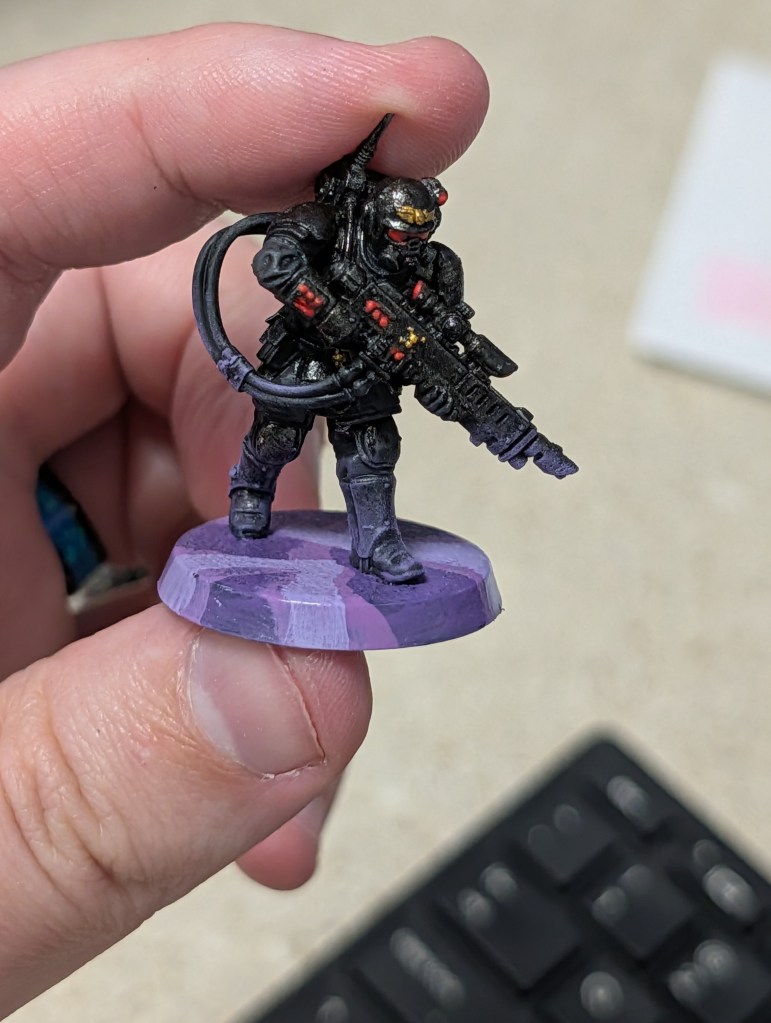
You can add a layer of gloss coat, BUT, it will alter the colours slightly in some cases and for me tends to break the illusion. I have found with experimenting that I prefer to dry brush OVER the gloss and leave it that way. That being said, it’s a minor difference and you should definitely try both! Here are some various angles and shots.
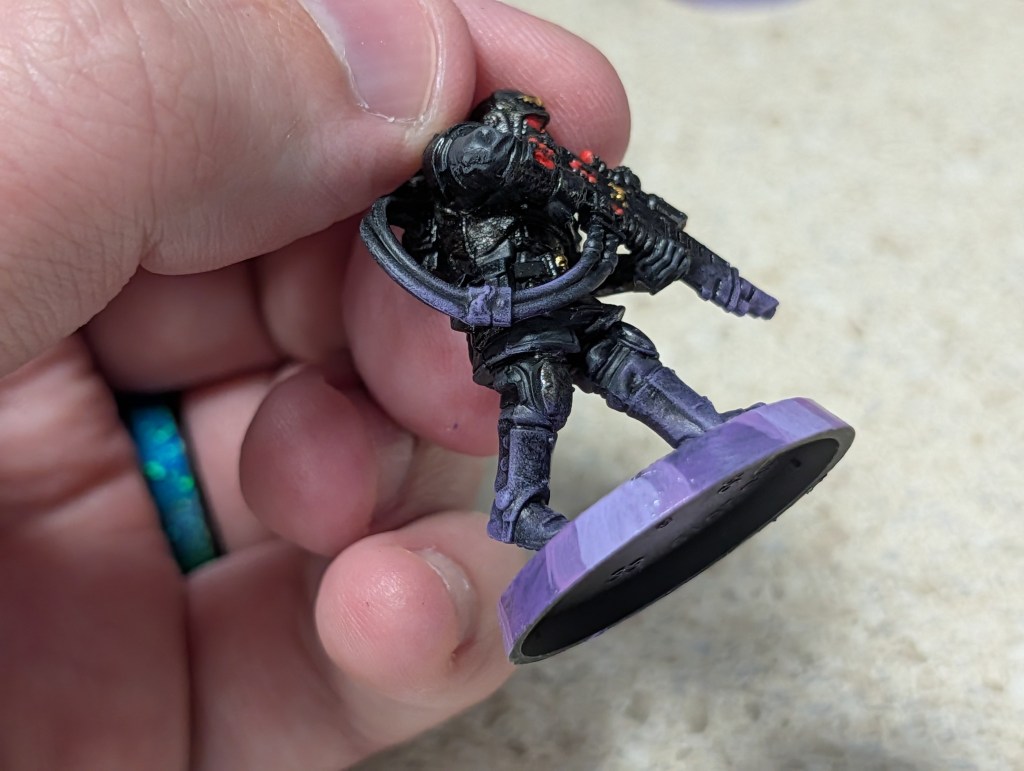
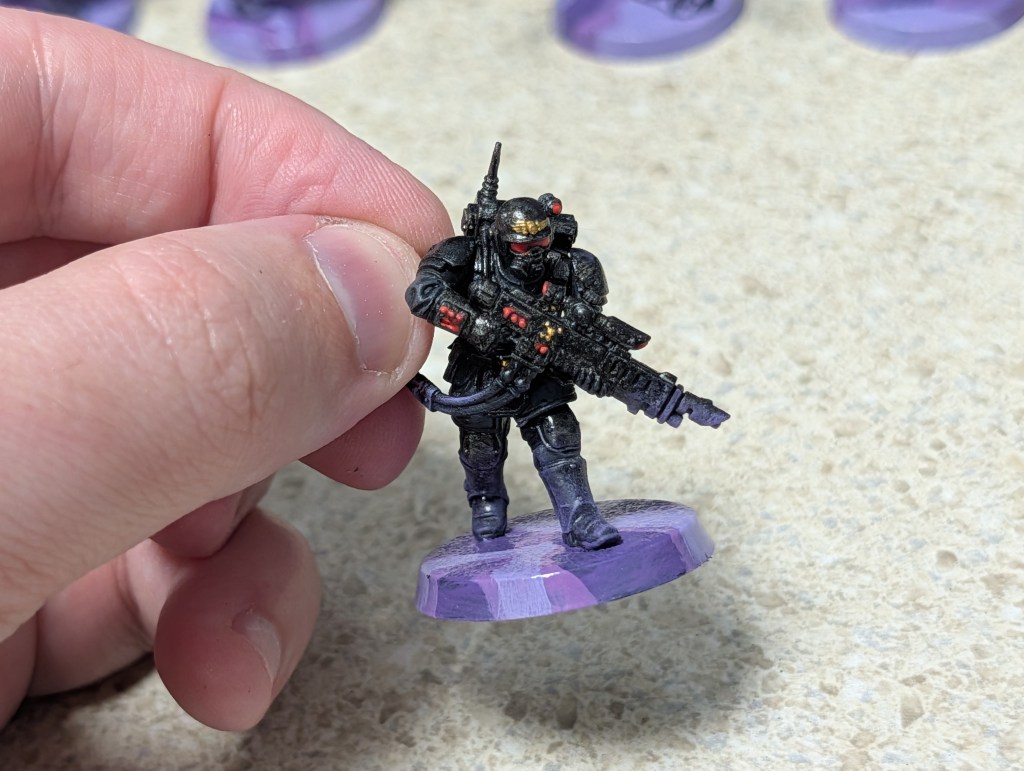
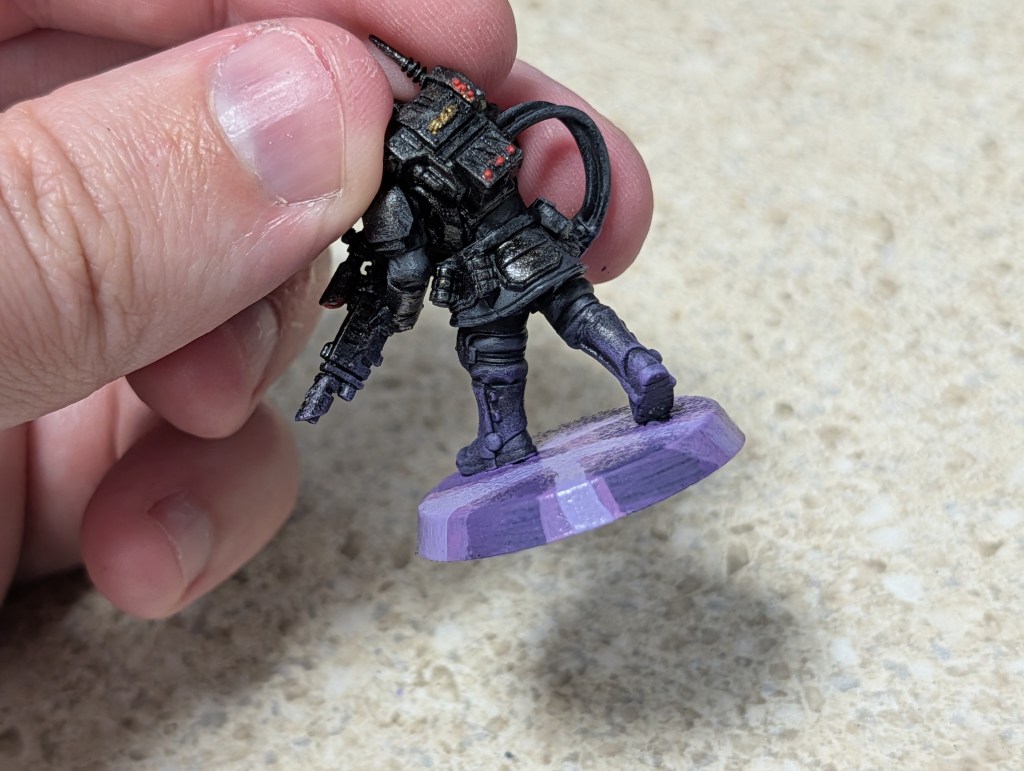
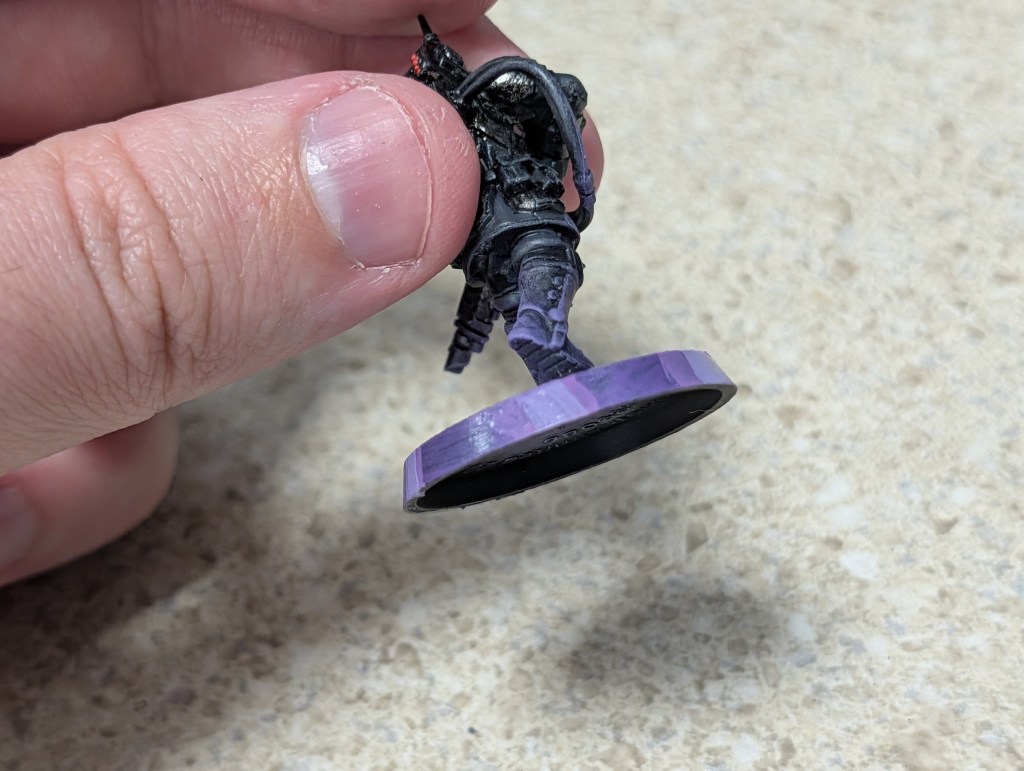
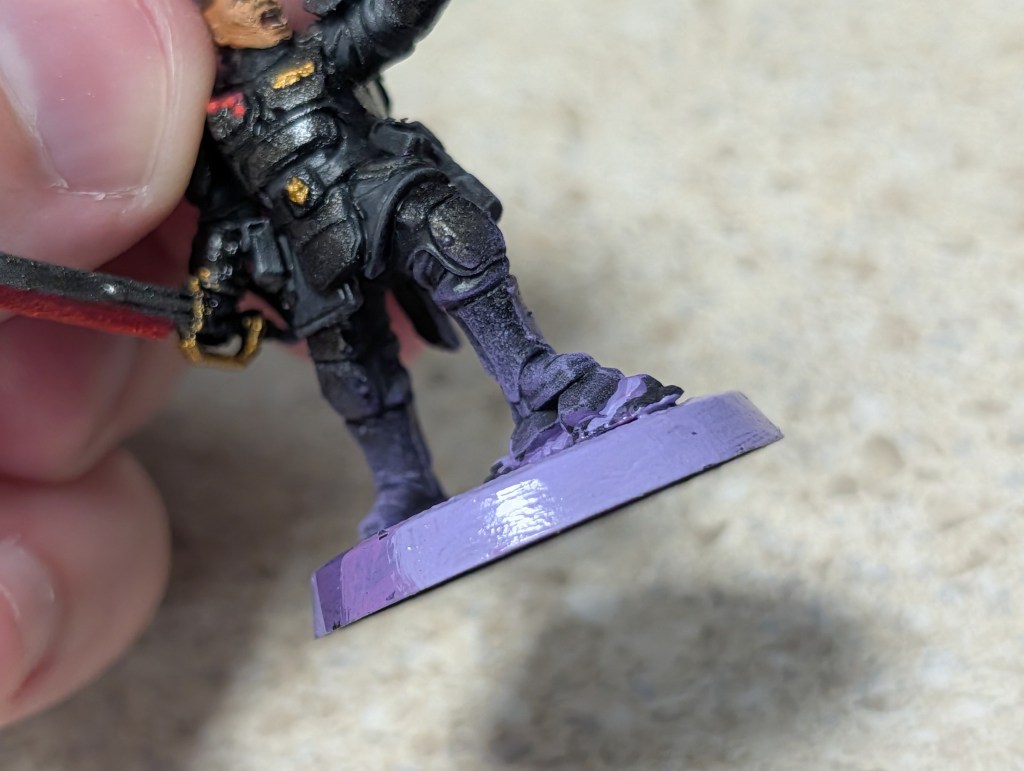
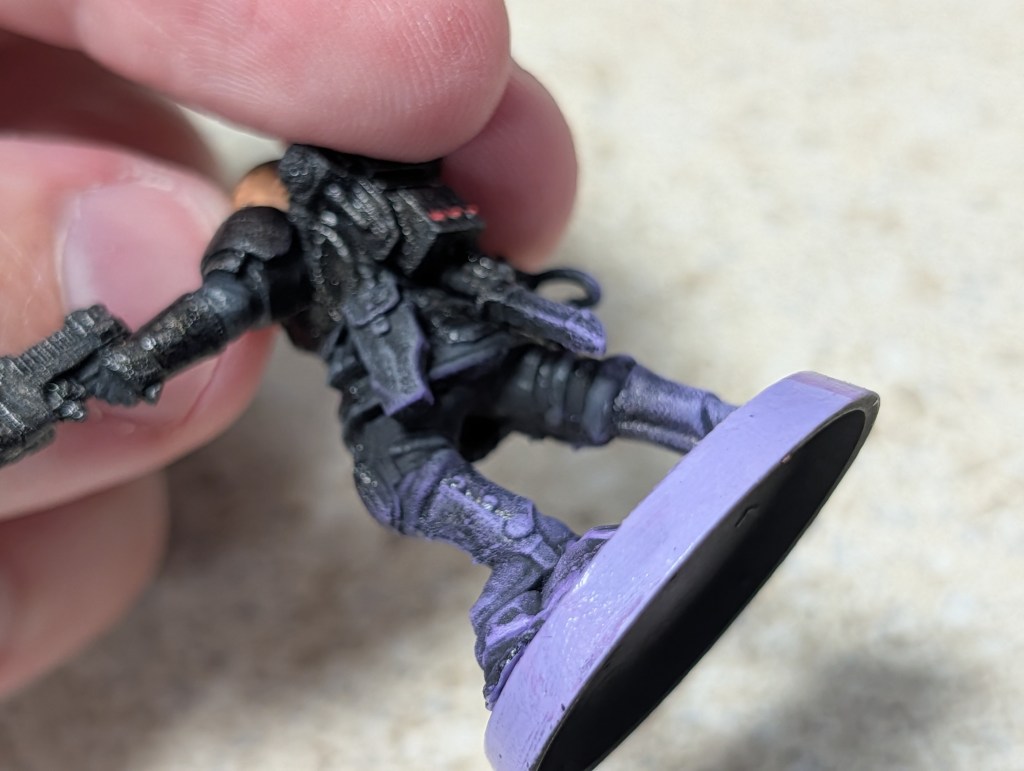
Lastly, a stupidly thiccc layer of Technical Mordant Earth. I personally despise base rims, so be sure to include the rim. When I say thiccc, I mean stupid thiccc. It shrinks a lot (which is the point).
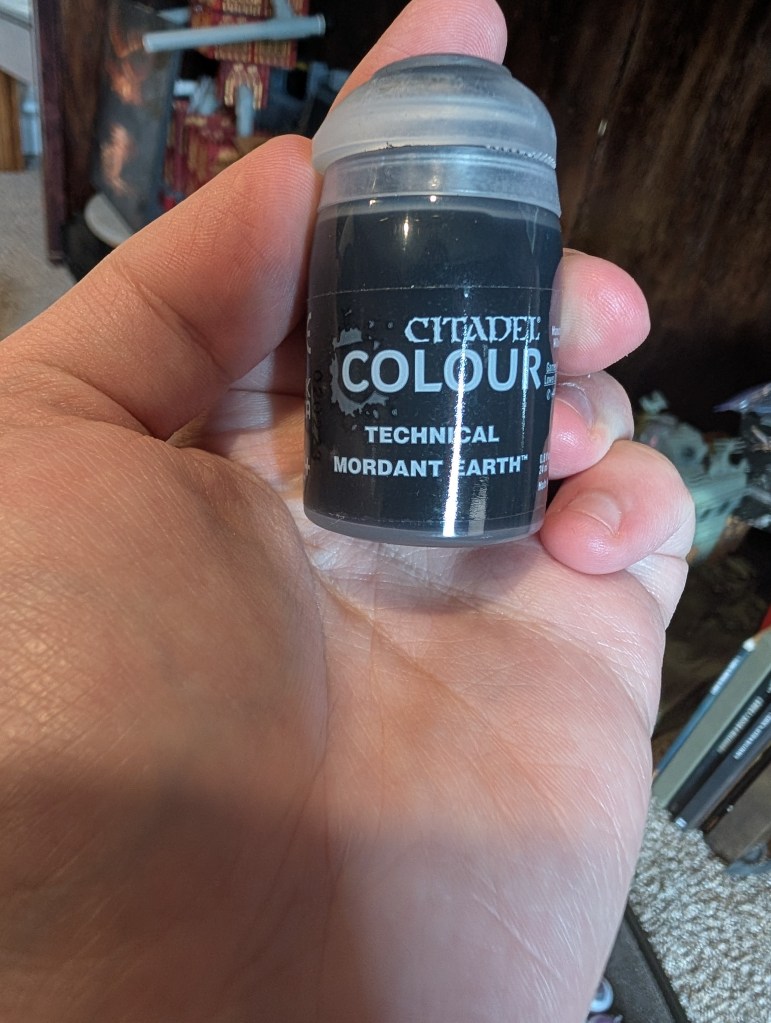
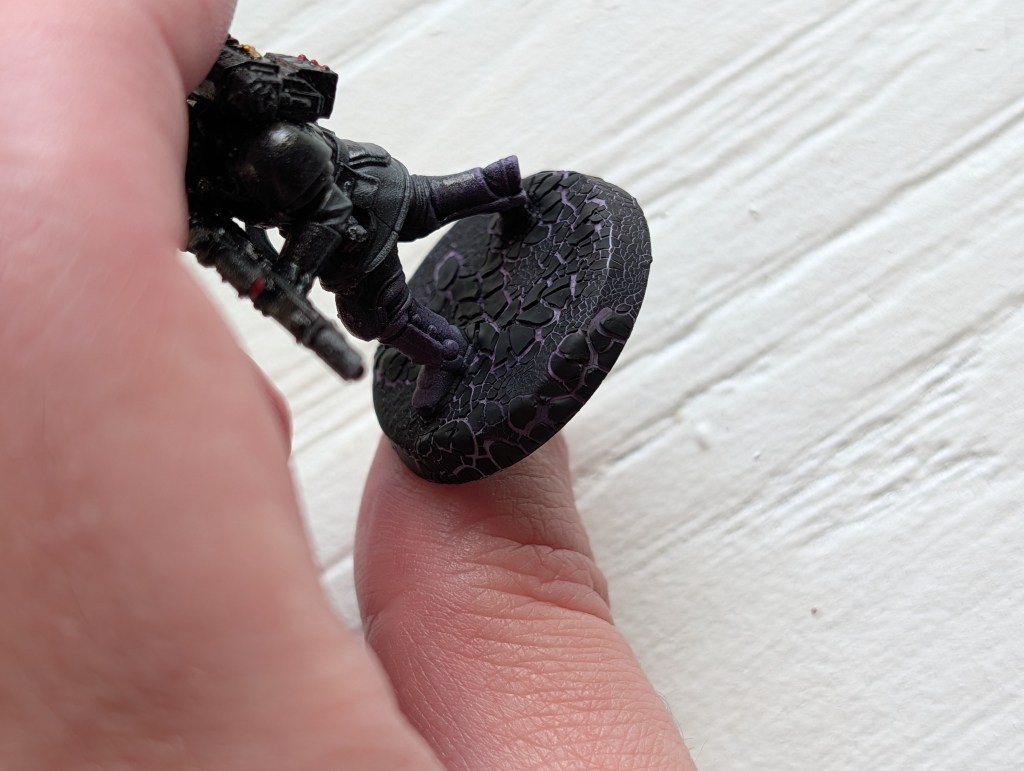
And behold! I didn’t put it on thiccccccccccccccccc enough. This is about 1mm, with the heavy flakes being about 2mm (pre drying). I’ve heard of some people going as high as 3mm, but its really hard to do that on the rim. I’m still dialing this in myself.
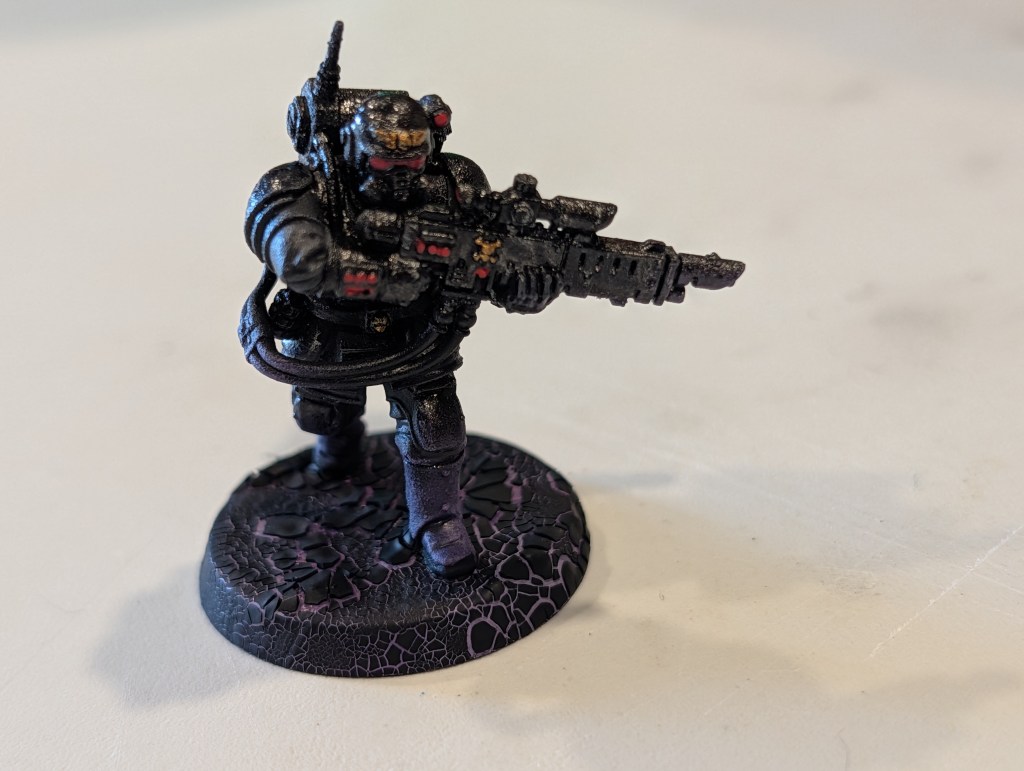
But here you can see the light radiating from the base. It is just a subtle effect to bind the army together.
Stay tuned for my next ones! We have OSL Plasma Coils and OSL optics/LEDs coming up next!
 Alternate 40k Rules