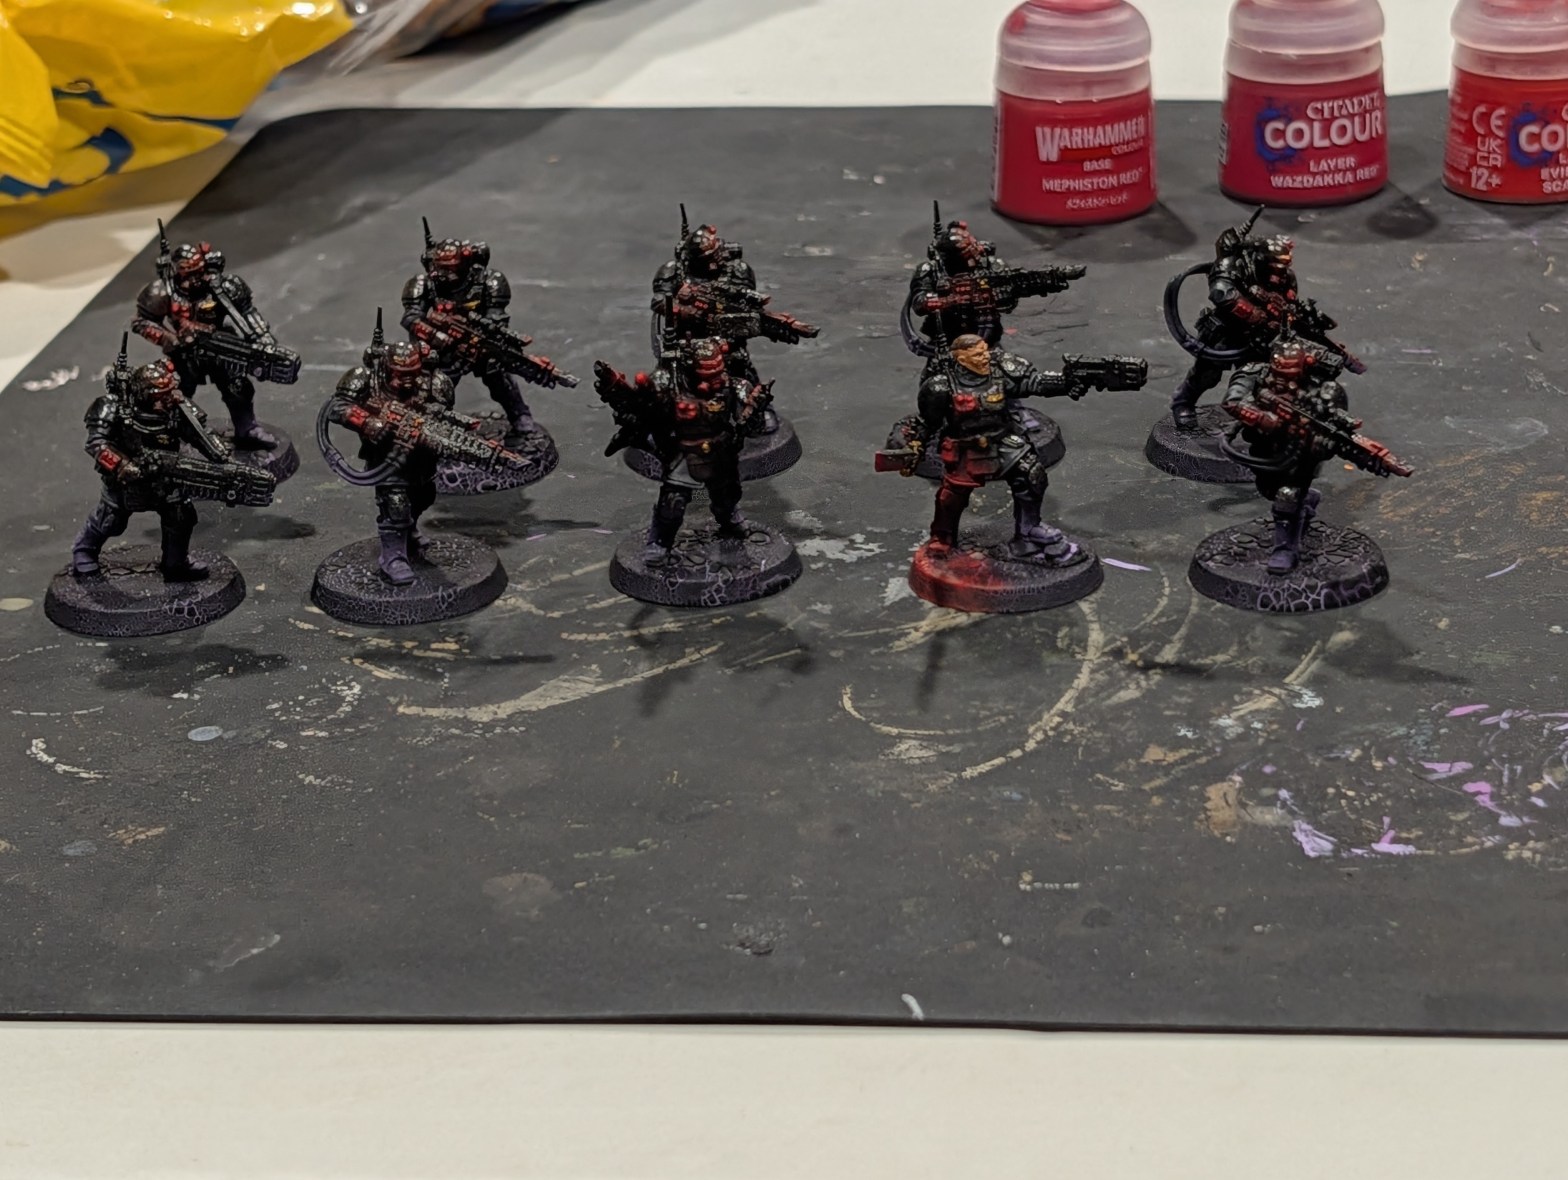
Hey everyone! Today we are going through the second OSL effect on my Inquisitorial Stormtroopers. I forgot to mention that these may seem a tad speckled. That is because the rattle can did not do a smooth job, and when combined with the gloss coat is more noticeable. The camera makes it look worse than it is. Regardless, the techniques are the same.
Leading up to this point, All Sensors and the power field of the sword has been done with the following in slowly smaller areas layered up on each other. Base Mephiston Red, Layer Wazdakka Red, Layer Evil Sunz Scarlet, and the middle dotted with Wild Rider Red. You do not have to do the sensors and such ahead of time, but for this tutorial I did so to focus on just the glow effects around them.
We are going to be exploring three different lighting levels today. Sensors are dim lighting, meaning we are only going to do a little bit of effect. Powerful optics or lights are going to have a bit more work, and the power field will have the most intense lighting.
When doing multiple OSL effects, it is better to work on your lowest priority to your highest. Last OSL was for the ground lighting, a low-level illumination from beneath the surface. The Power Sword is going to overpower this lighting, so I did the purple prior, allowing the red to dominate it. In turn, I will lastly be doing blue plasma coils and glows, which will dominate and sensors in overlap areas.
First we are going to use Base Mephiston Red. I personally LOVE the round makeup style brushes for this. However! We are doing some really tiny areas today. To help reduce my surface area, I took a very long-haired brush that was no longer in tip top shape and cut it down to make a short barrel style brush.
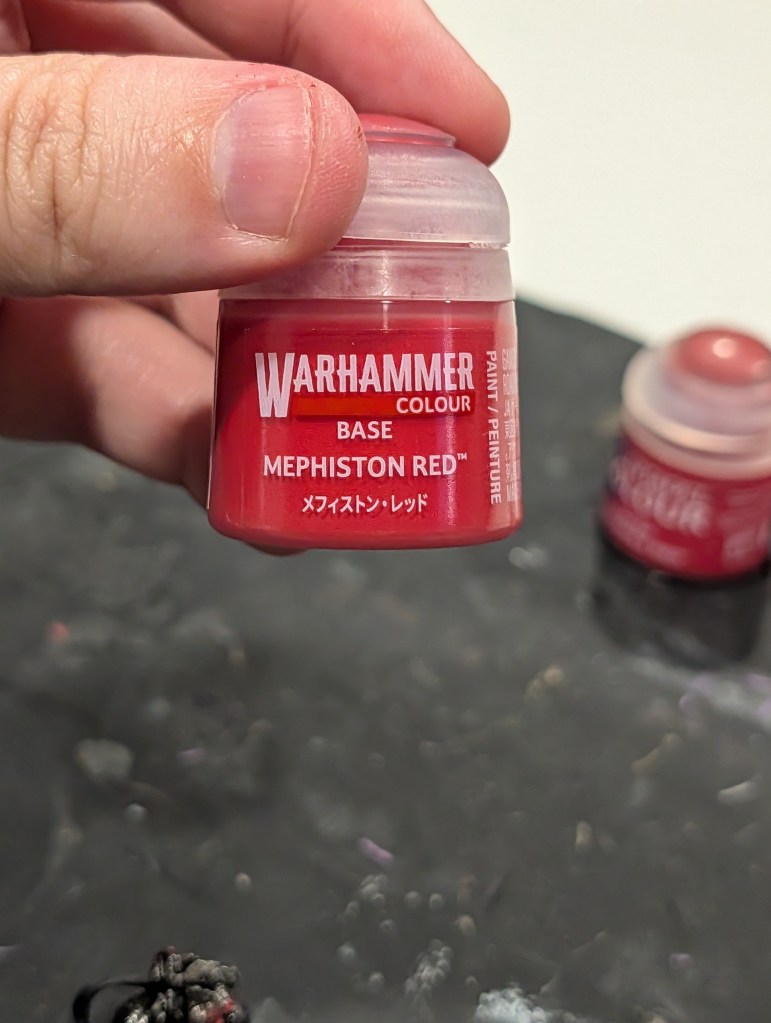
We want to get enough paint on it to leave only a tiny bit of red behind. I use a washcloth sacrificed to the painting gods. What I do is load up the brush by dipping it, wipe it vigorously on the cloth until it leaves almost nothing behind, and then test it on the bottom of the base. It is not uncommon to need to dip and wipe twice when setting up for the next colour.
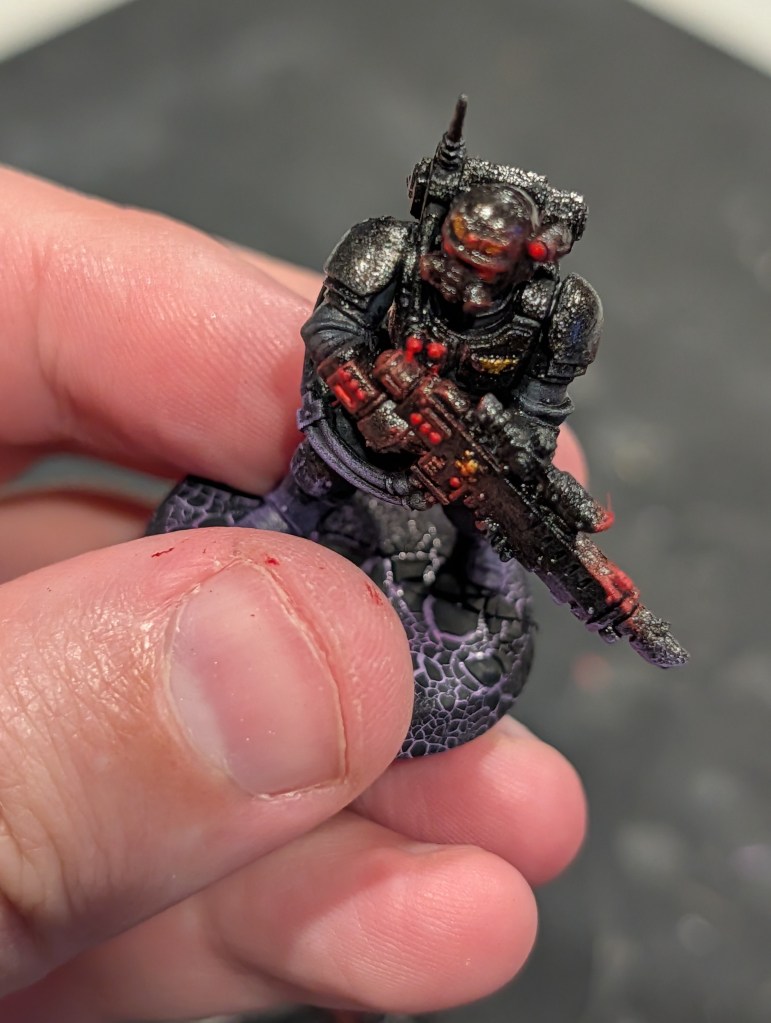
Areas we want to lightly hit is immediately around the sensors, optics, etc. In this case, the wrist pad, body cam, upper respirator, helmet lip, side of the helmet where the camera/light is mounted, power indicators on the backpack, and directly in front and behind of the scopes.
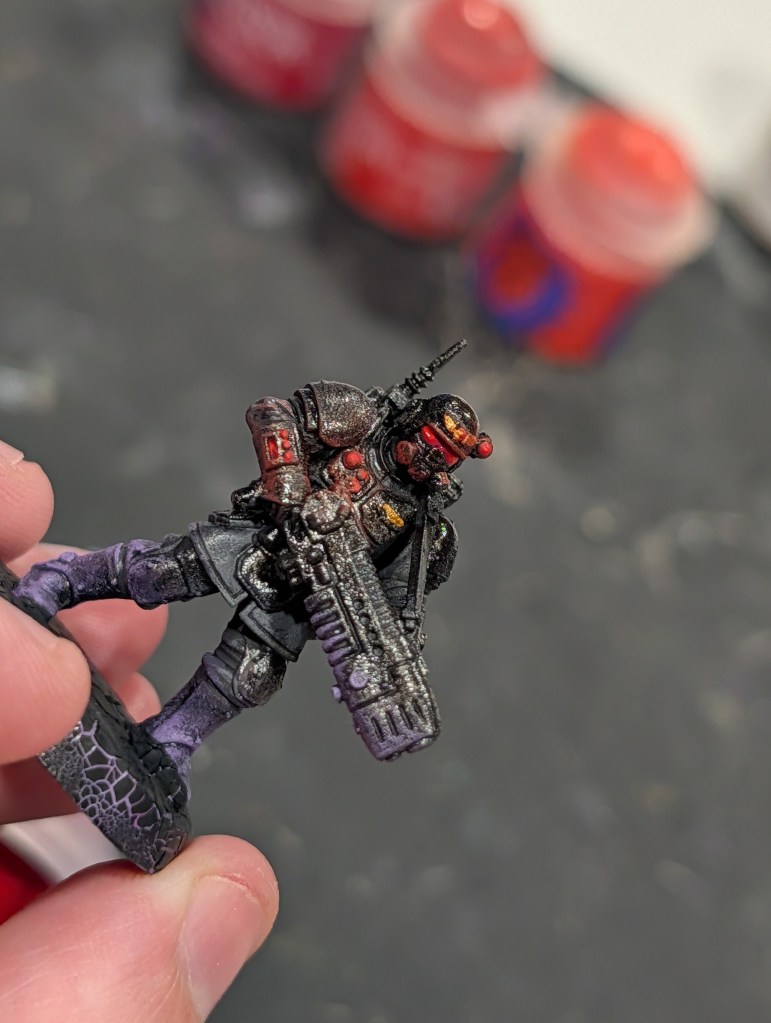
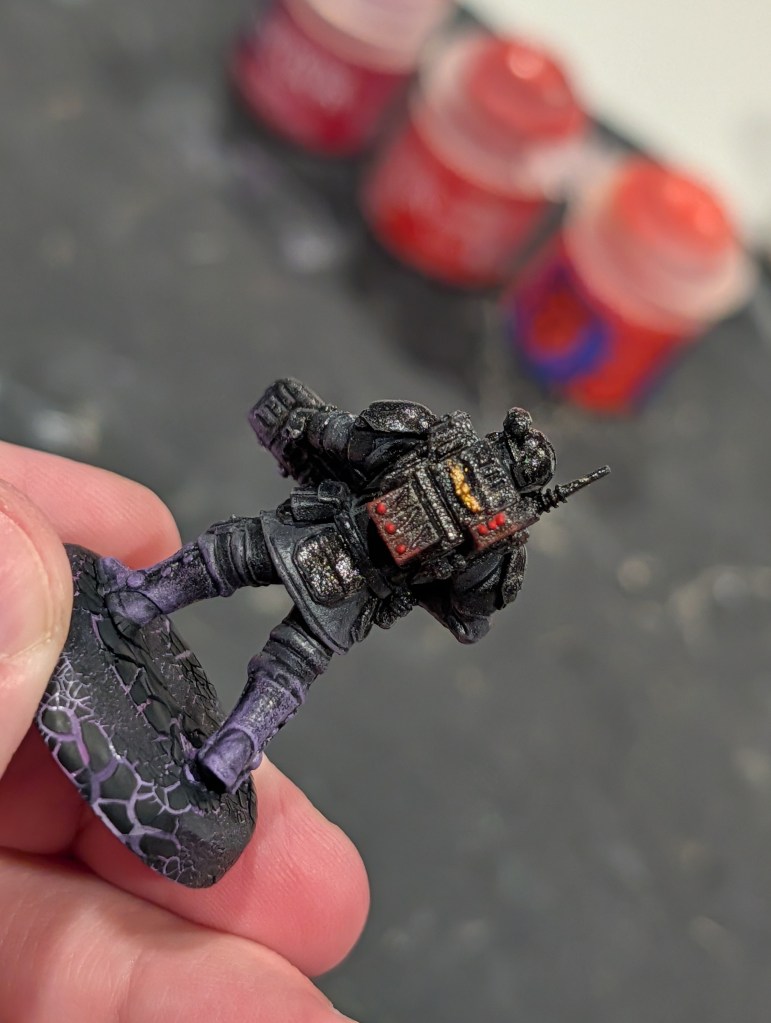
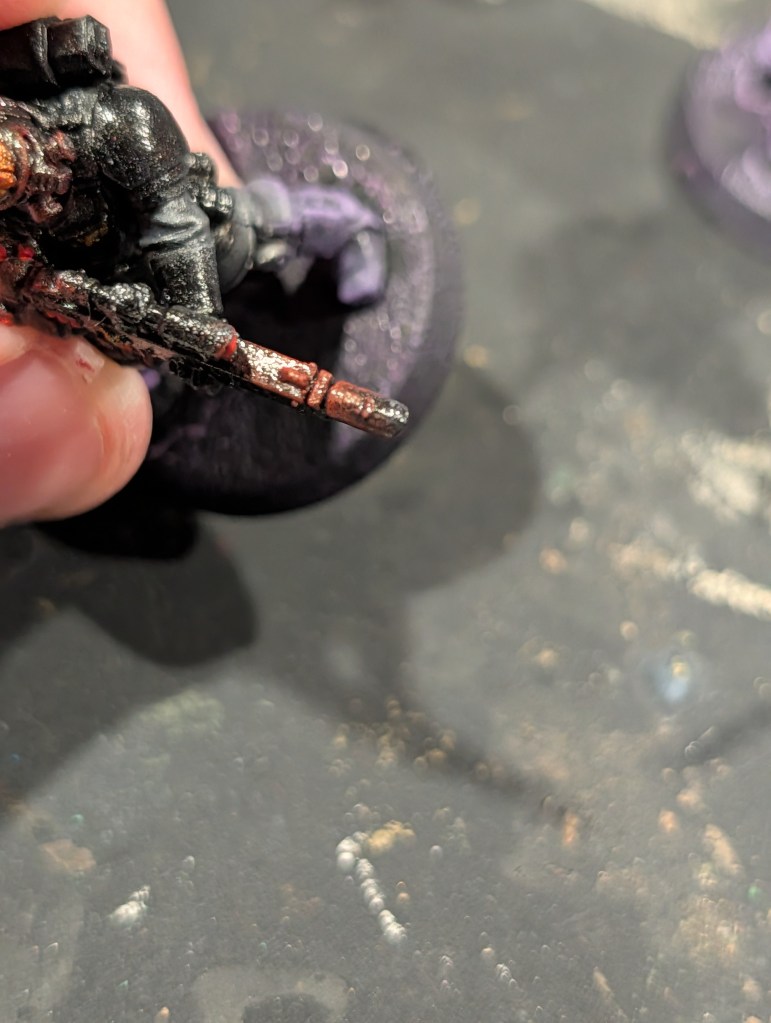
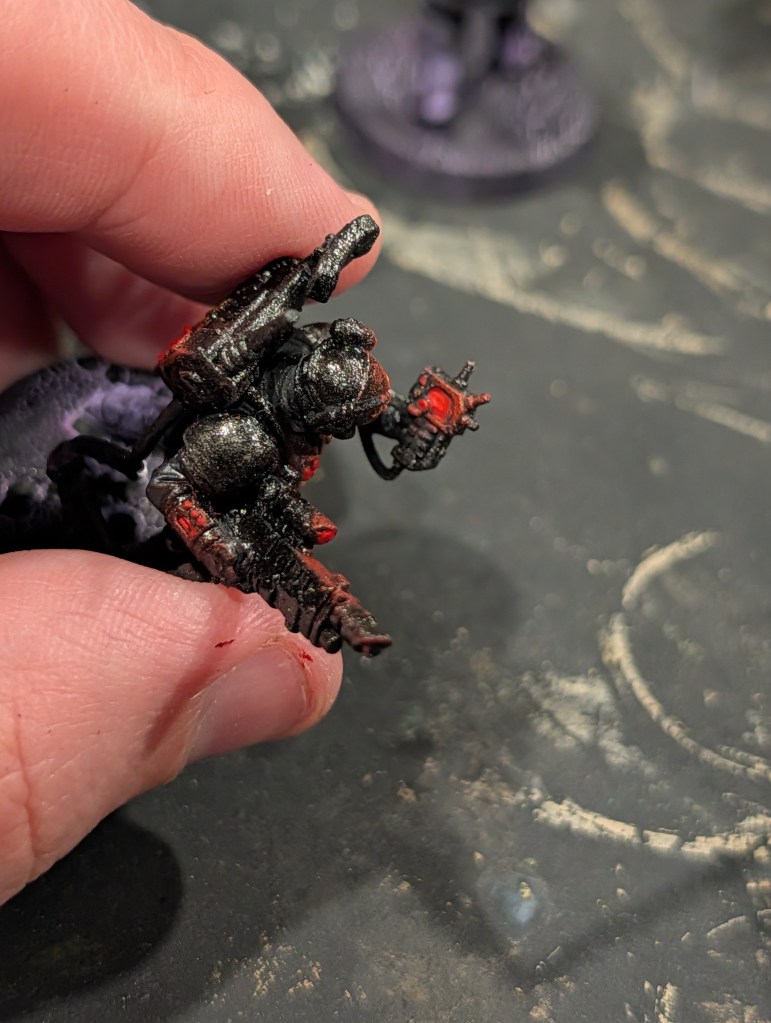
For the Auspex Array, we also want to hit the front of his helmet with a low level lighting effect.
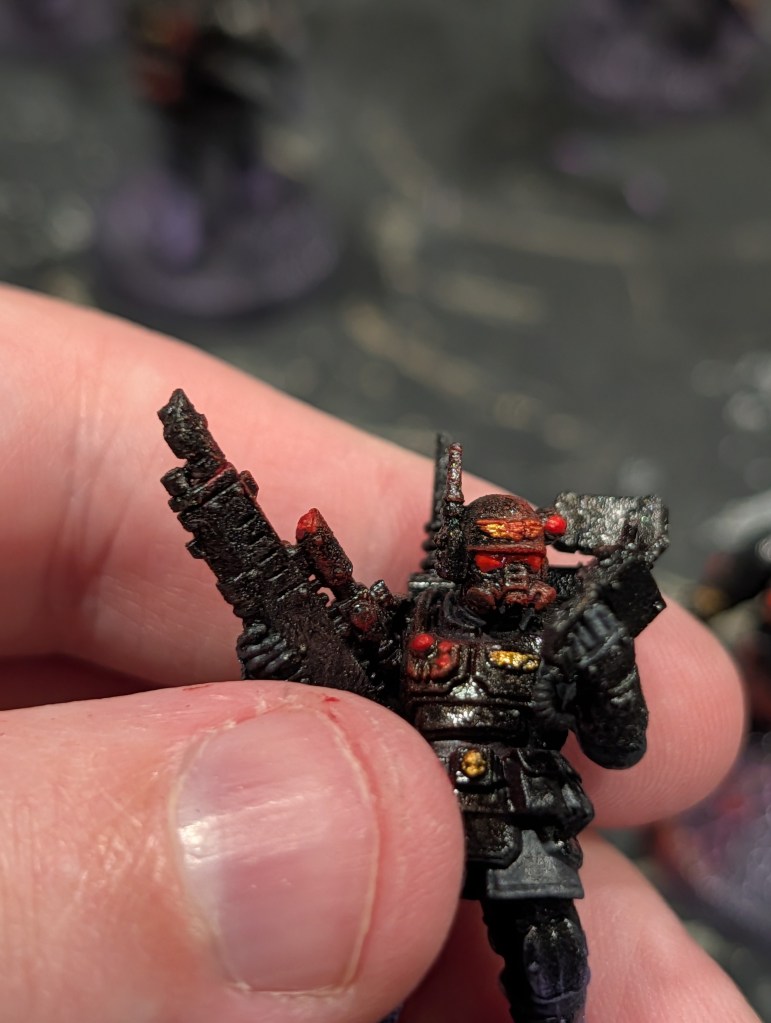
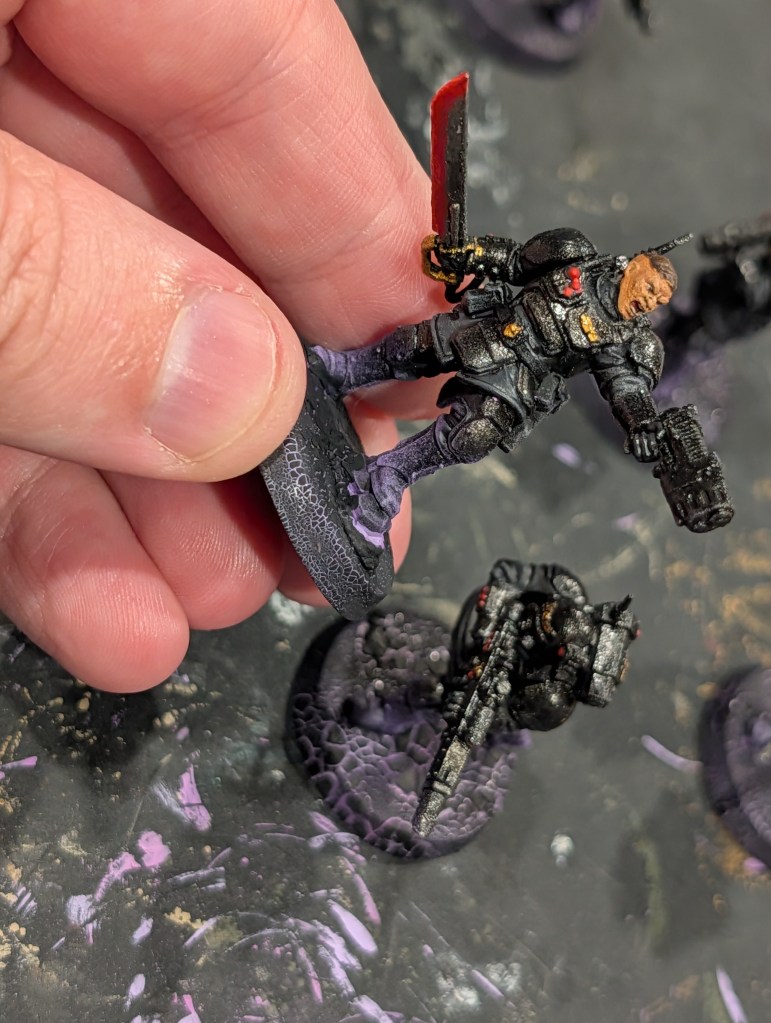
For the power field, we want to hit a larger area. With a dark base, it helps drive a darker environment, so the light will carry further before being washed out. I represented this by hitting the leg, base, and part of the belt area based on the positioning of the blade.
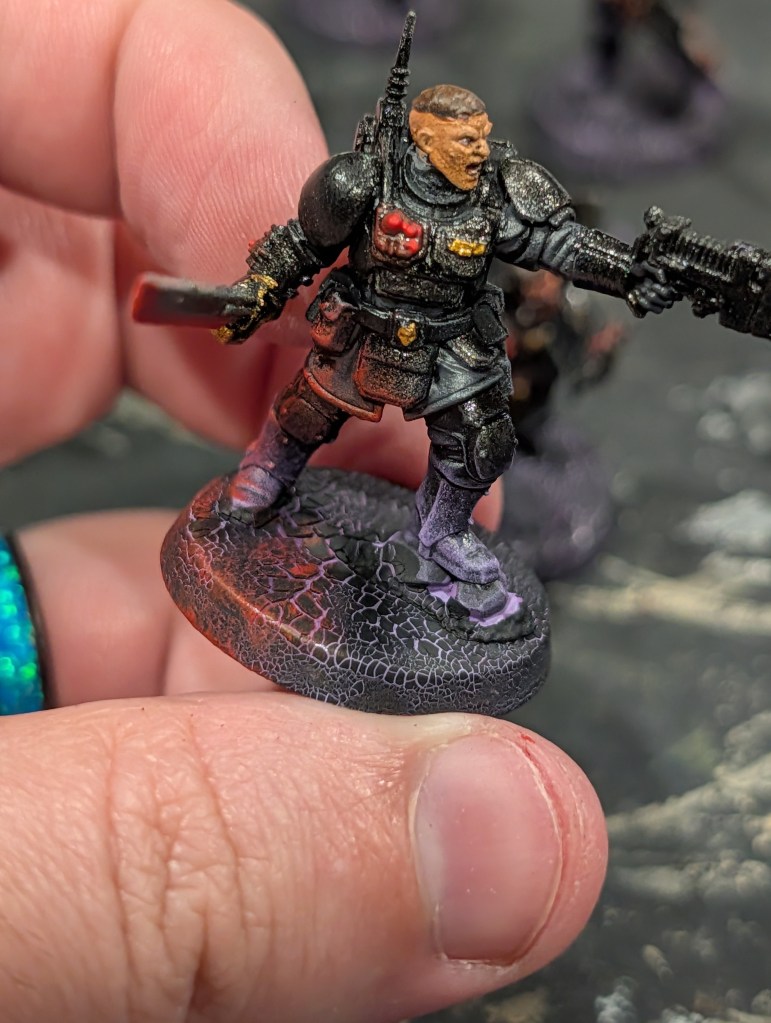
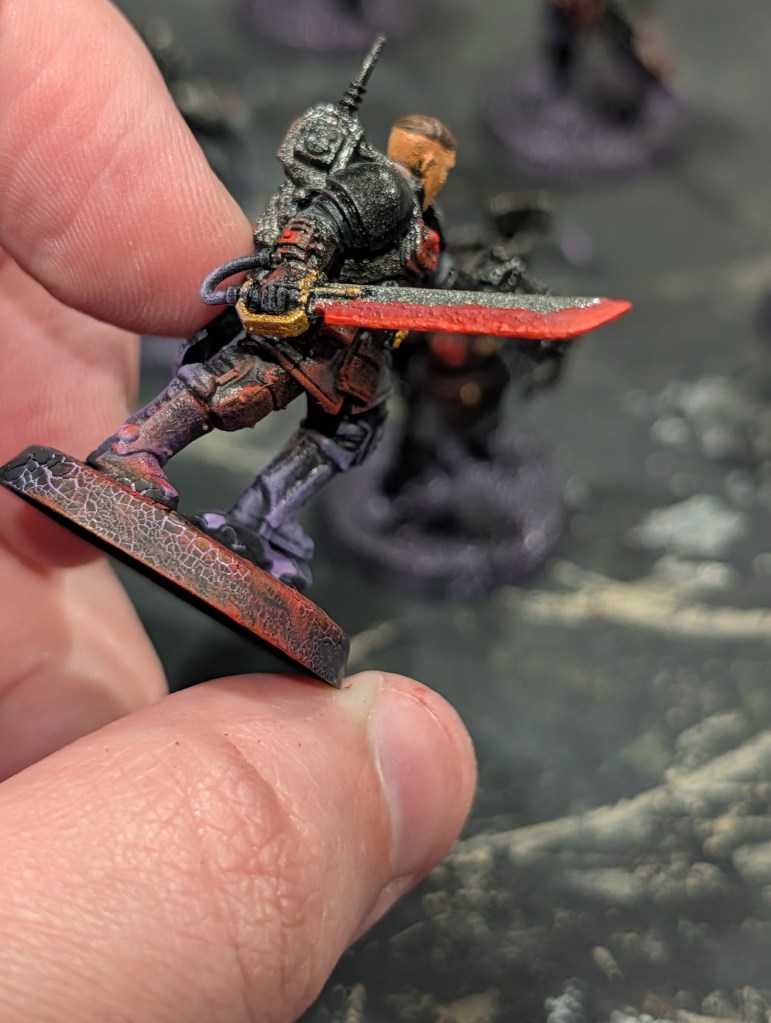
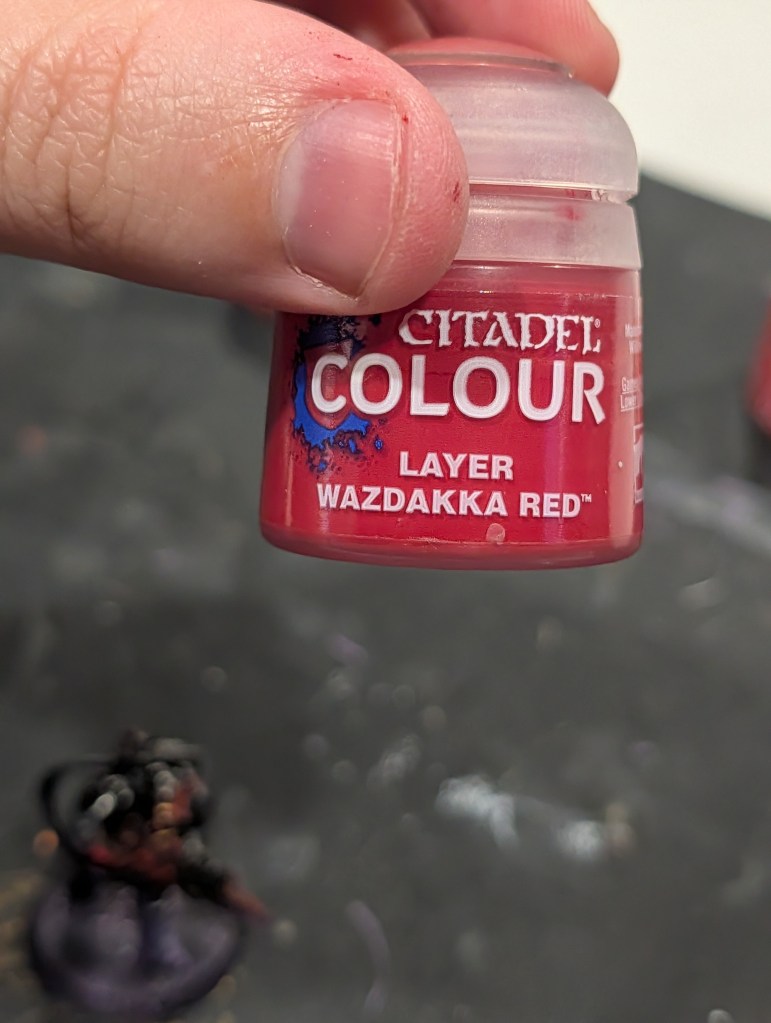
Next we are going to repeat the technique using Layer Wazdakka Red, only a bit less heavy. We are going for a subtle effect and don’t want to overpower it.
This gives our sensors a nice little glow, but have not detracted from the brighter sensor colour. They may get a tad dulled if you did this before hand like me, but that is okay, we are going to correct it shortly.
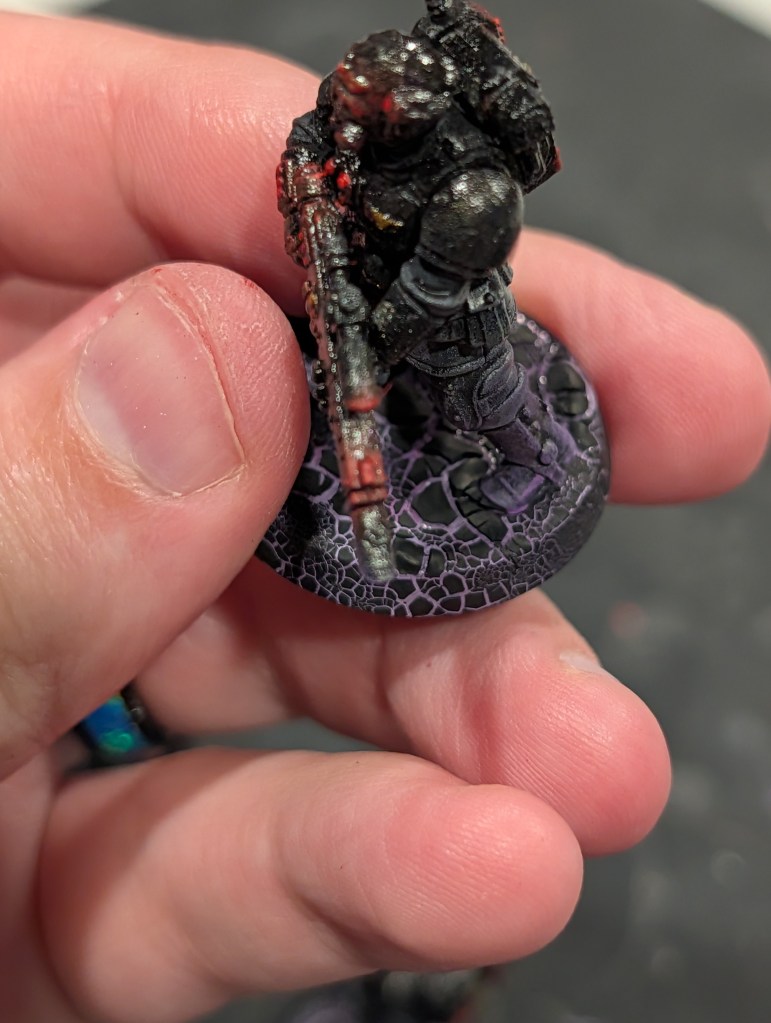
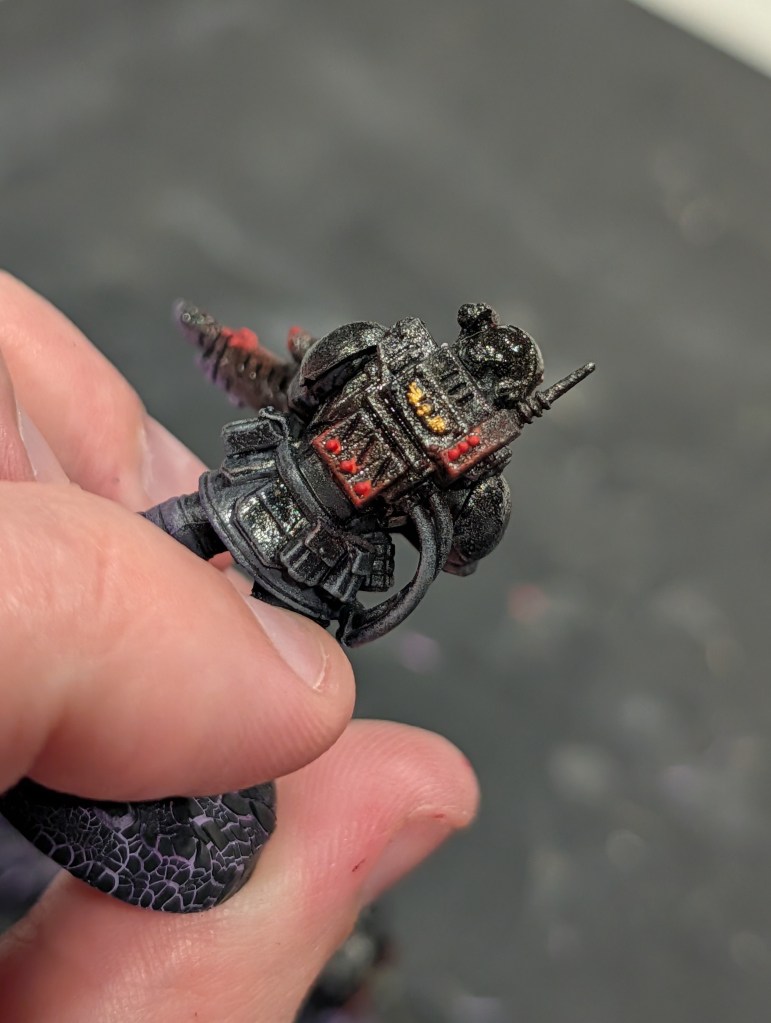
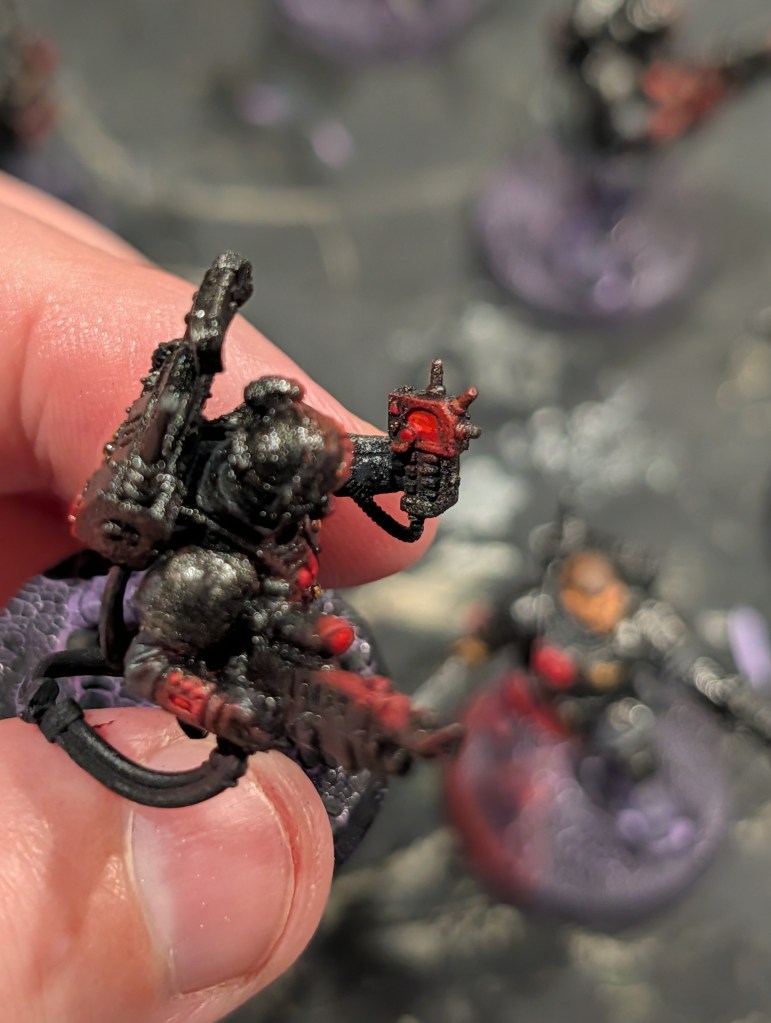
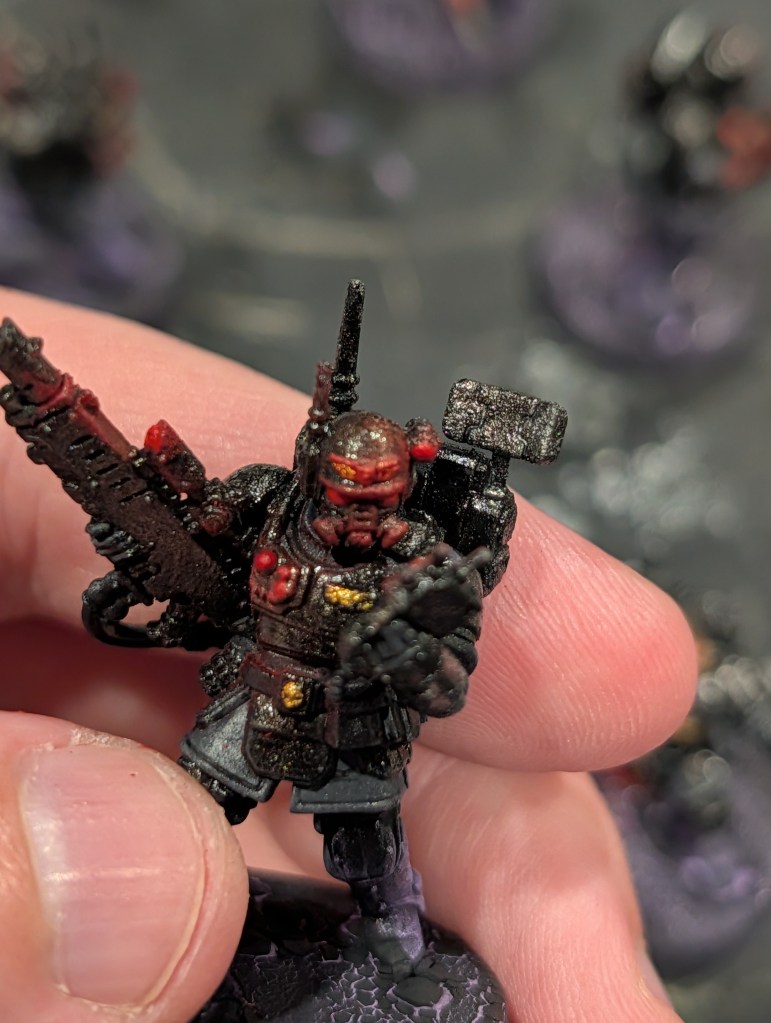
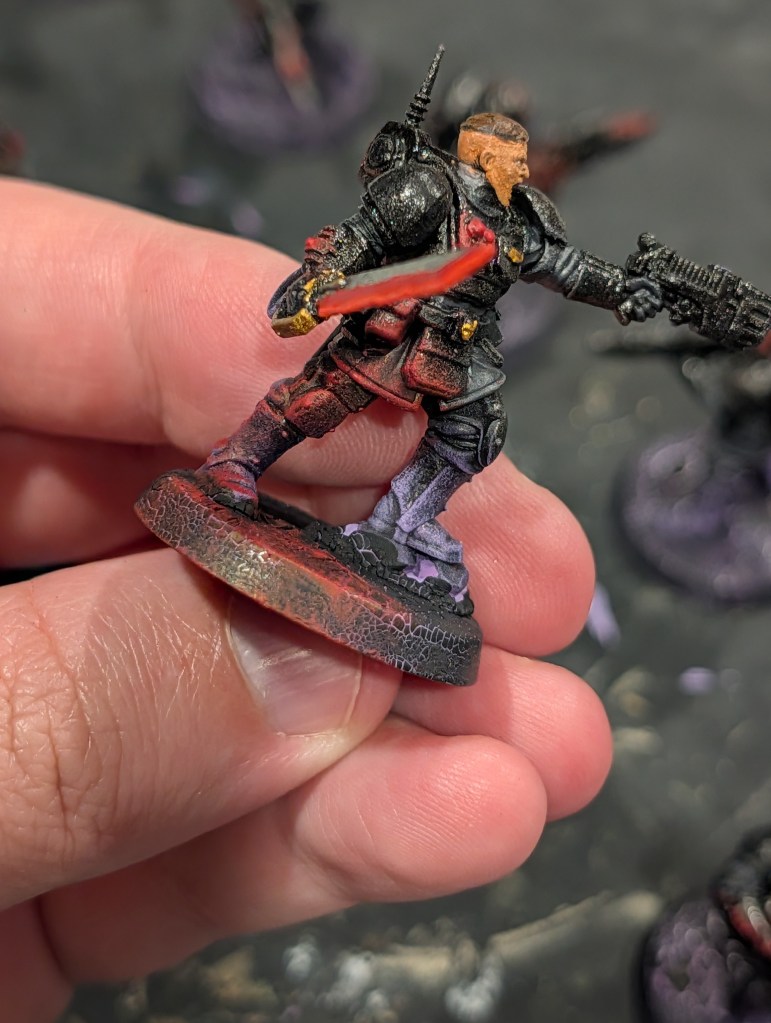
As you can see here, I accidentally got it a bit heavy on the Sergeant’s body cam. This is not a rage quit moment. It just happens to all of us. We can save it, and it won’t be as obvious as you might initially be thinking.
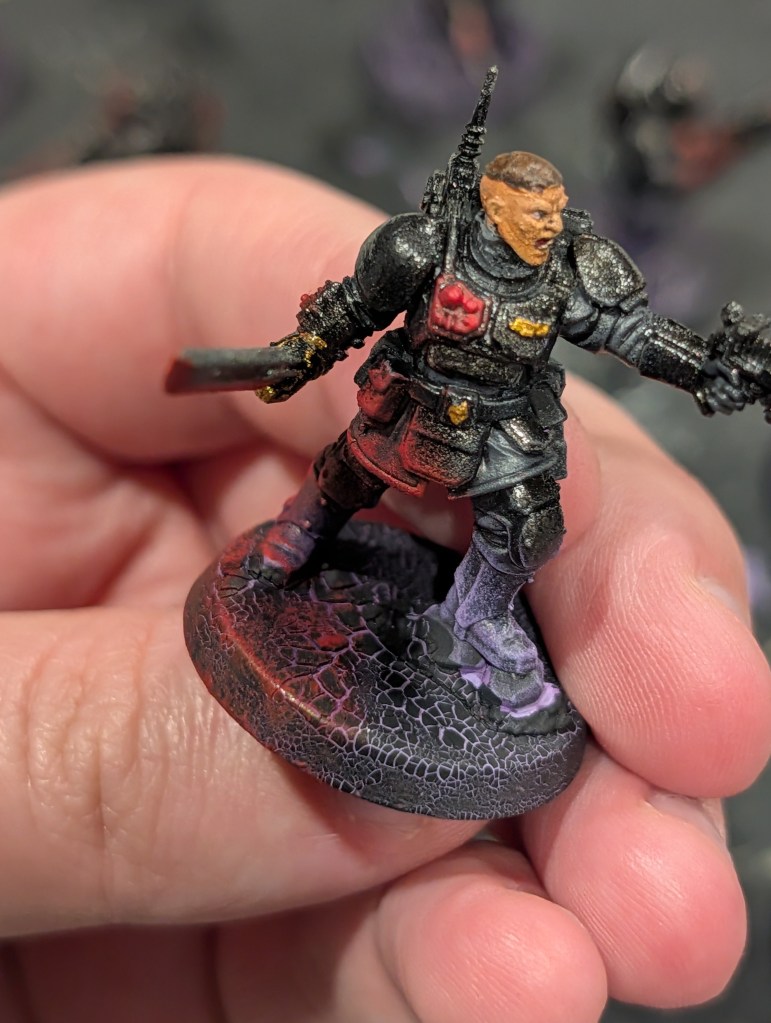
We are now going to leave sensors alone. We got a nice, subtle two shaded effect going and helps the immersion. We are now going to focus on brighter sources only, so power fields, optics, and screens using Layer Evil Sunz Scarlet.
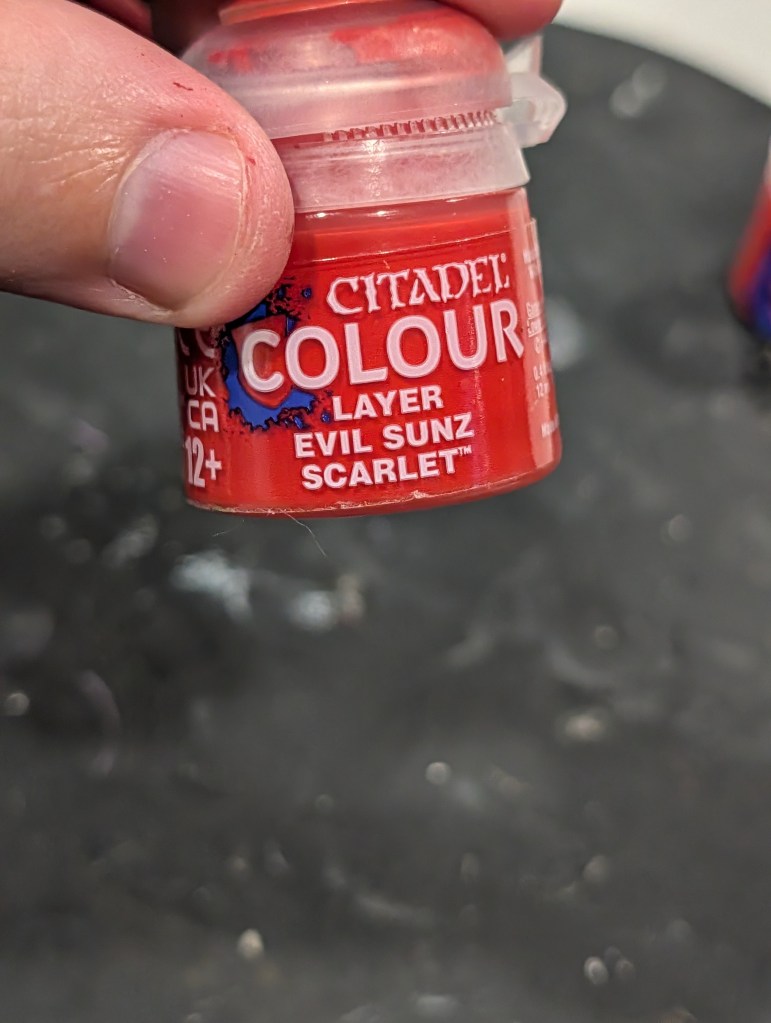
Like before, even lighter amounts applied. This step should go pretty fast as we are barely touching the model at this point.
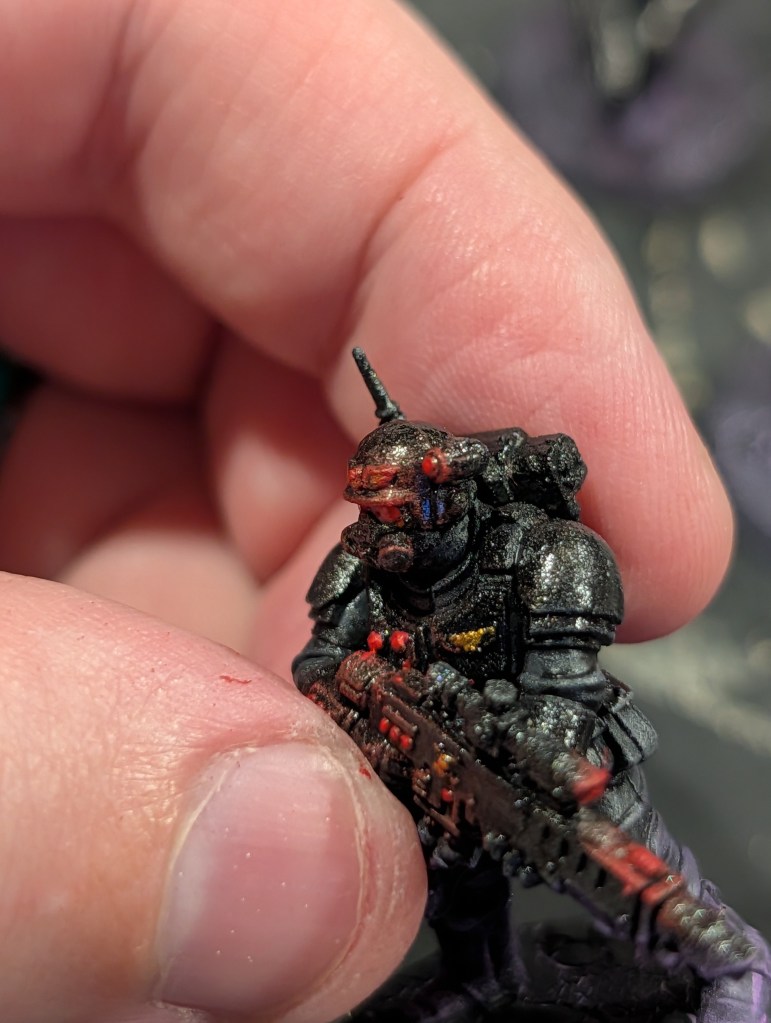
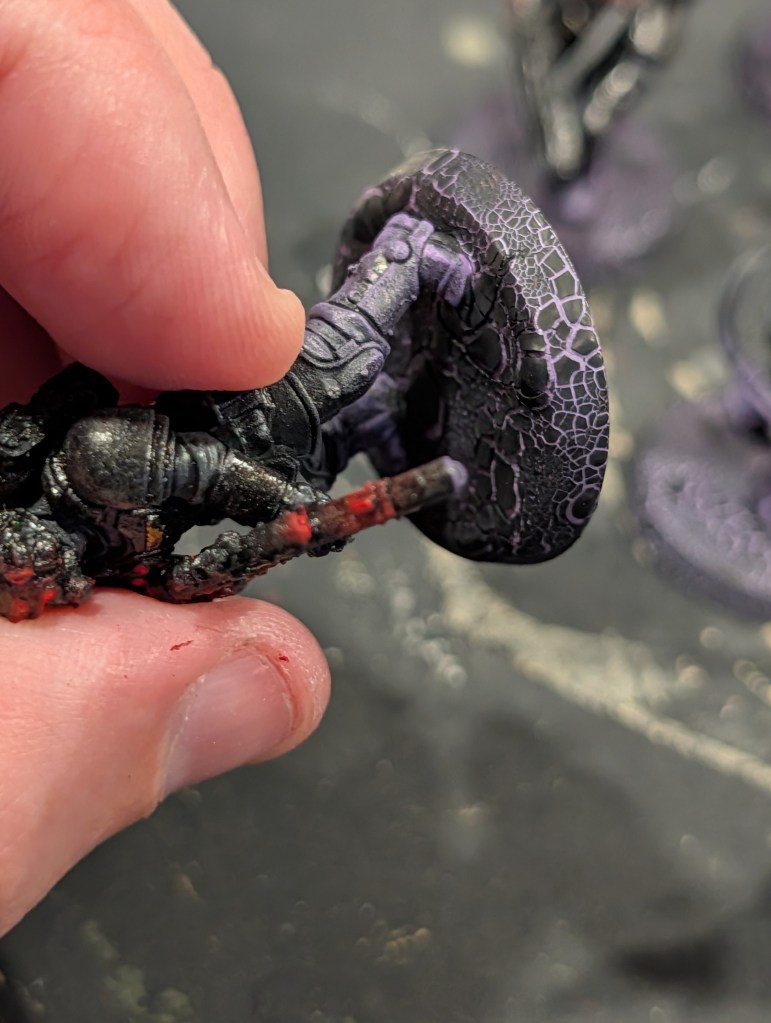
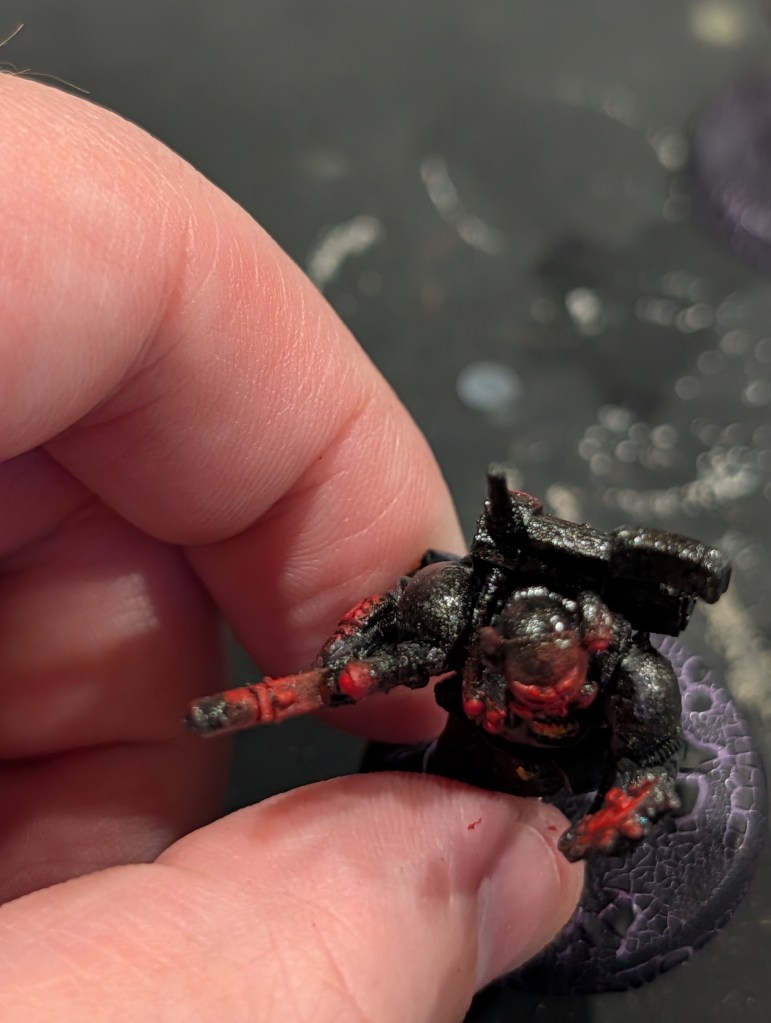
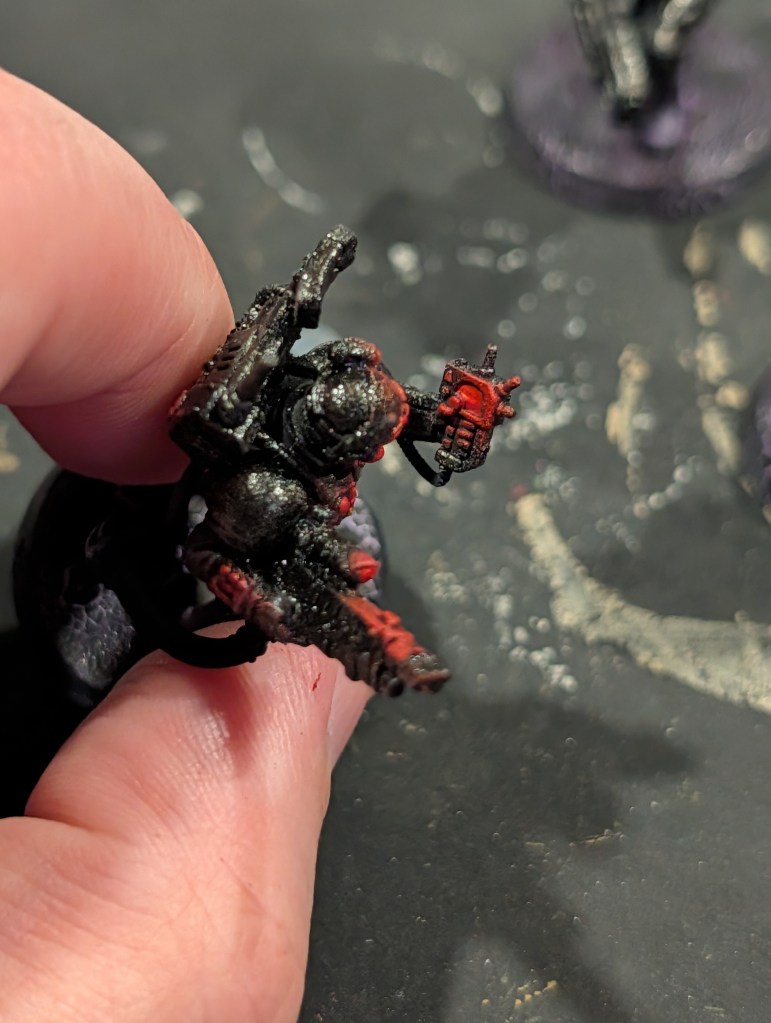
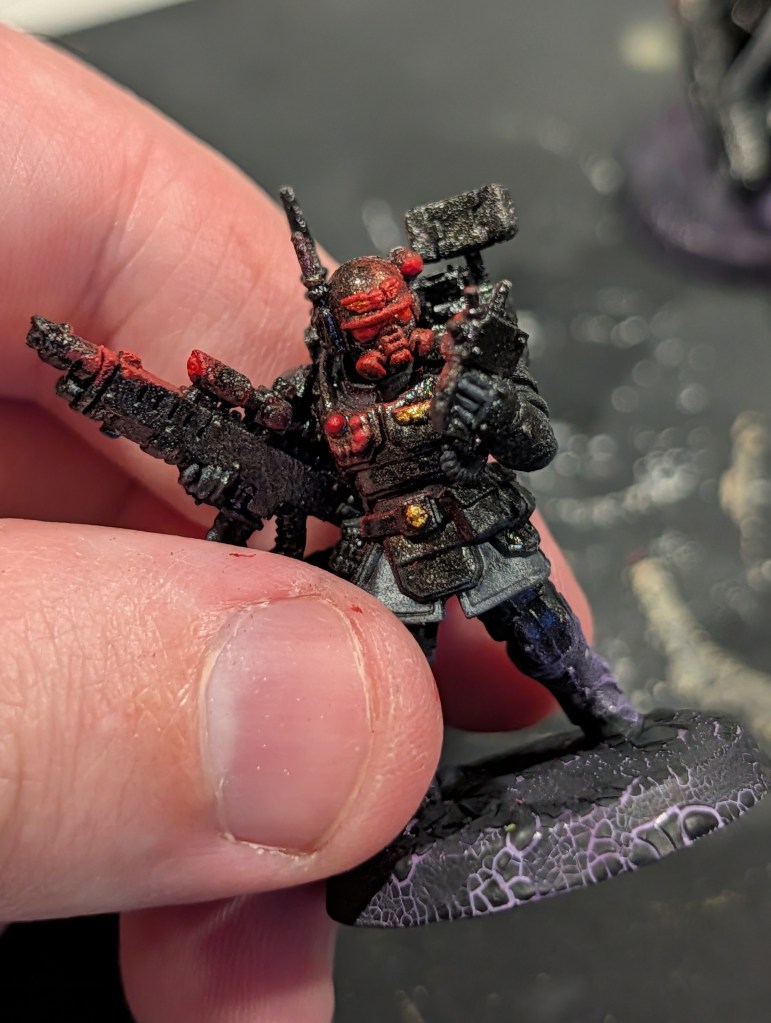
Once again, I got it a bit heavy on my Sergeant. You may not see it right away, but I did not buff out a blob on my brush very well and it caught the top of his foot. It can be difficult to correct for this mid OSL, but let’s see how it comes out when we hit it with the next colour.
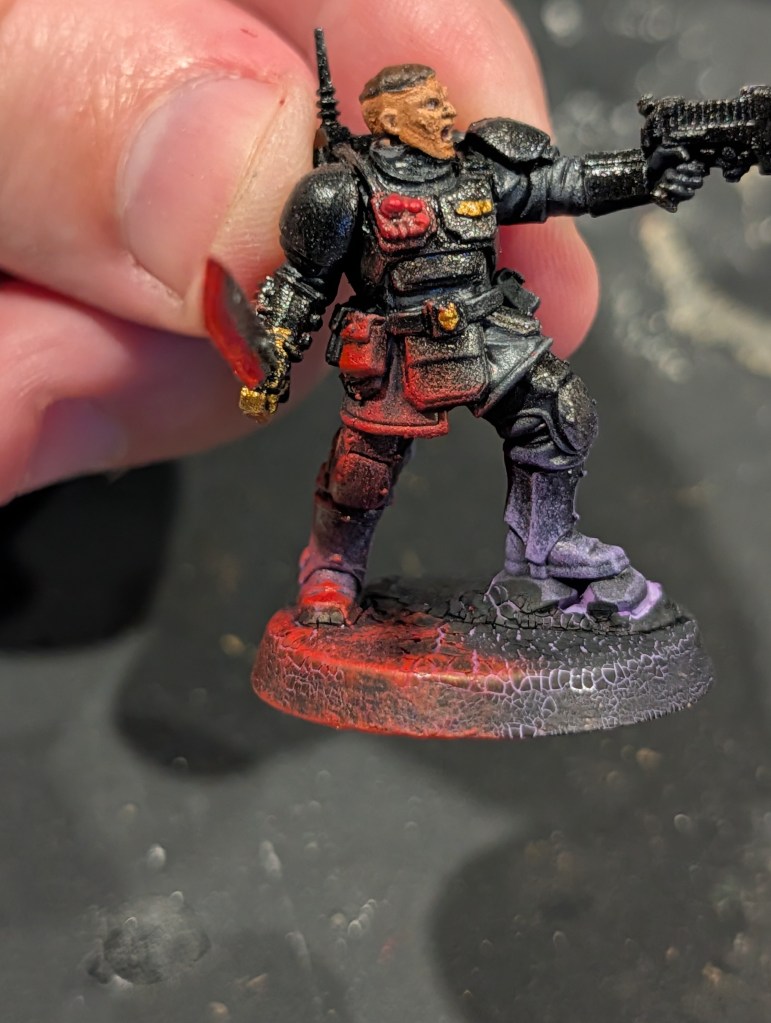
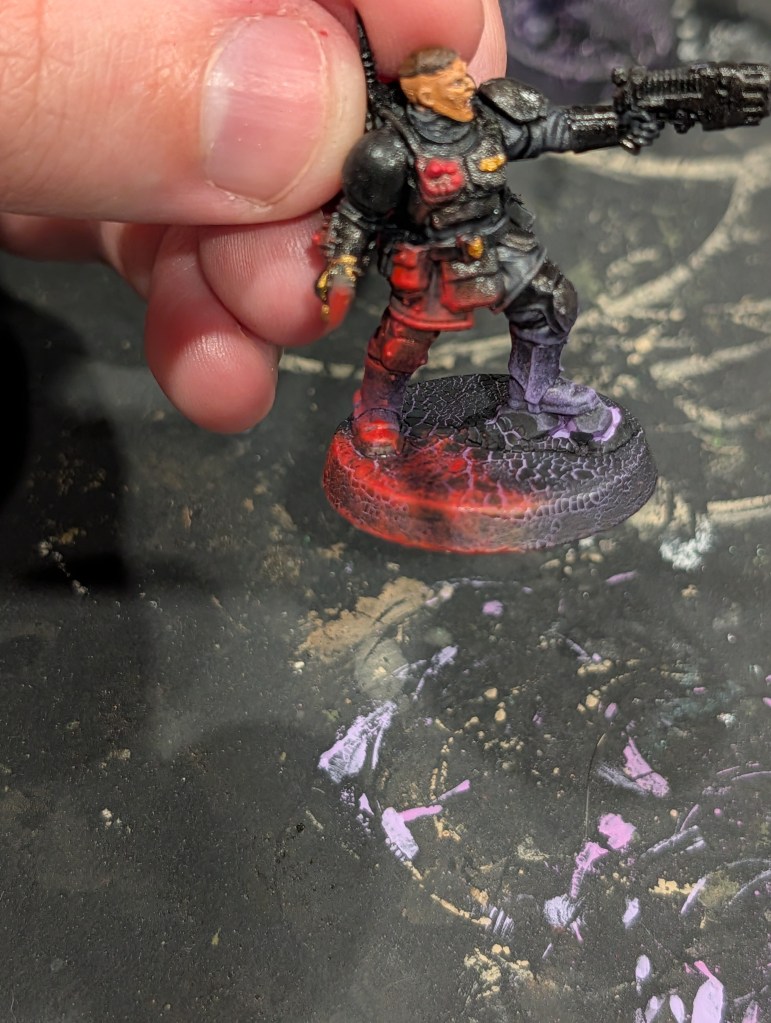
Now that our mid-light levels are done, we are just focusing on the power fields. We really want this to pop and feel like a powerful weapon, so we are going to have it as our only one with the brightest colour of the set in use. Layer Wild Rider Red.
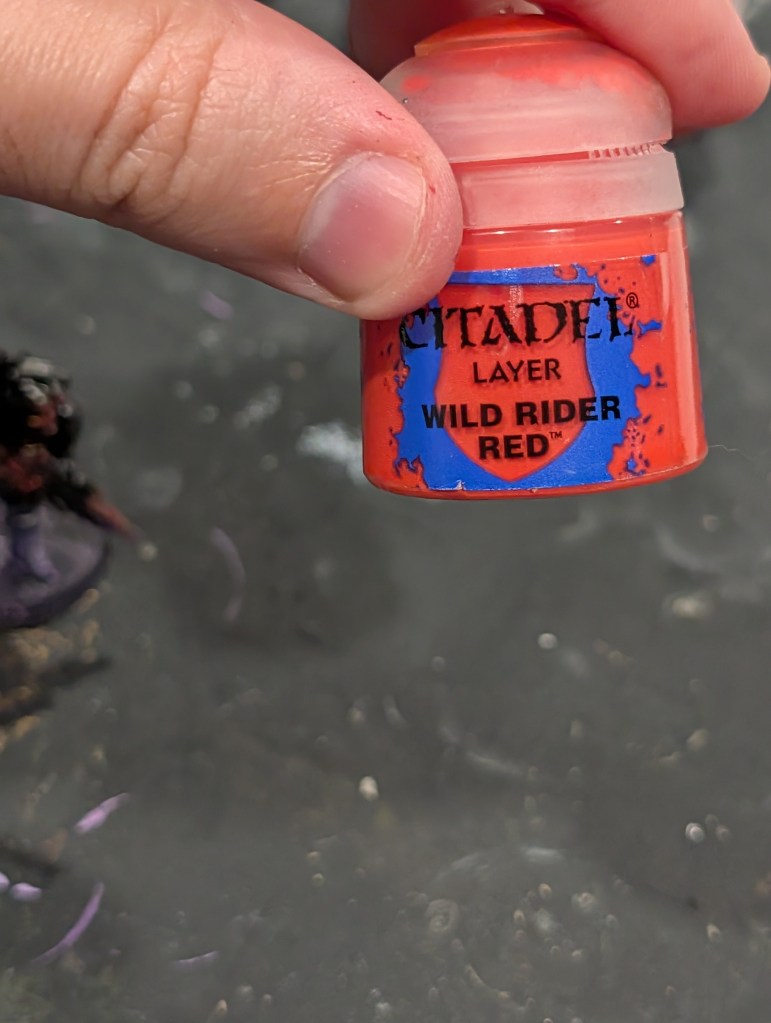
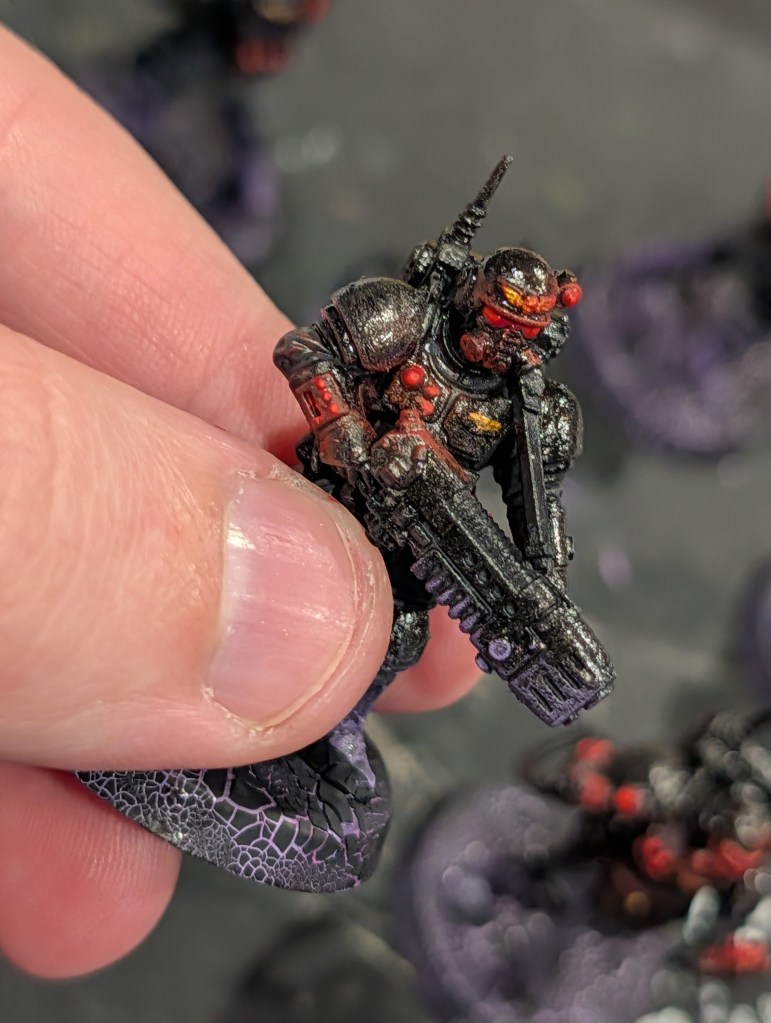
We are also going to now do smudged sensor and lighting corrections. Applying light dry brushing of several layers on existing work will have dulled some effects. As such, just top off each smudged sensor, optic, etc. Wild Rider Red will ONLY be used for OSL with the power fields in this step.
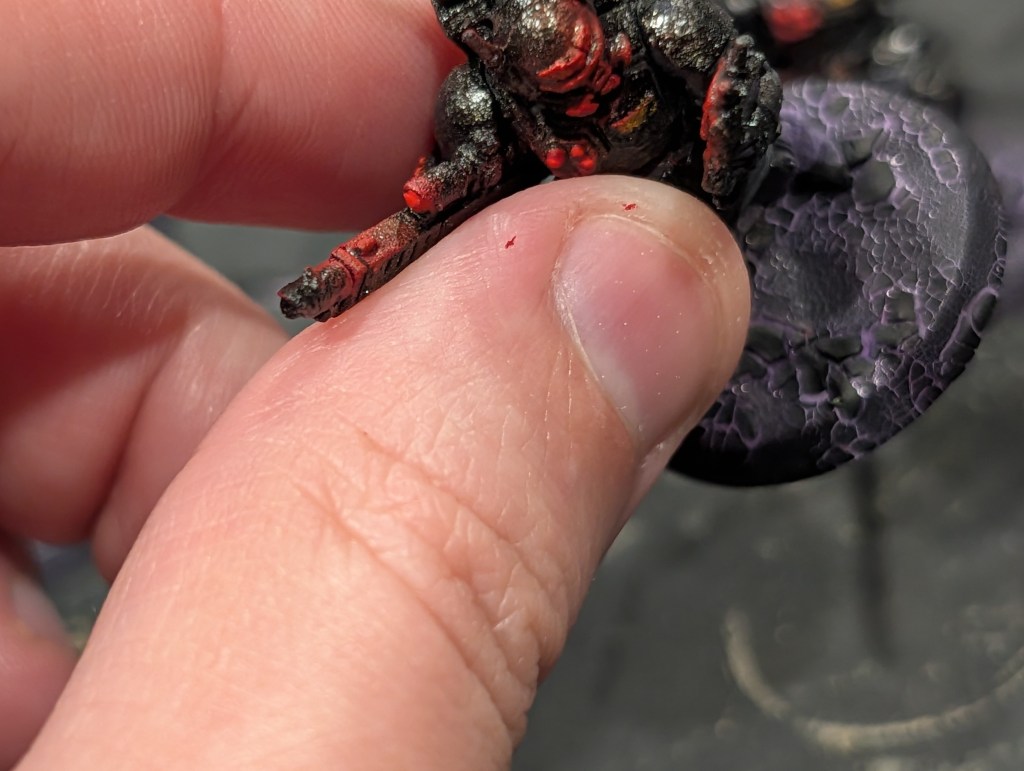
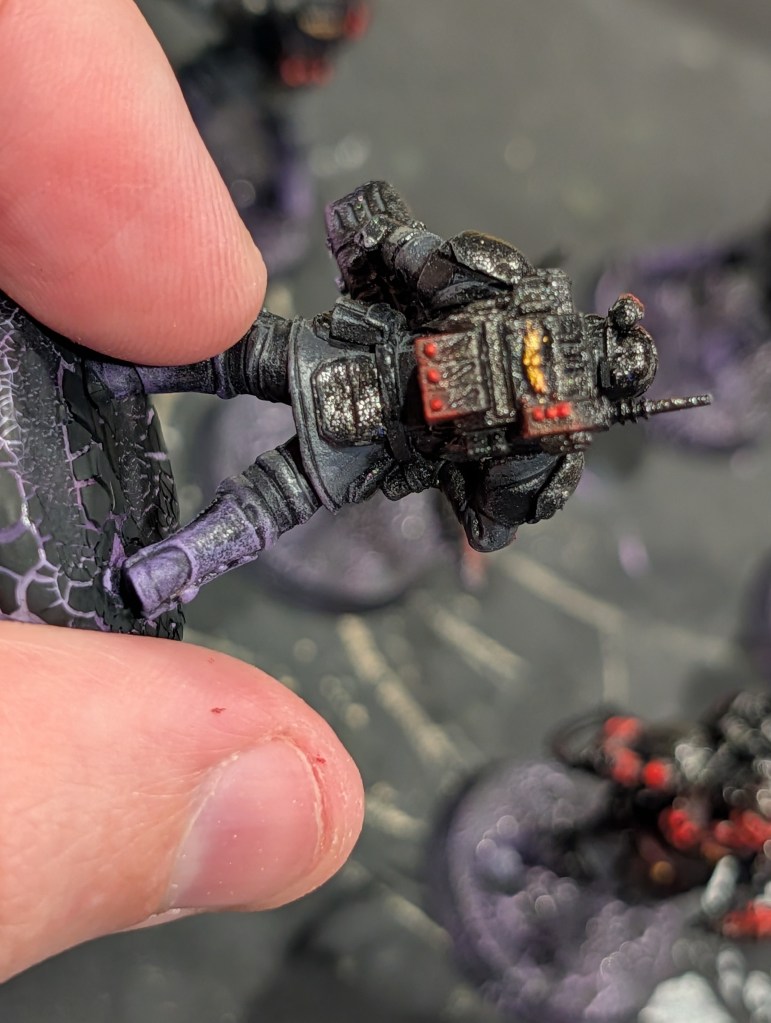
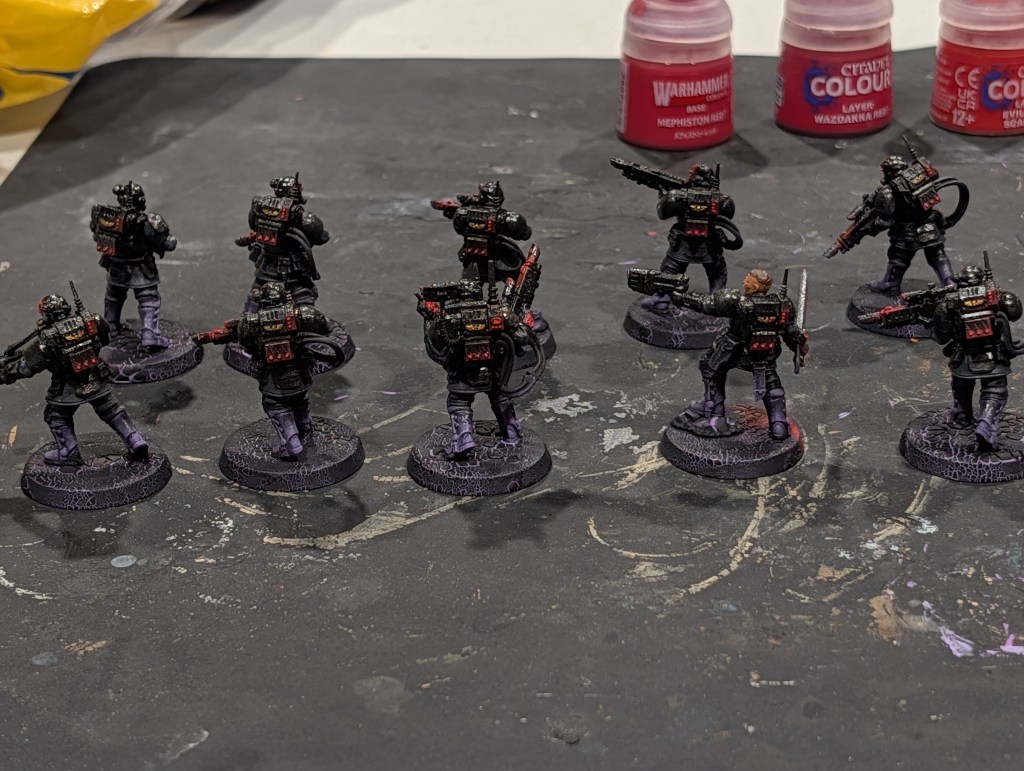
As you can see, the Sergeant’s foot corrected itself with the addition of a lighter colour. If at any point you feel like you completely ruined it, just take a moment to breathe and keep going. Even if you do mess it up and in no way can save it, you can still practice the technique. I have many, many failed attempts before I got to this point.
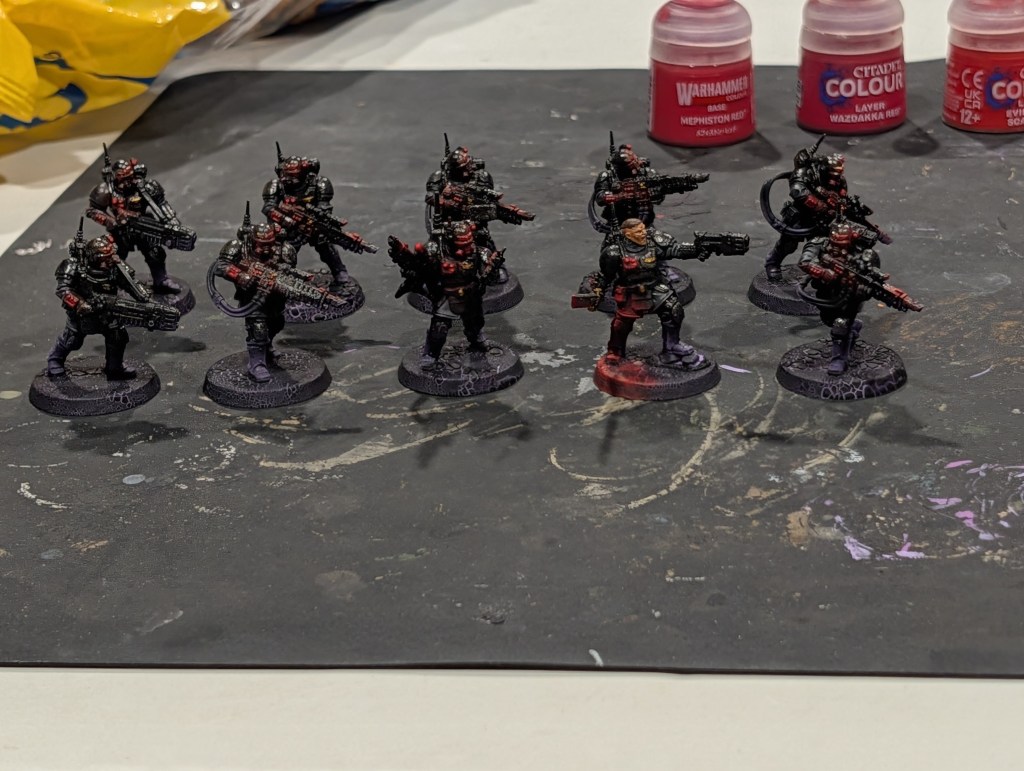
There you have it! A cool purple and red OSL scheme! Lastly will be blue Plasma Coils, which I will present next in part 3. How did yours come out?
 Alternate 40k Rules