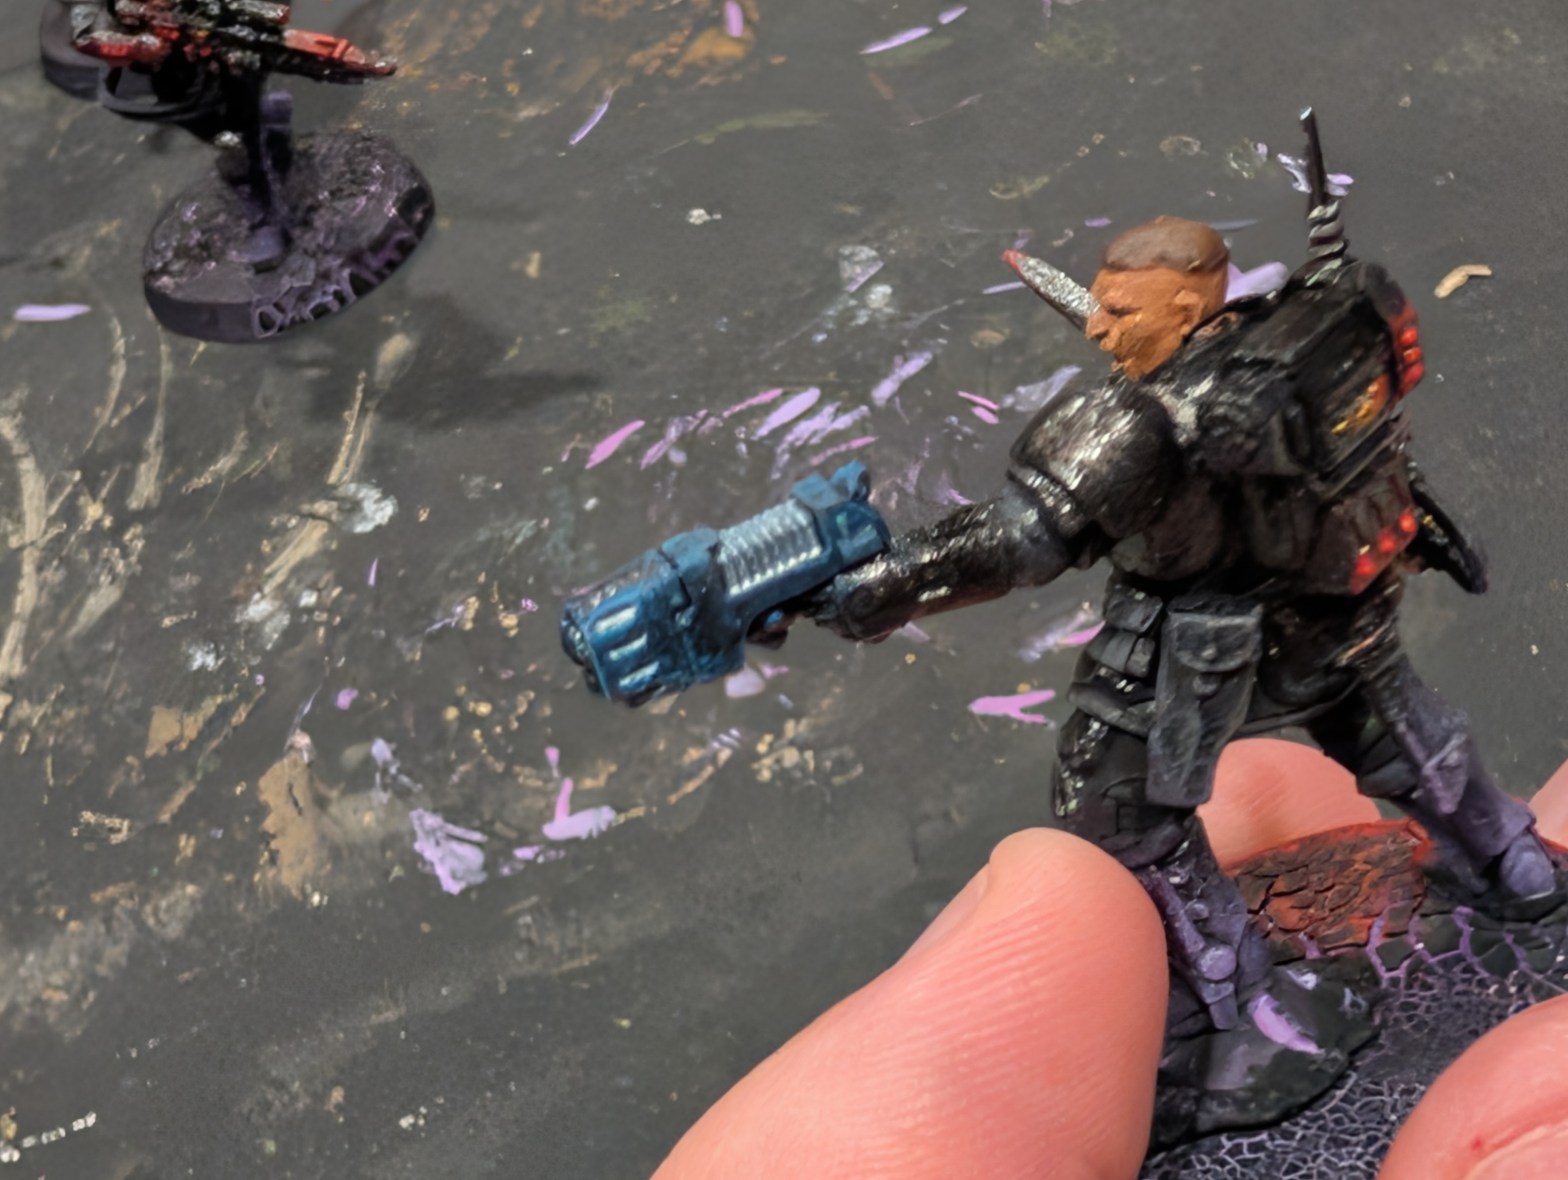
Hey there everyone! Part 3 of the requested OSL Tutorials is here! If you want to see the previous steps/work, check out the Painting Tutorial page on this site and see OSL Ground and the OSL Sensors and Blades posts.
Today, we are going to do my favorite OSL, plasma coils! I will be demonstrating blue today, but the concept applies to any colour you can think of! As before, ignore the light speckle look. The primer rattle can was a bit gritty and combined with the gloss coat made it show really bad on the camera.
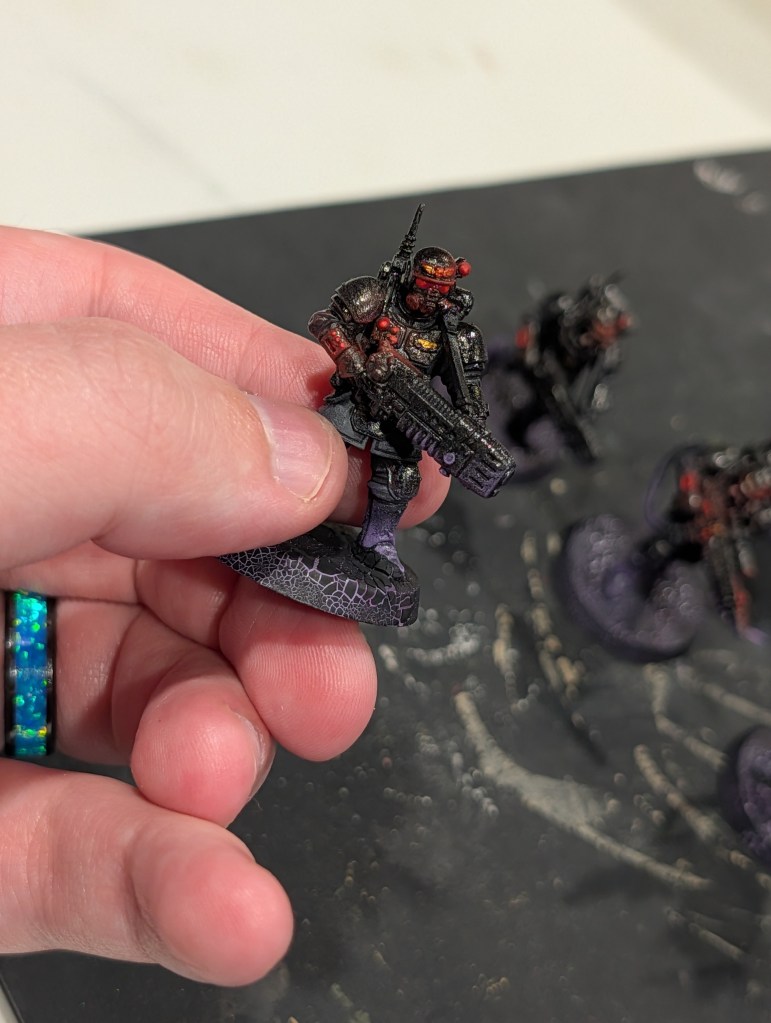
We are going to start with Base Caledor Sky. For OSL, I personally prefer the round makeup brushes. They are becoming more common in brush kits, but if you don’t have one, or one small enough, you can cut down a long soft haired brush to make your own!
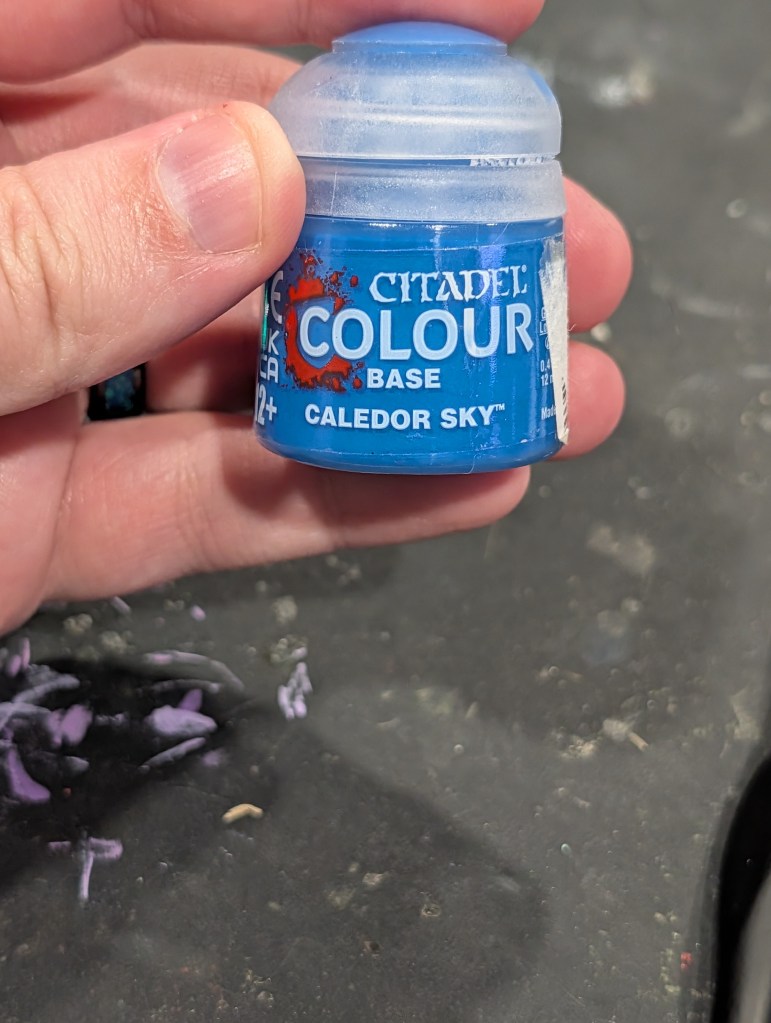
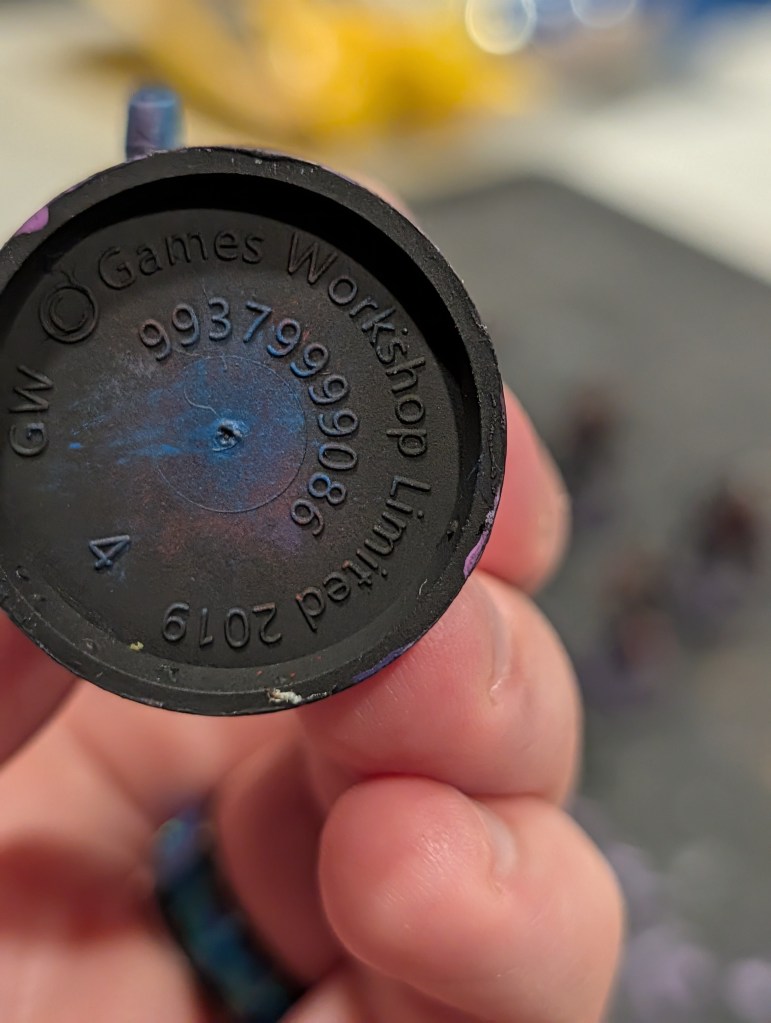
Like the previous OSL tutorials, we want to only get the faintest amount of colour left behind. I like to use the bottom of the bases to get a feel for how loaded my brush is. If there there is writing on the bottom it helps a lot! Typically dipping the brush, wiping it vigorously on a paper towel or washcloth, and then a second time will get your brush loaded with the colour.
This first example, it was too light. So I did a second dip and wipe.
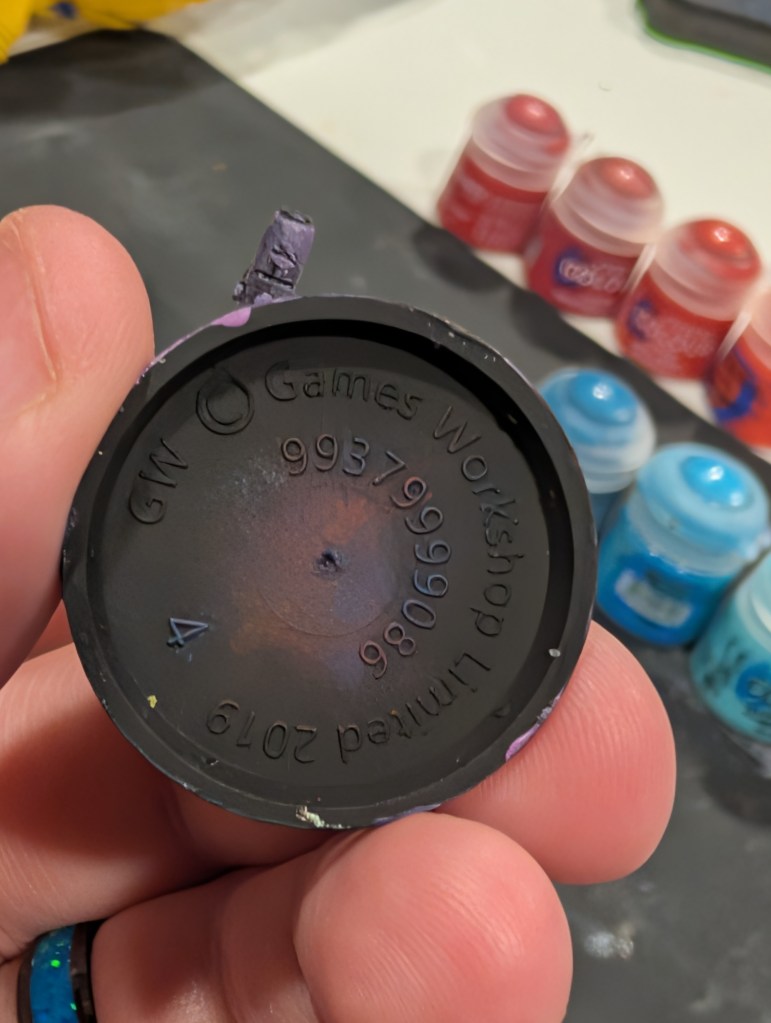
As you can see, it had been just a tad to heavy still. But, that burr on the base knocked off the last heavy bit, and now we are ready for our first dry brushing!
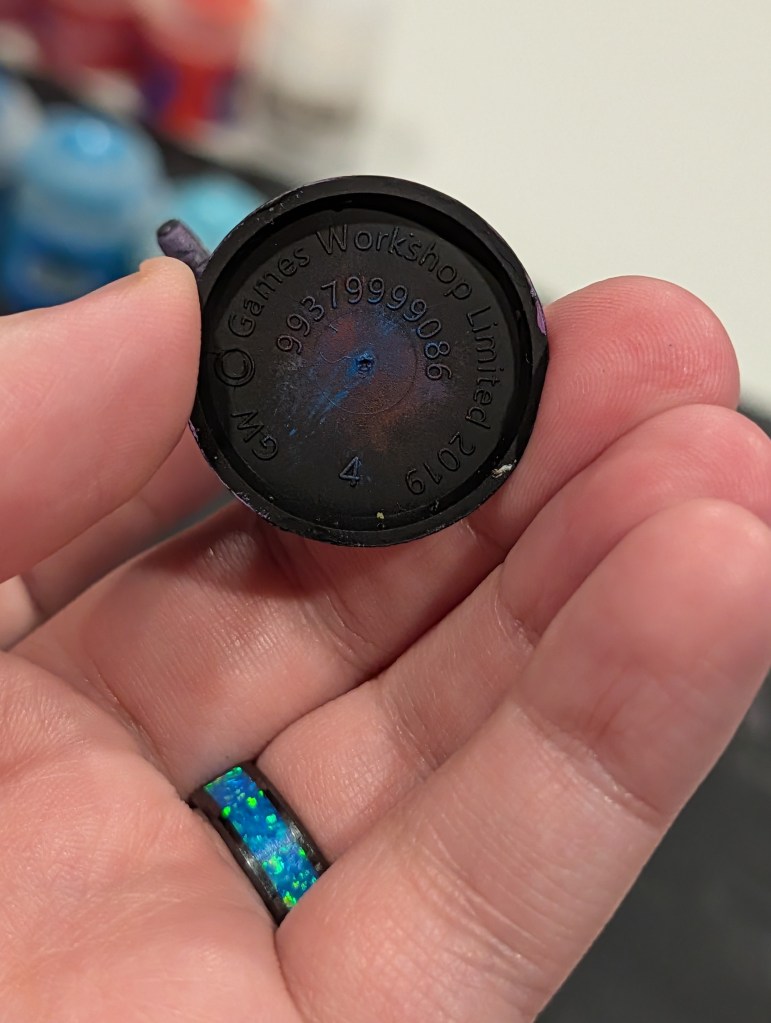
We want to focus on the surrounding areas first. Some sculpts have very shallow plasma coil ribbing, so we want to minimize the paint we get in there just in case we need to make corrections.
Depending on the overall darkness of your model’s off camera environment, we want to base our glow radius too match. In this case, I have a darker base that has a faint OSL effect to it as well. We also have sensors glowing just a smidgen too. What we can take from this is the Stormtroopers are in a fairly dark environment. As such, I suggest a glow that reaches from half a body part to a full body part away (arm, torso, etc). We want the gun to really pop, no pun intended.
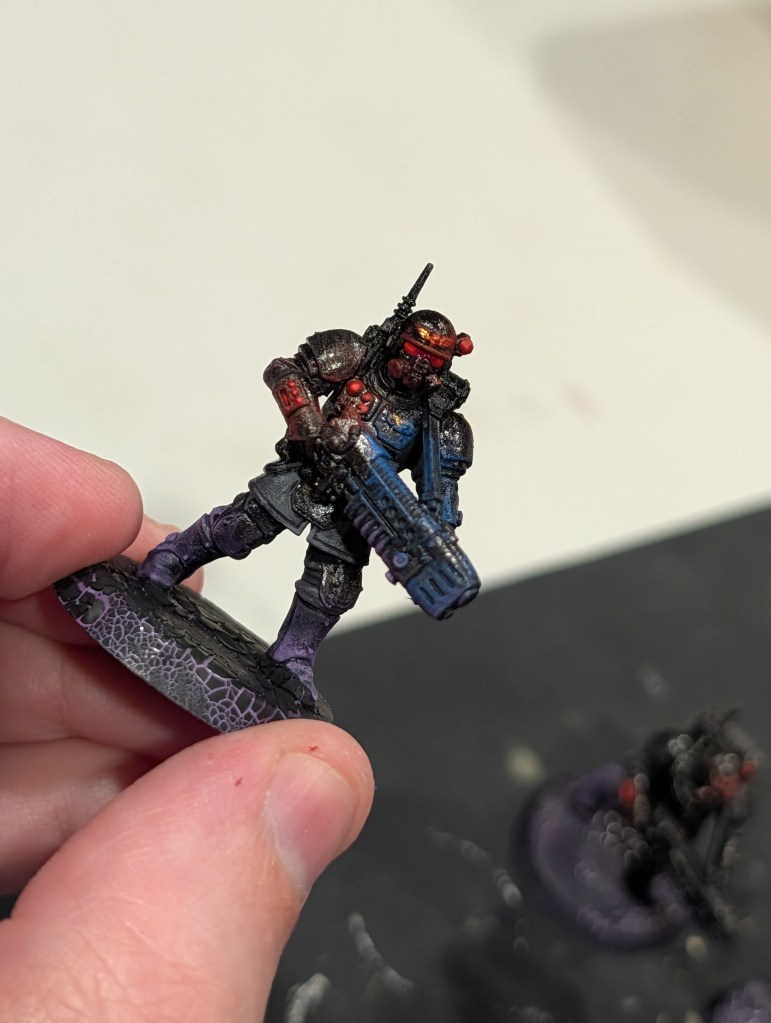
As you can see, we don’t want a dominating blue from any one colour. Just the ground work for the area we want to effect. If you get it a bit smaller or larger than you intended it will be easy enough to hide and correct by adjusting the later colours. Before you wash your brush, keep in mind that these makeup brushes retain water really well. This WILL affect how your dry brushing goes on. This may not be a bad thing mind you, but it is something to be mindful of.
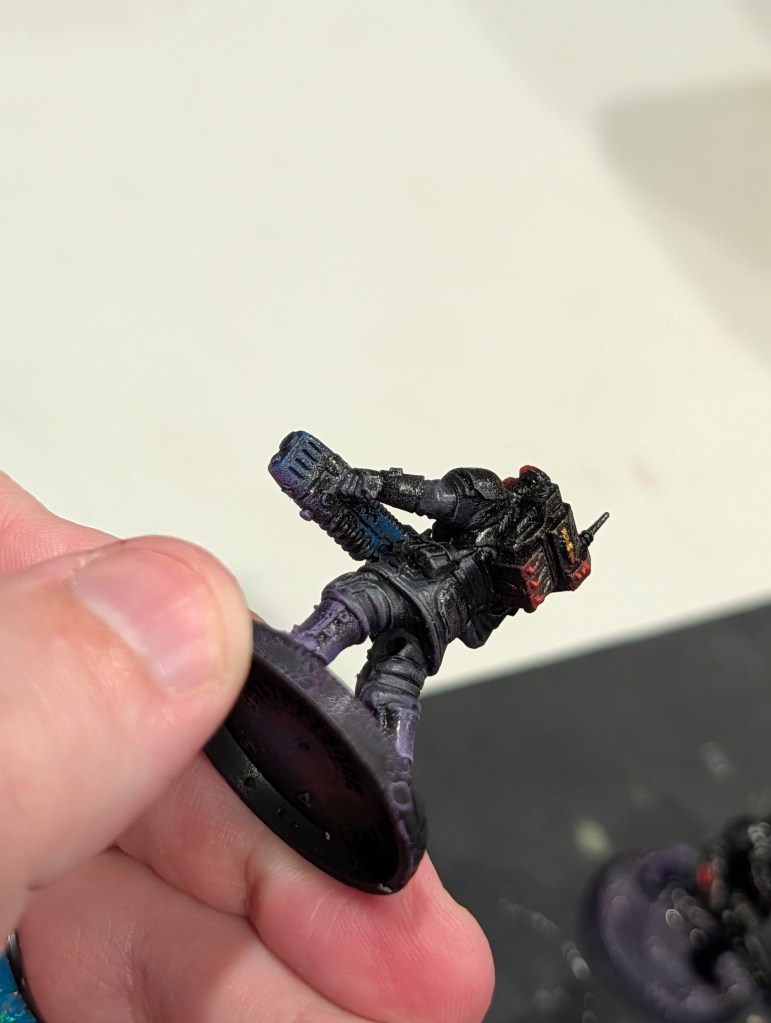
Next we want Base Thousand Sons Blue. Same thing as before, load up the brush and hit the surrounding area with just a little bit less paint. Because thicker brushes are harder to dry I recommend that you just switch to the next colour. It won’t contaminate your paint pots due to how little is on the brushes.
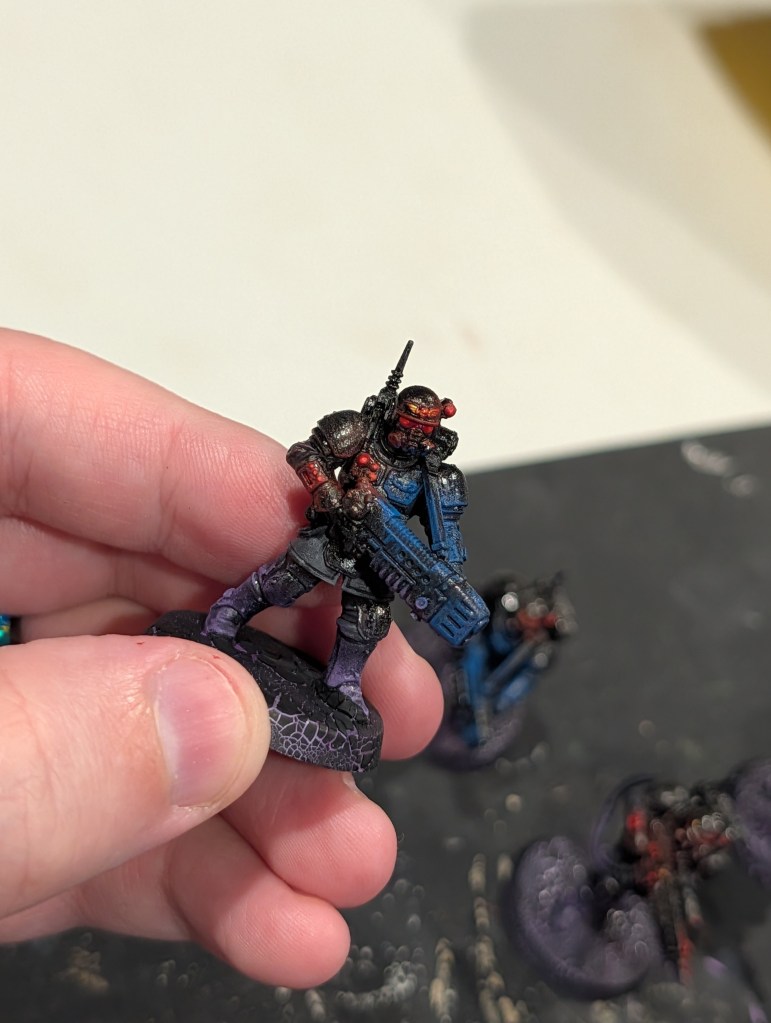
As a brighter colour, it will show more easily and will take less to be noticeable on our black armour and dark grey clothes. Our goal is to keep the outer part dark, and get brighter as we get closer to the source. The one other place we want to be brighter are hard edges to help them pop.
Quick little trivia about battlefield lighting. I used to do American Civil War Re-enacting for 5 years. The 145th Gettysburg anniversary was a massive battle. We had 13,000 re-enactors. The battle in particular before the Pickett’s Charge was what caught my interest. It was a light sprinkle of rain only. The 100 cannons fired for about an hour straight and then we engaged in an infantry battle.
The humidity was pretty normal, but caused all of the smoke to cling to the grass. Keep in mind that we had thousands of combatants in formation working towards each other, and somewhere on the opposite side of the Damn Chicken Thieving Yankees (DCTY), I mean Union, was a large stand for viewers. We were working our way along the flank per the script to engage them on the edge of the field. We were just a small company.
We could hear the shots, feel the thud of the cannons, couldn’t find anyone. After a bit we saw the stands about 30 feet away from us because the smoke was so thick. Almost immediately we ran into a whole lot of DCTY. Never really could tell how many, but there were a lot more of them. The poor viewers in the stands could probably only see us out of the whole thing so we made it into a big shoot out for them.
This is where my ramble begins to make sense. The smoke was blotting out pretty much any light source, so our powder charges burned bright and shot far. Looked really cool of course! I fired so much that I had to gingerly keep the musket resting in my left hand so I wouldn’t burn my fingers on the metal. The sprinkle of rain was instantly evaporating into tiny little vapor swirls each time it struck the barrel.
Keep in mind, if this had been real artillery fire there would have been a lot of dirt floating in the air too. So! If you feel your mini’s might be glowing a bit too much just remember that the Grimdark is probably even darker than your typical civil war battle.
Anyways! Next up is Layer Lothern Blue.
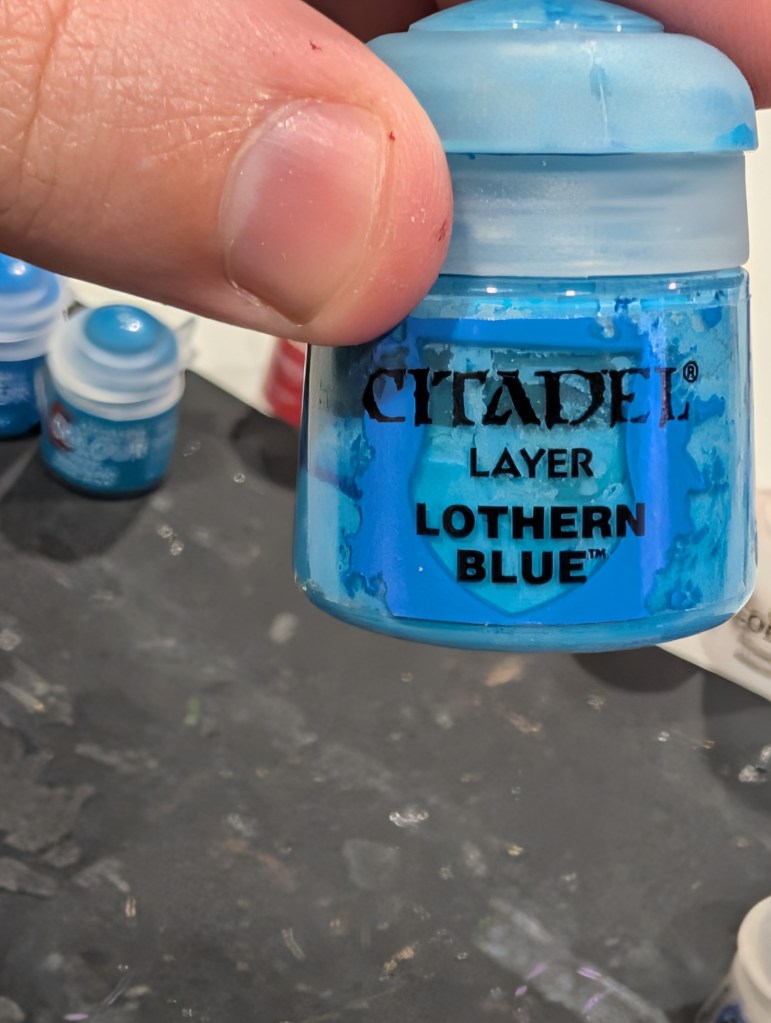
Now we are dry brushing only about half way through the blue, and then faintly on hard edges if it looks like it would look good to you. We are going to hit the coils just a bit as well.
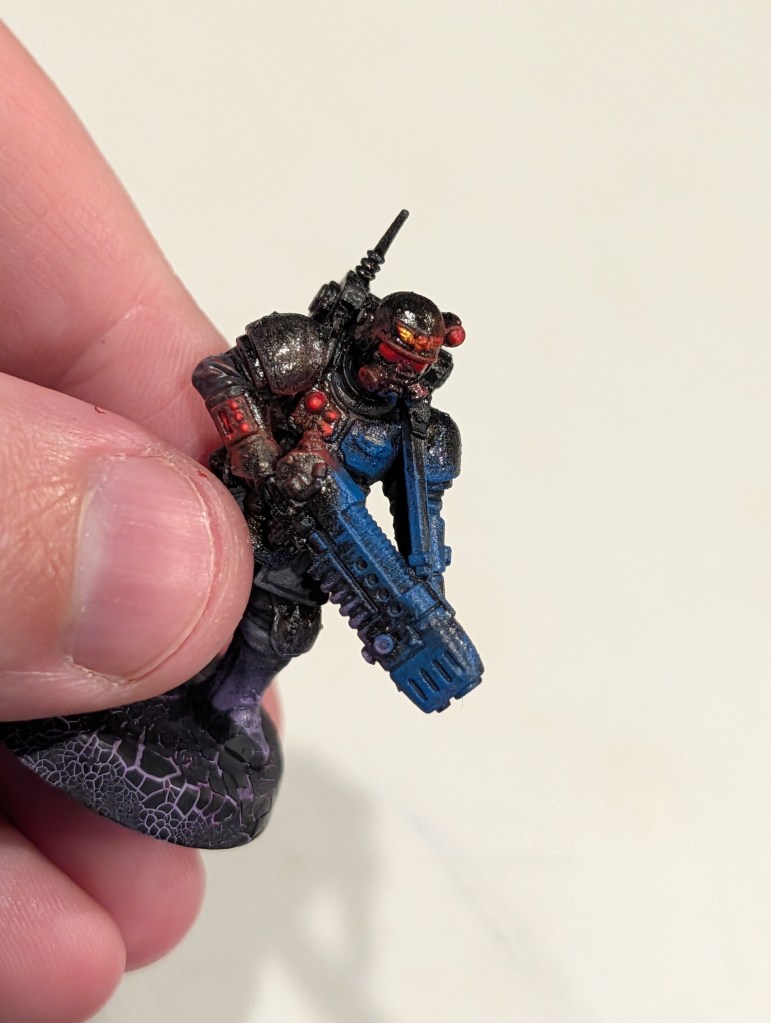
We are about to see some very drastic changes with our next colour, Layer Baharroth Blue.
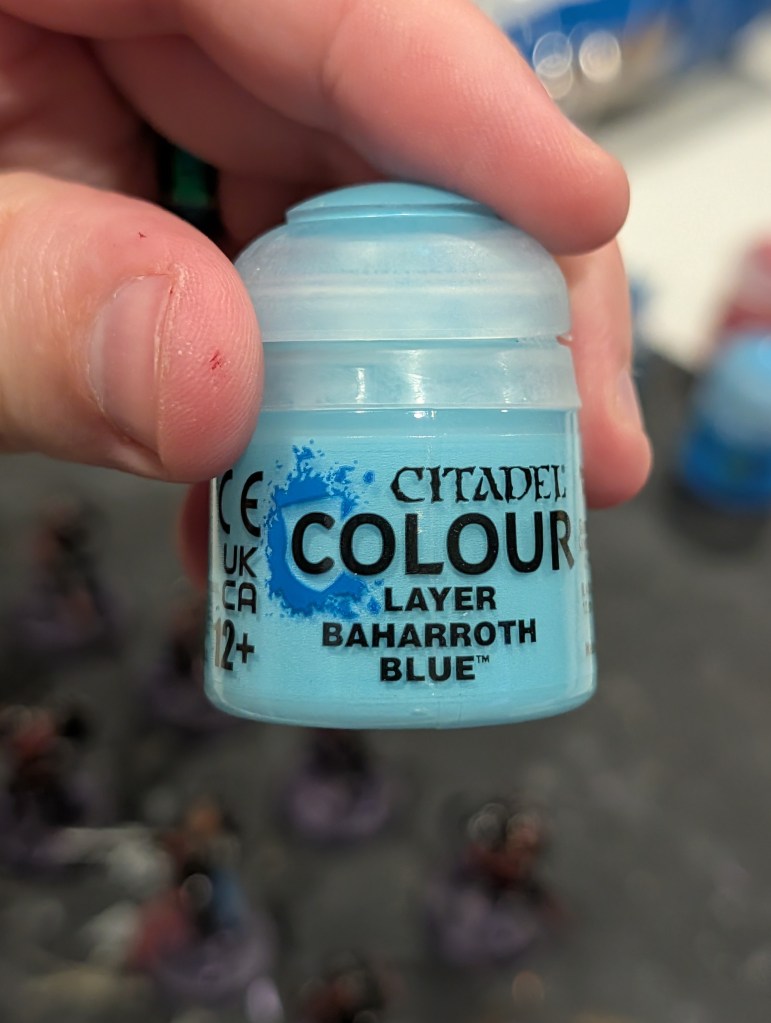
We want the coils done and only the edges of the most immediate areas touched. You do not have to get deep into the coils with this one, just the sides and tops of each coil and around the vents.
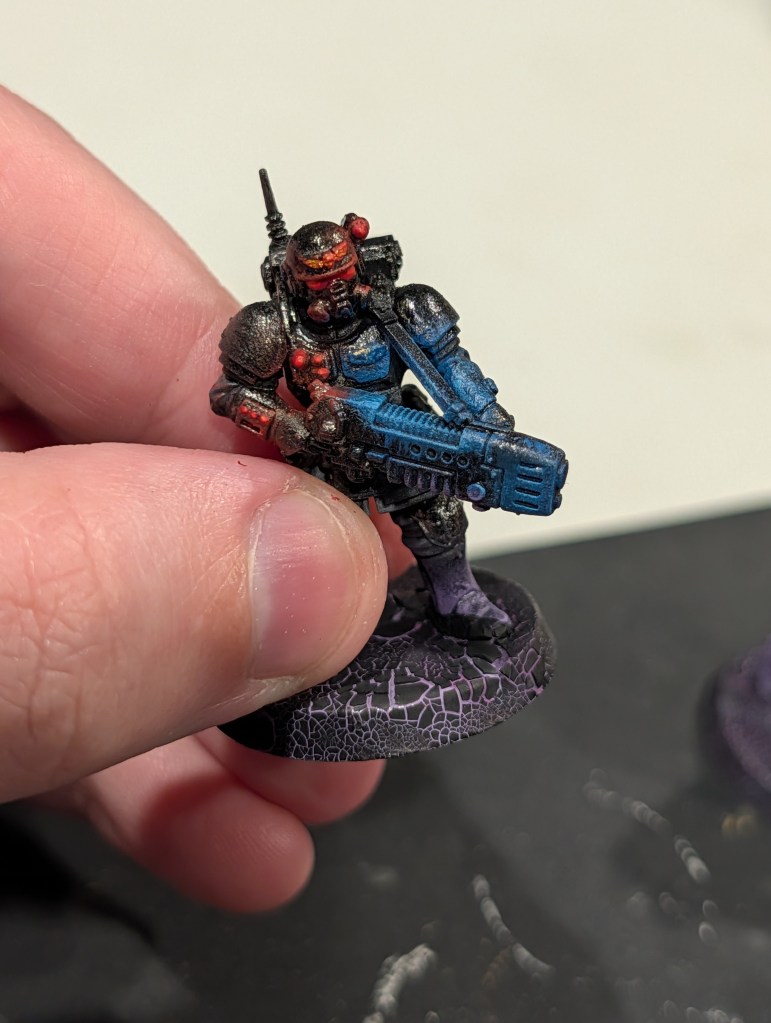
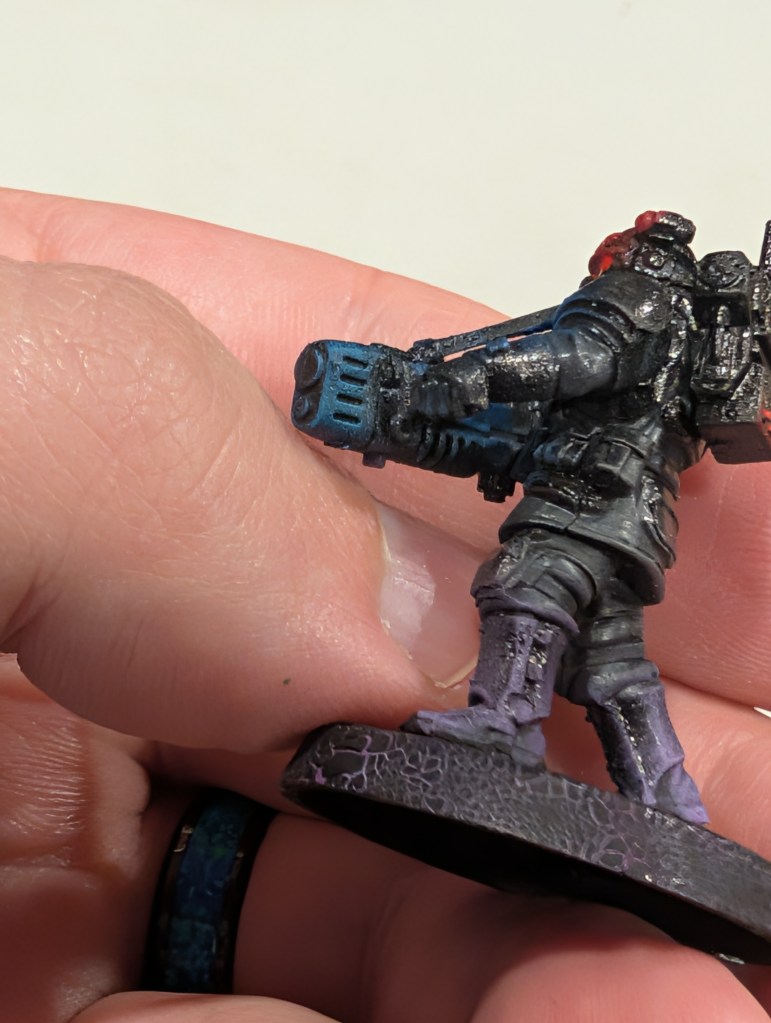
It is now time to was the barrel/makeup brush! All done with it! Next grab a smaller traditional brush and you Layer White Scars White.
This one is the tricky step, but don’t panic! You can always practice on the underside of the base. What we want to do is get the white to flow very easily into the crevices, but not flood the gun altogether. Spoiler alert, some flooding will happen and is easily fixed. We just don’t want it cascading down the miniature.
Dip the brush tip in the white, just a smidgen. Then dip it in the water. You will see wisps of paint come off and pretty much remove all of it. That’s okay. Dip in paint and then water again. Now you brush is very wet and has some white loaded in it. This part can be a bit inconsistent, so a tiny dab into the white paint pot may or may not be needed.
Gently press it into the center of the coils. Excess water and paint is going to now flood the coil. If it comes out to heavy, just wipe your brush once on the painting towel and then begin wicking it off of the flooded portion and pushing it around. You have some time to work with it before it begins to set in.
Once you have go the hang of it, repeat and carefully fill the vents. A fine point brush helps, but if you don’t have one, apply it and immediately wipe the surrounding areas off with a clothe or towel so only white remains in the vent.
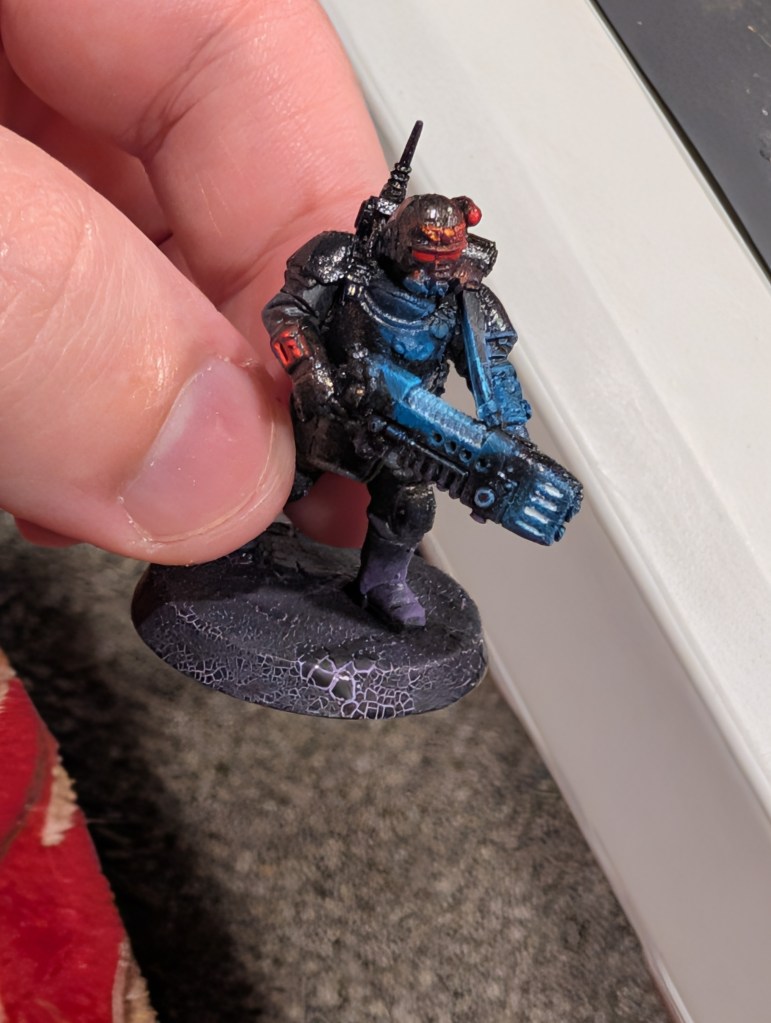
You can call it done at this point, but there is one last step I personally like to do for burnt coils. Wash that small brush and go back to your barrel/makeup brush. Make sure it is very dry by wiping and dabbing on your hand. If it feels remotely moist, just wait. We need to give the white a few minutes anyways to properly set so we don’t mess it up.
Load up with Layer Eshin Grey. We want less paint coming off then any previous dry brushing step. Like if you drag it over print on the bottom of the base, we want to be questioning if it is there.
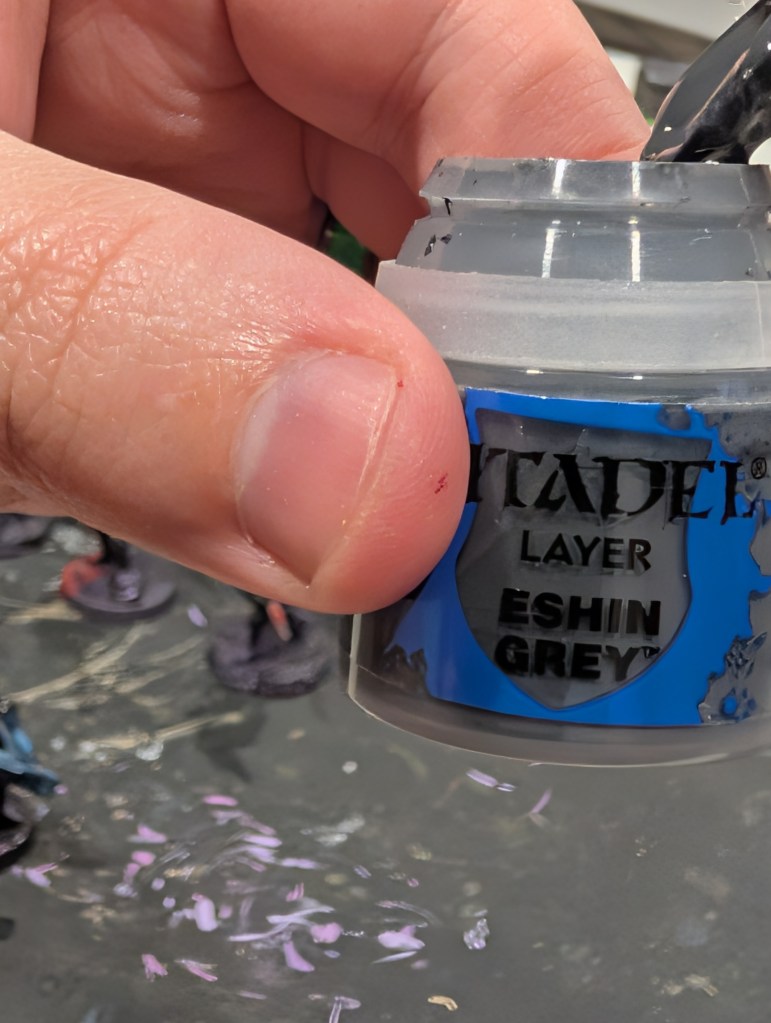
Ever so carefully dry brush it on there. If it take multiple attempts even better. If you accidentally nick the gun it is totally okay. Just part of the burnt look. In the below example, I almost went to heavy with it on this plasma gun.
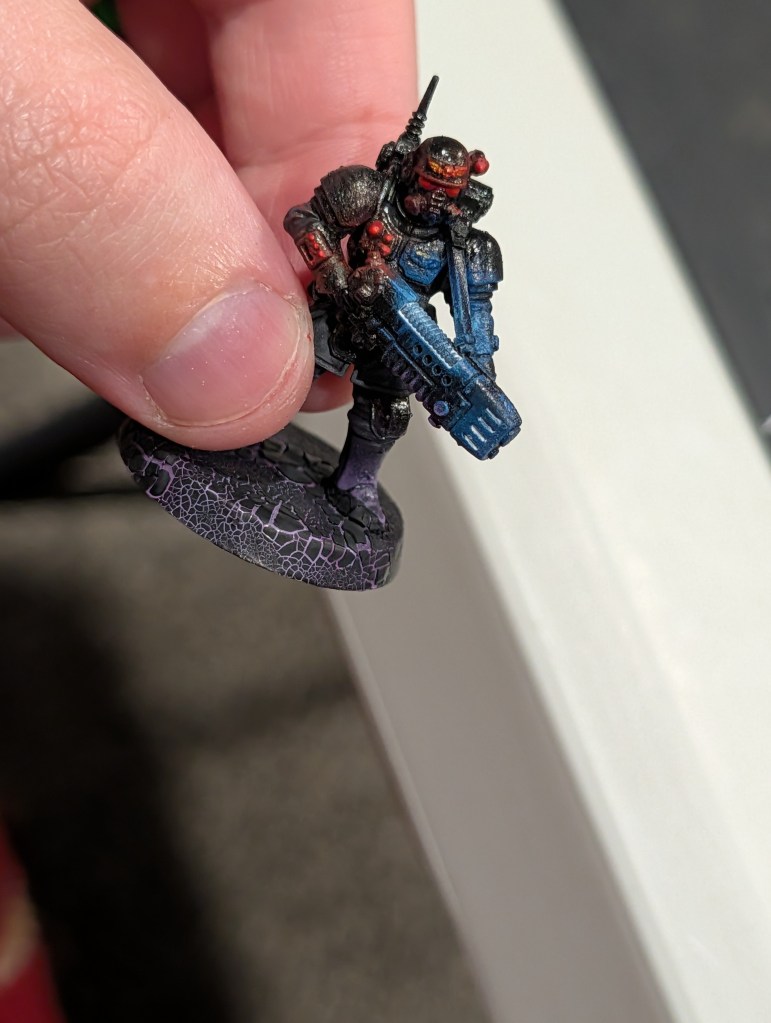
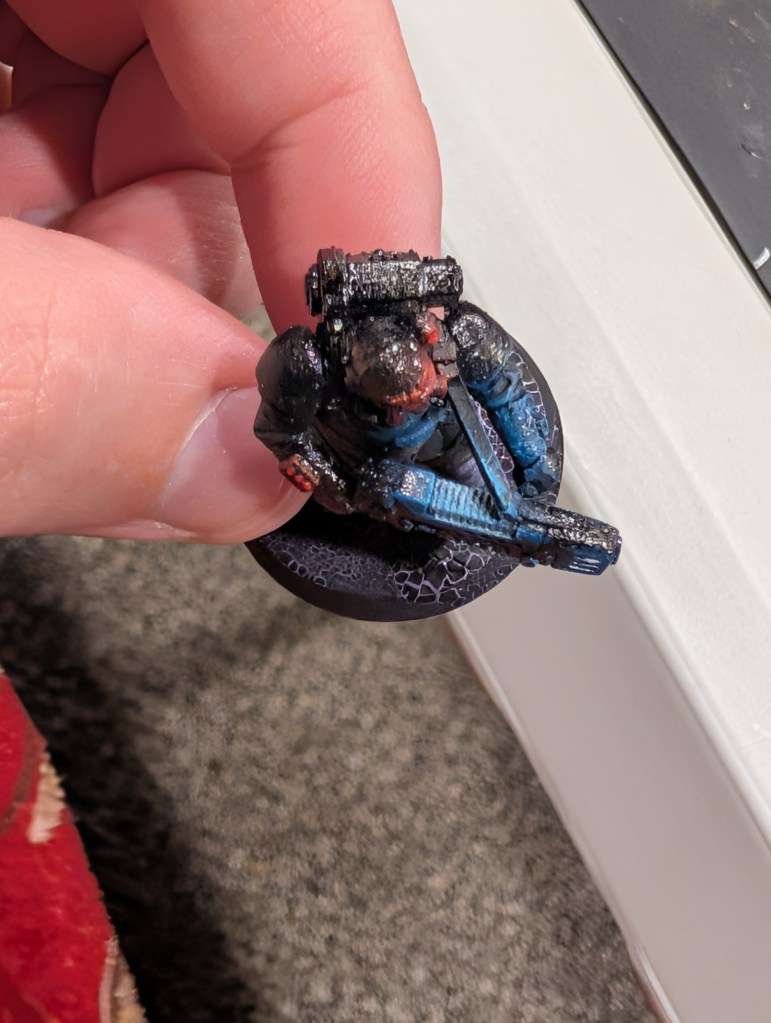
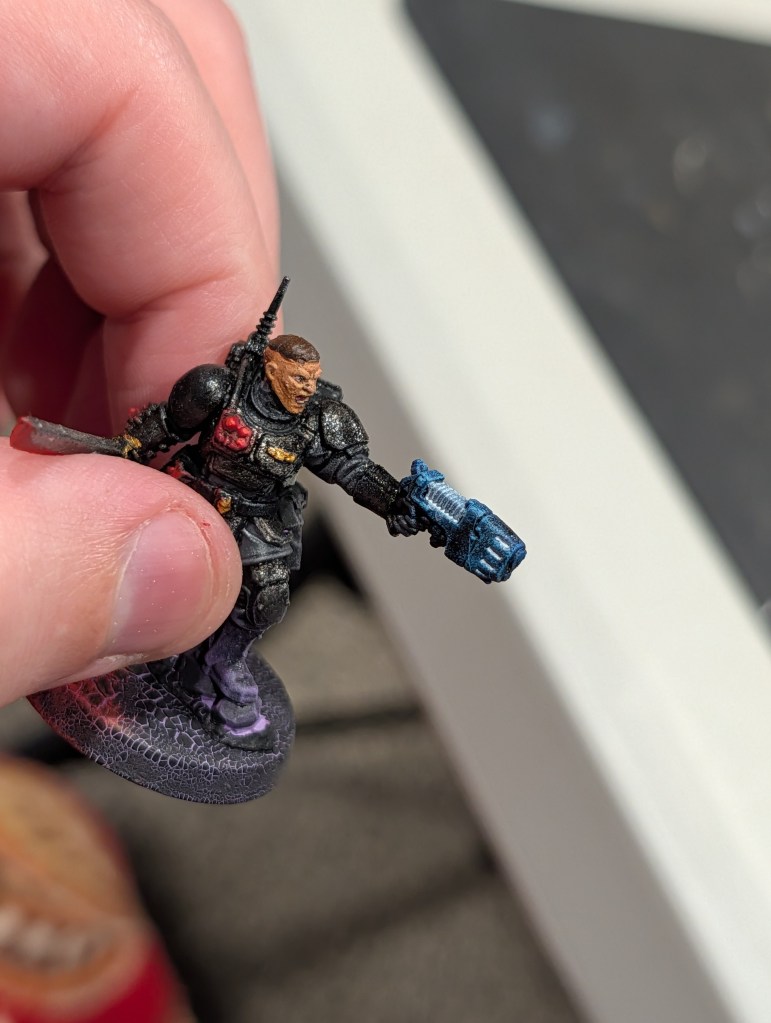
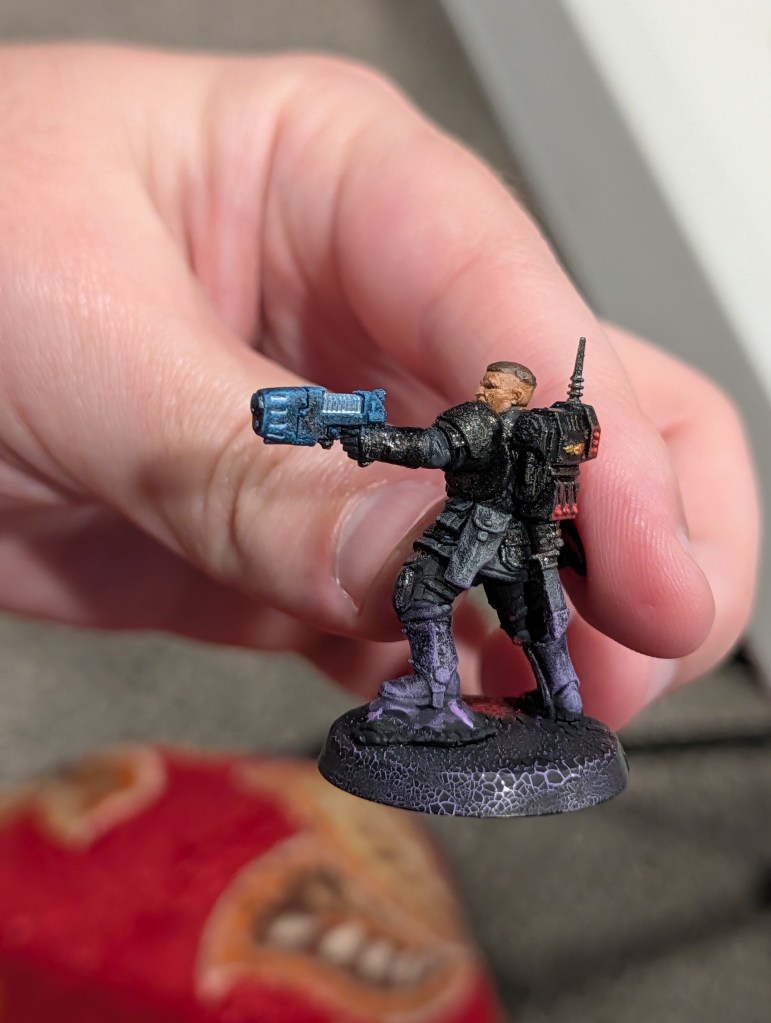
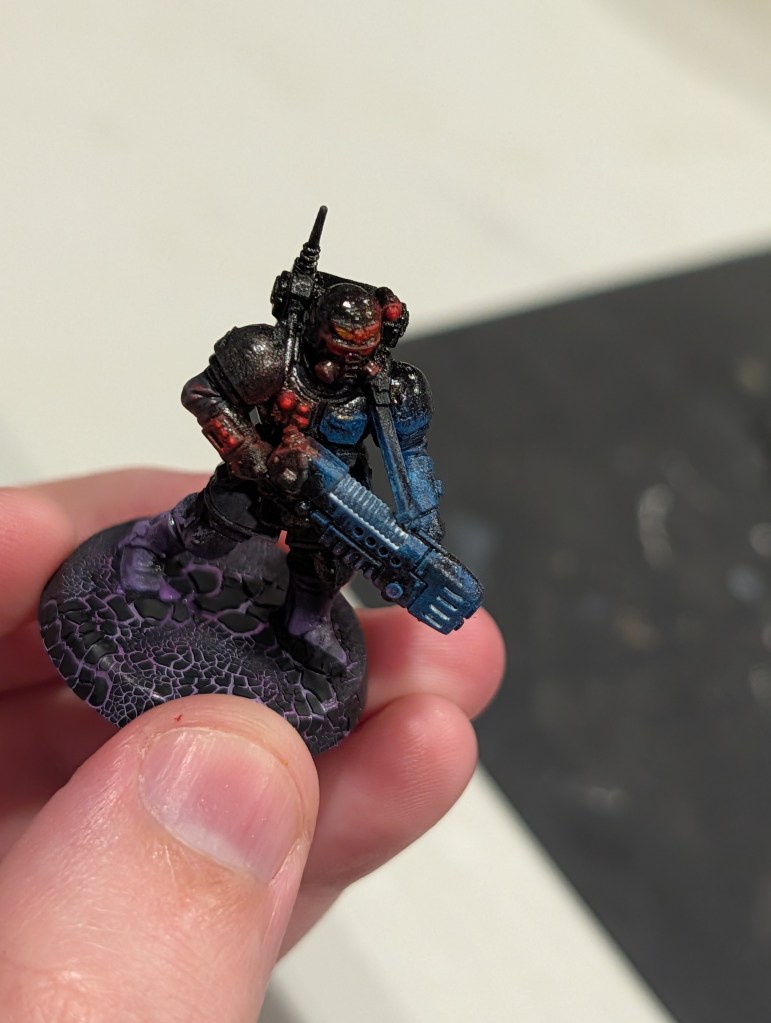
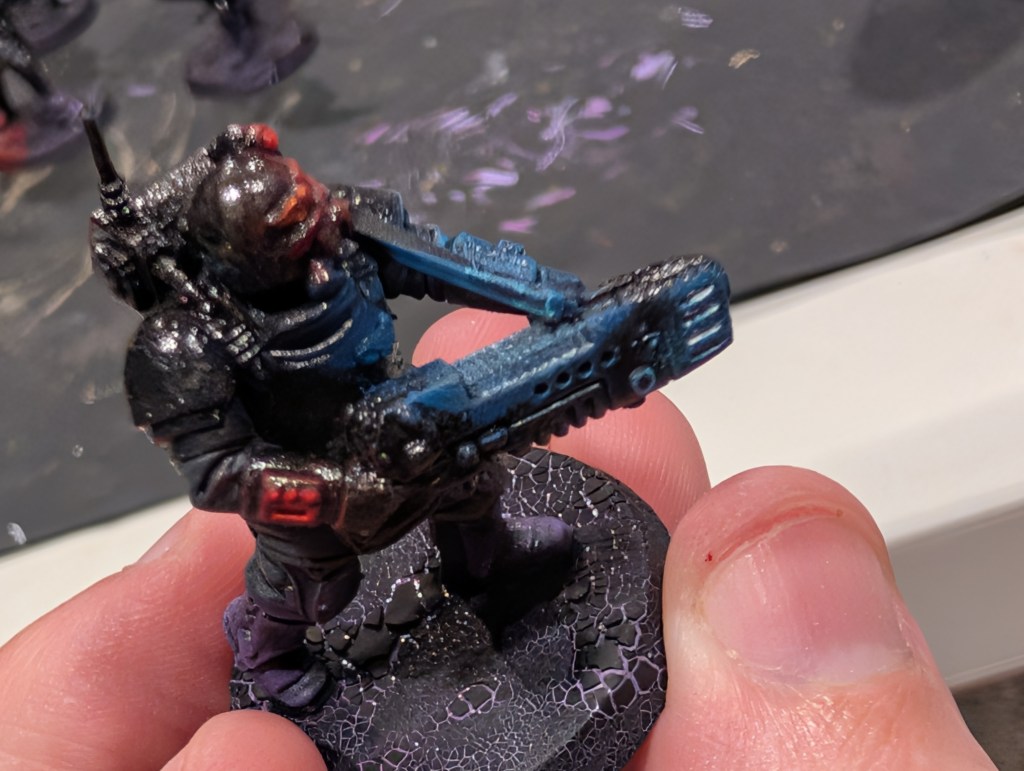
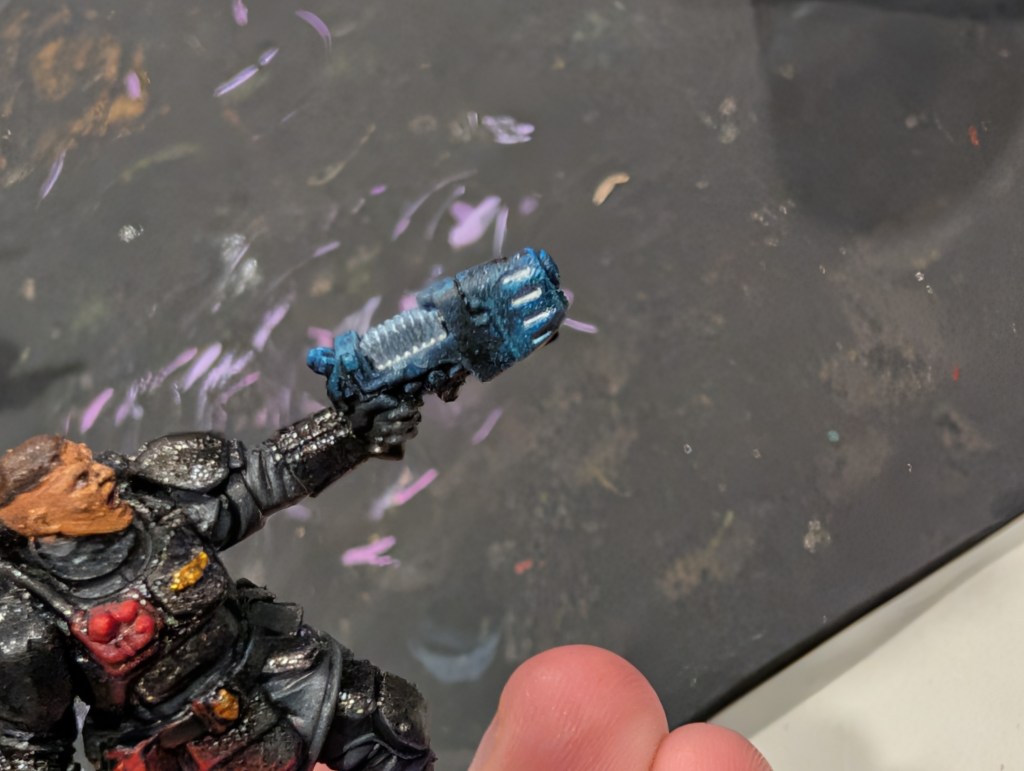
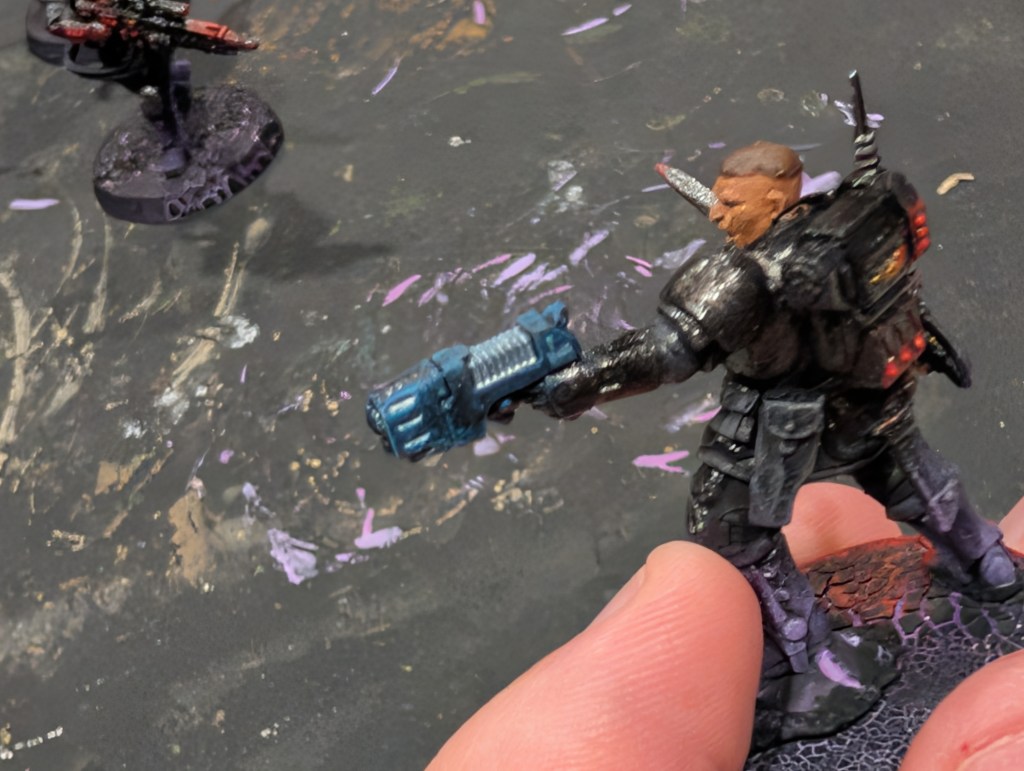
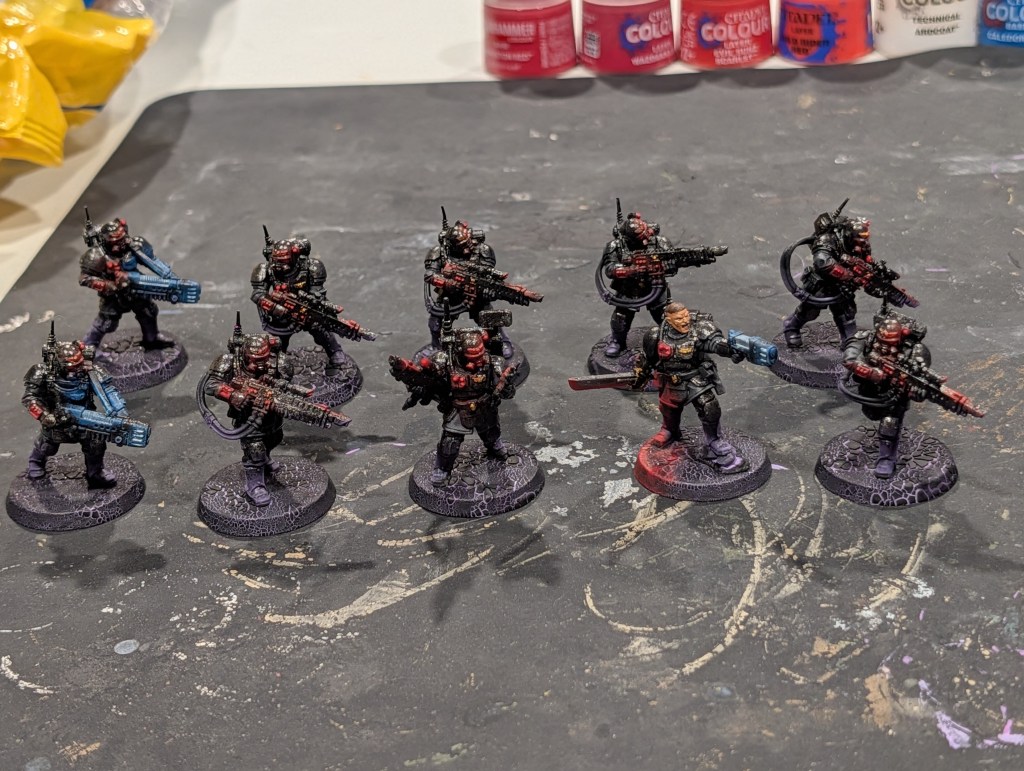
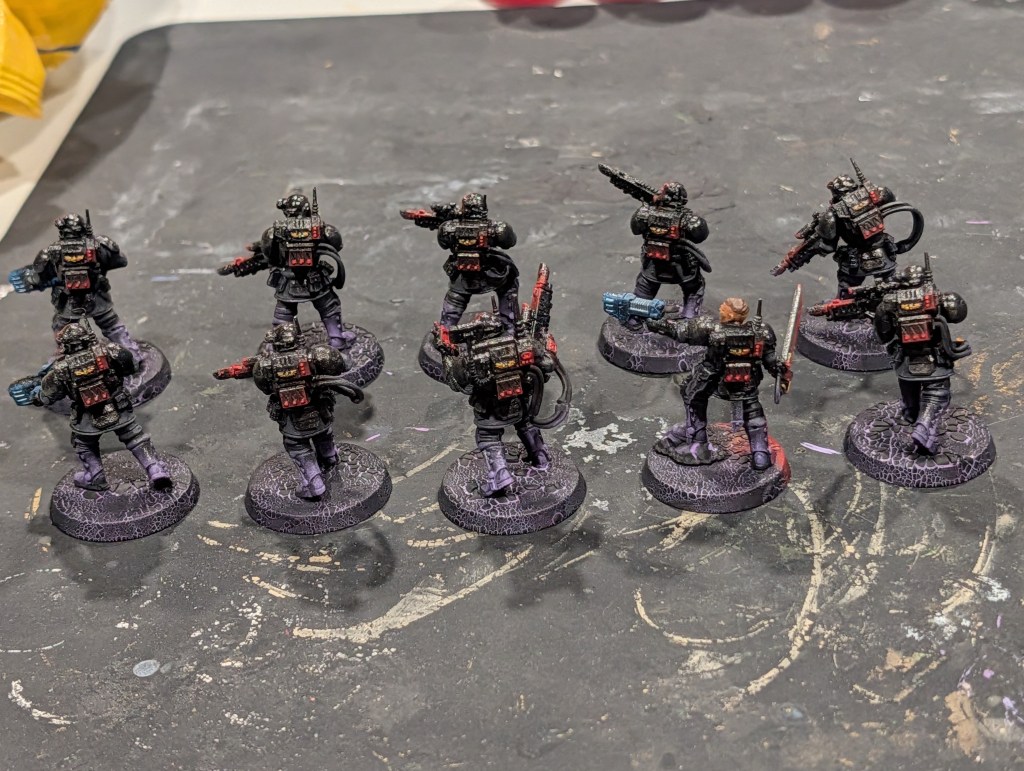
How did yours come out? Let me know!

